
Are you trying to get the best sound from your car stereo but don’t know how to connect RCA cables properly? You’re not alone.
Many people find this task confusing, but once you understand the simple steps, it’s easier than you think. Connecting RCA cables the right way can transform your listening experience, giving you clearer, richer sound every time you hit the road.
Keep reading, and you’ll learn exactly how to connect RCA to your car stereo quickly and without hassle. Your perfect car audio setup is just a few easy steps away.
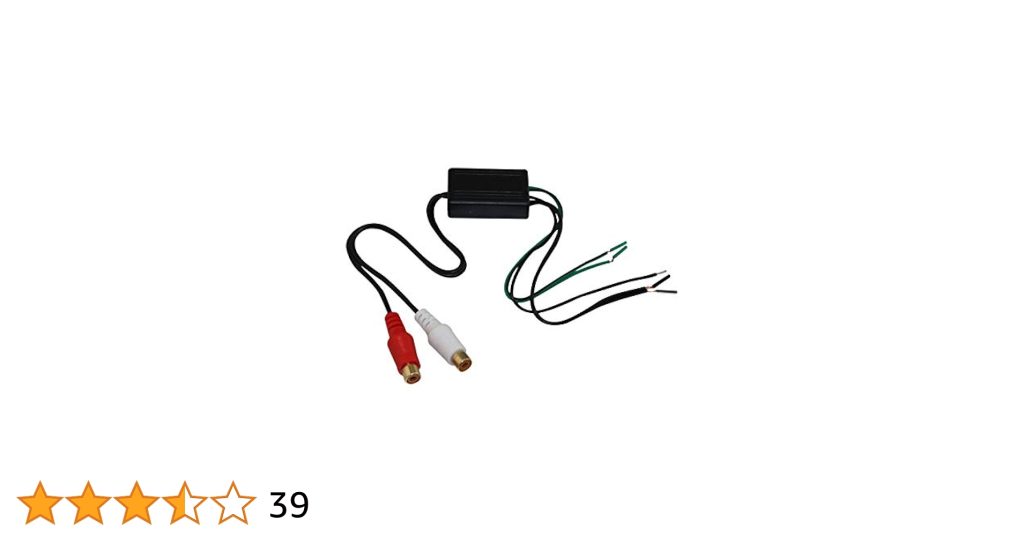
Credit: www.ebay.ca
Tools And Materials Needed
Before you start connecting RCA cables to your car stereo, gathering the right tools and materials is key. Having everything on hand will save you time and prevent frustration during installation. Let’s look at what you need to get the job done efficiently.
Essential Tools
- Screwdrivers:A set of both flathead and Phillips screwdrivers helps you remove panels and tighten connections securely.
- Wire Strippers:These make it easy to strip the insulation from wires without damaging the metal inside.
- Crimping Tool:Useful for attaching connectors or splicing wires if needed.
- Multimeter:This tool checks for proper voltage and continuity, ensuring your connections are correct.
- Panel Removal Tools:Plastic pry tools prevent damage to your car’s interior when removing the stereo or panels.
Required Materials
- RCA Cables:High-quality cables with well-shielded wiring reduce noise and interference in your audio signal.
- RCA to Speaker Wire Adapter:If your stereo doesn’t have RCA outputs, this adapter converts speaker wires to RCA inputs.
- Electrical Tape or Heat Shrink Tubing:These insulate your wire connections to avoid shorts and keep everything secure.
- Wire Connectors or Butt Splices:These make joining wires easier and more reliable than twisting alone.
- Zip Ties:Use them to keep wires organized and away from moving parts or heat sources.
Why Prepare Properly?
Have you ever started a project only to realize you’re missing a crucial tool? It wastes time and can lead to sloppy work.
I once tried to connect RCA cables without a wire stripper and ended up damaging the wires. That mistake cost me extra wire and a lot of frustration.
Gathering the right tools and materials before you begin prevents these issues. It also helps you work confidently, making your car stereo sound its best.
Locate Rca Ports On Car Stereo
Finding the RCA ports on your car stereo is the first key step to connecting external audio devices successfully. These ports are the gateway for transmitting sound signals, so knowing exactly where to look saves you time and frustration.
Not all car stereos have RCA ports in the same spot or even the same style. Some models place them on the back panel, while others might have them tucked away inside the dashboard or behind removable panels. Have you ever opened your stereo only to find a maze of wires? It’s a common challenge, but knowing what to expect makes it easier.
Check The Back Of The Stereo Unit
The most common place for RCA ports is on the rear side of the stereo. Look for a cluster of round connectors, usually color-coded with red and white for audio.
- Red is for the right audio channel
- White (or sometimes black) is for the left audio channel
Sometimes, these ports are grouped together with other inputs and outputs like video or speaker wires. If you can’t reach the back easily, consider gently sliding the stereo out or consulting your car manual.
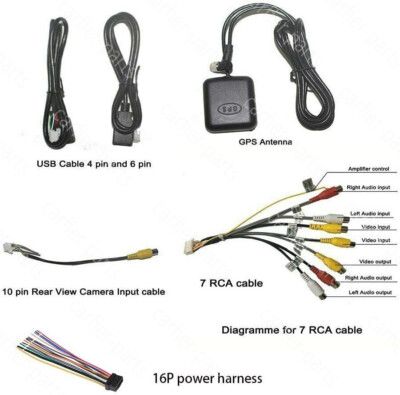
Inspect The Wiring Harness
Some car stereos don’t have RCA ports directly on the unit but use adapters or connectors in the wiring harness. This is a collection of cables bundled behind the stereo or under the dashboard.
Look for a set of cables with RCA connectors attached to them. These might be tucked inside a plastic casing or hidden behind panels. If you have trouble spotting them, tracing the wires from the stereo can help you find the RCA ends.
Look Inside Detachable Faceplates Or Panels
In rare cases, RCA ports might be hidden inside detachable faceplates or side panels. Manufacturers sometimes hide these ports to keep the design sleek and avoid accidental disconnections.
Check if your stereo has any removable parts that reveal additional ports. Handle these parts carefully to avoid damage. Have you tried popping open any panels yet? This simple step often reveals hidden connectors.
Consult Your Car Stereo’s Manual Or Manufacturer Website
If you’re still unsure where the RCA ports are, your best bet is the stereo’s user manual or the manufacturer’s website. These resources often provide detailed diagrams and photos showing exact port locations.
Some manuals even explain if you need extra adapters to access RCA connections. Don’t overlook this step; it can save you from guessing and potential errors during installation.
Prepare Rca Cables
Preparing RCA cables correctly is key to getting great sound from your car stereo. Poorly prepared cables can cause static, weak signals, or even no sound at all. Taking a few extra minutes to check and organize your RCA cables makes a big difference in audio quality and connection stability.
Check The Cable Quality And Length
Start by examining your RCA cables for any visible damage like cuts or frayed ends. Old or cheap cables can introduce noise, so choose cables with good insulation and sturdy connectors.
Also, consider the length. Too long can cause signal loss, and too short might force you to stretch connections. Ideally, pick cables that are just long enough to reach from your stereo to the amplifier without excess slack.
Identify The Correct Rca Connectors
RCA cables usually come with red and white connectors. Red is for the right audio channel, and white (or sometimes black) is for the left. Matching these correctly to your car stereo outputs and amplifier inputs is crucial for balanced sound.
Some systems also have yellow connectors for video, but focus only on audio cables here. Double-check labels or consult your stereo manual if the colors don’t match up as expected.
Clean The Rca Connectors
Dirt and oxidation on RCA connectors can cause poor connectivity and static noise. Use a cotton swab dipped in rubbing alcohol to gently clean both the male and female connectors before plugging them in.
This simple step can solve many frustrating audio issues. Have you ever struggled with crackling sound that disappears after fiddling with cables? Cleaning the connectors often fixes that.
Organize And Secure The Cables
Once your cables are ready, keep them organized to avoid tangling or accidental pulls. Use cable ties or Velcro straps to bundle excess length neatly.
Secure cables away from sharp edges or moving parts inside your car to prevent damage over time. A tidy setup not only looks better but also lasts longer and performs reliably.
Credit: dashcamtalk.com
Connect Rca Cables To Stereo
Connecting RCA cables to your car stereo is a straightforward process that can greatly improve your audio experience. These cables carry the audio signals from your device to the stereo, ensuring clear sound output. Understanding how to correctly connect these cables will help you avoid common issues like poor sound quality or no sound at all.
Identify The Rca Ports On Your Stereo
First, locate the RCA input ports on the back of your car stereo. These ports are usually color-coded: red for the right audio channel and white or black for the left audio channel. Taking a moment to identify these correctly will save you from mixing up the channels later.
Have you noticed how some stereos have multiple RCA inputs? Choosing the correct input for your device is key to getting the sound you want.
Match Rca Cable Colors To Stereo Ports
Next, match the colors of the RCA cables to the corresponding stereo ports. Connect the red cable to the red port and the white or black cable to the white or black port. This color coordination ensures the stereo receives the right audio signals for both left and right channels.
If you skip this step, your stereo might only play sound on one side or produce distorted audio. Paying attention to these simple details makes a big difference.
Securely Plug In The Rca Cables
Push the RCA connectors firmly into the stereo ports until you feel a snug fit. Loose connections can cause static or intermittent sound interruptions. If your cables feel loose, try wiggling them gently to check for a solid connection.
Have you ever experienced crackling sounds while driving? It might be due to a loose RCA connection, so double-checking this can save you frustration.
Test The Connection Before Final Installation
After connecting the RCA cables, turn on your car stereo and play audio to test the connection. Listen carefully to ensure both left and right channels are working properly. Testing now helps you spot and fix any issues before you secure the cables behind the dashboard.
Don’t overlook this step—catching problems early saves time and avoids having to dismantle your setup later.
Connect Rca Cables To Audio Source
Connecting RCA cables to the audio source is the first key step in setting up your car stereo system. This process ensures that the sound from your device reaches your car’s speakers clearly and without distortion. Proper connection prevents audio issues and delivers better sound quality.
RCA cables have two connectors, usually color-coded red and white. These connectors carry the right and left audio signals separately. Matching these colors to the audio source outputs is essential for correct sound channel separation.
Identify The Audio Output Ports
Locate the RCA output ports on your audio source. These ports are typically labeled “Audio Out” or have red and white color markings. Check your device manual if unsure about the correct ports.
Match Rca Cables To Corresponding Ports
Connect the red RCA cable to the red output port. Connect the white or black RCA cable to the white output port. This match keeps the stereo channels balanced and clear.
Secure The Rca Cable Connections
Push the RCA connectors firmly into the audio output jacks. Loose connections cause crackling and signal loss. Make sure the cables fit snugly without forcing them.
Check For Proper Cable Length And Placement
- Use RCA cables long enough to reach your car stereo.
- Avoid sharp bends or kinks in the cables.
- Keep cables away from power wires to reduce interference.
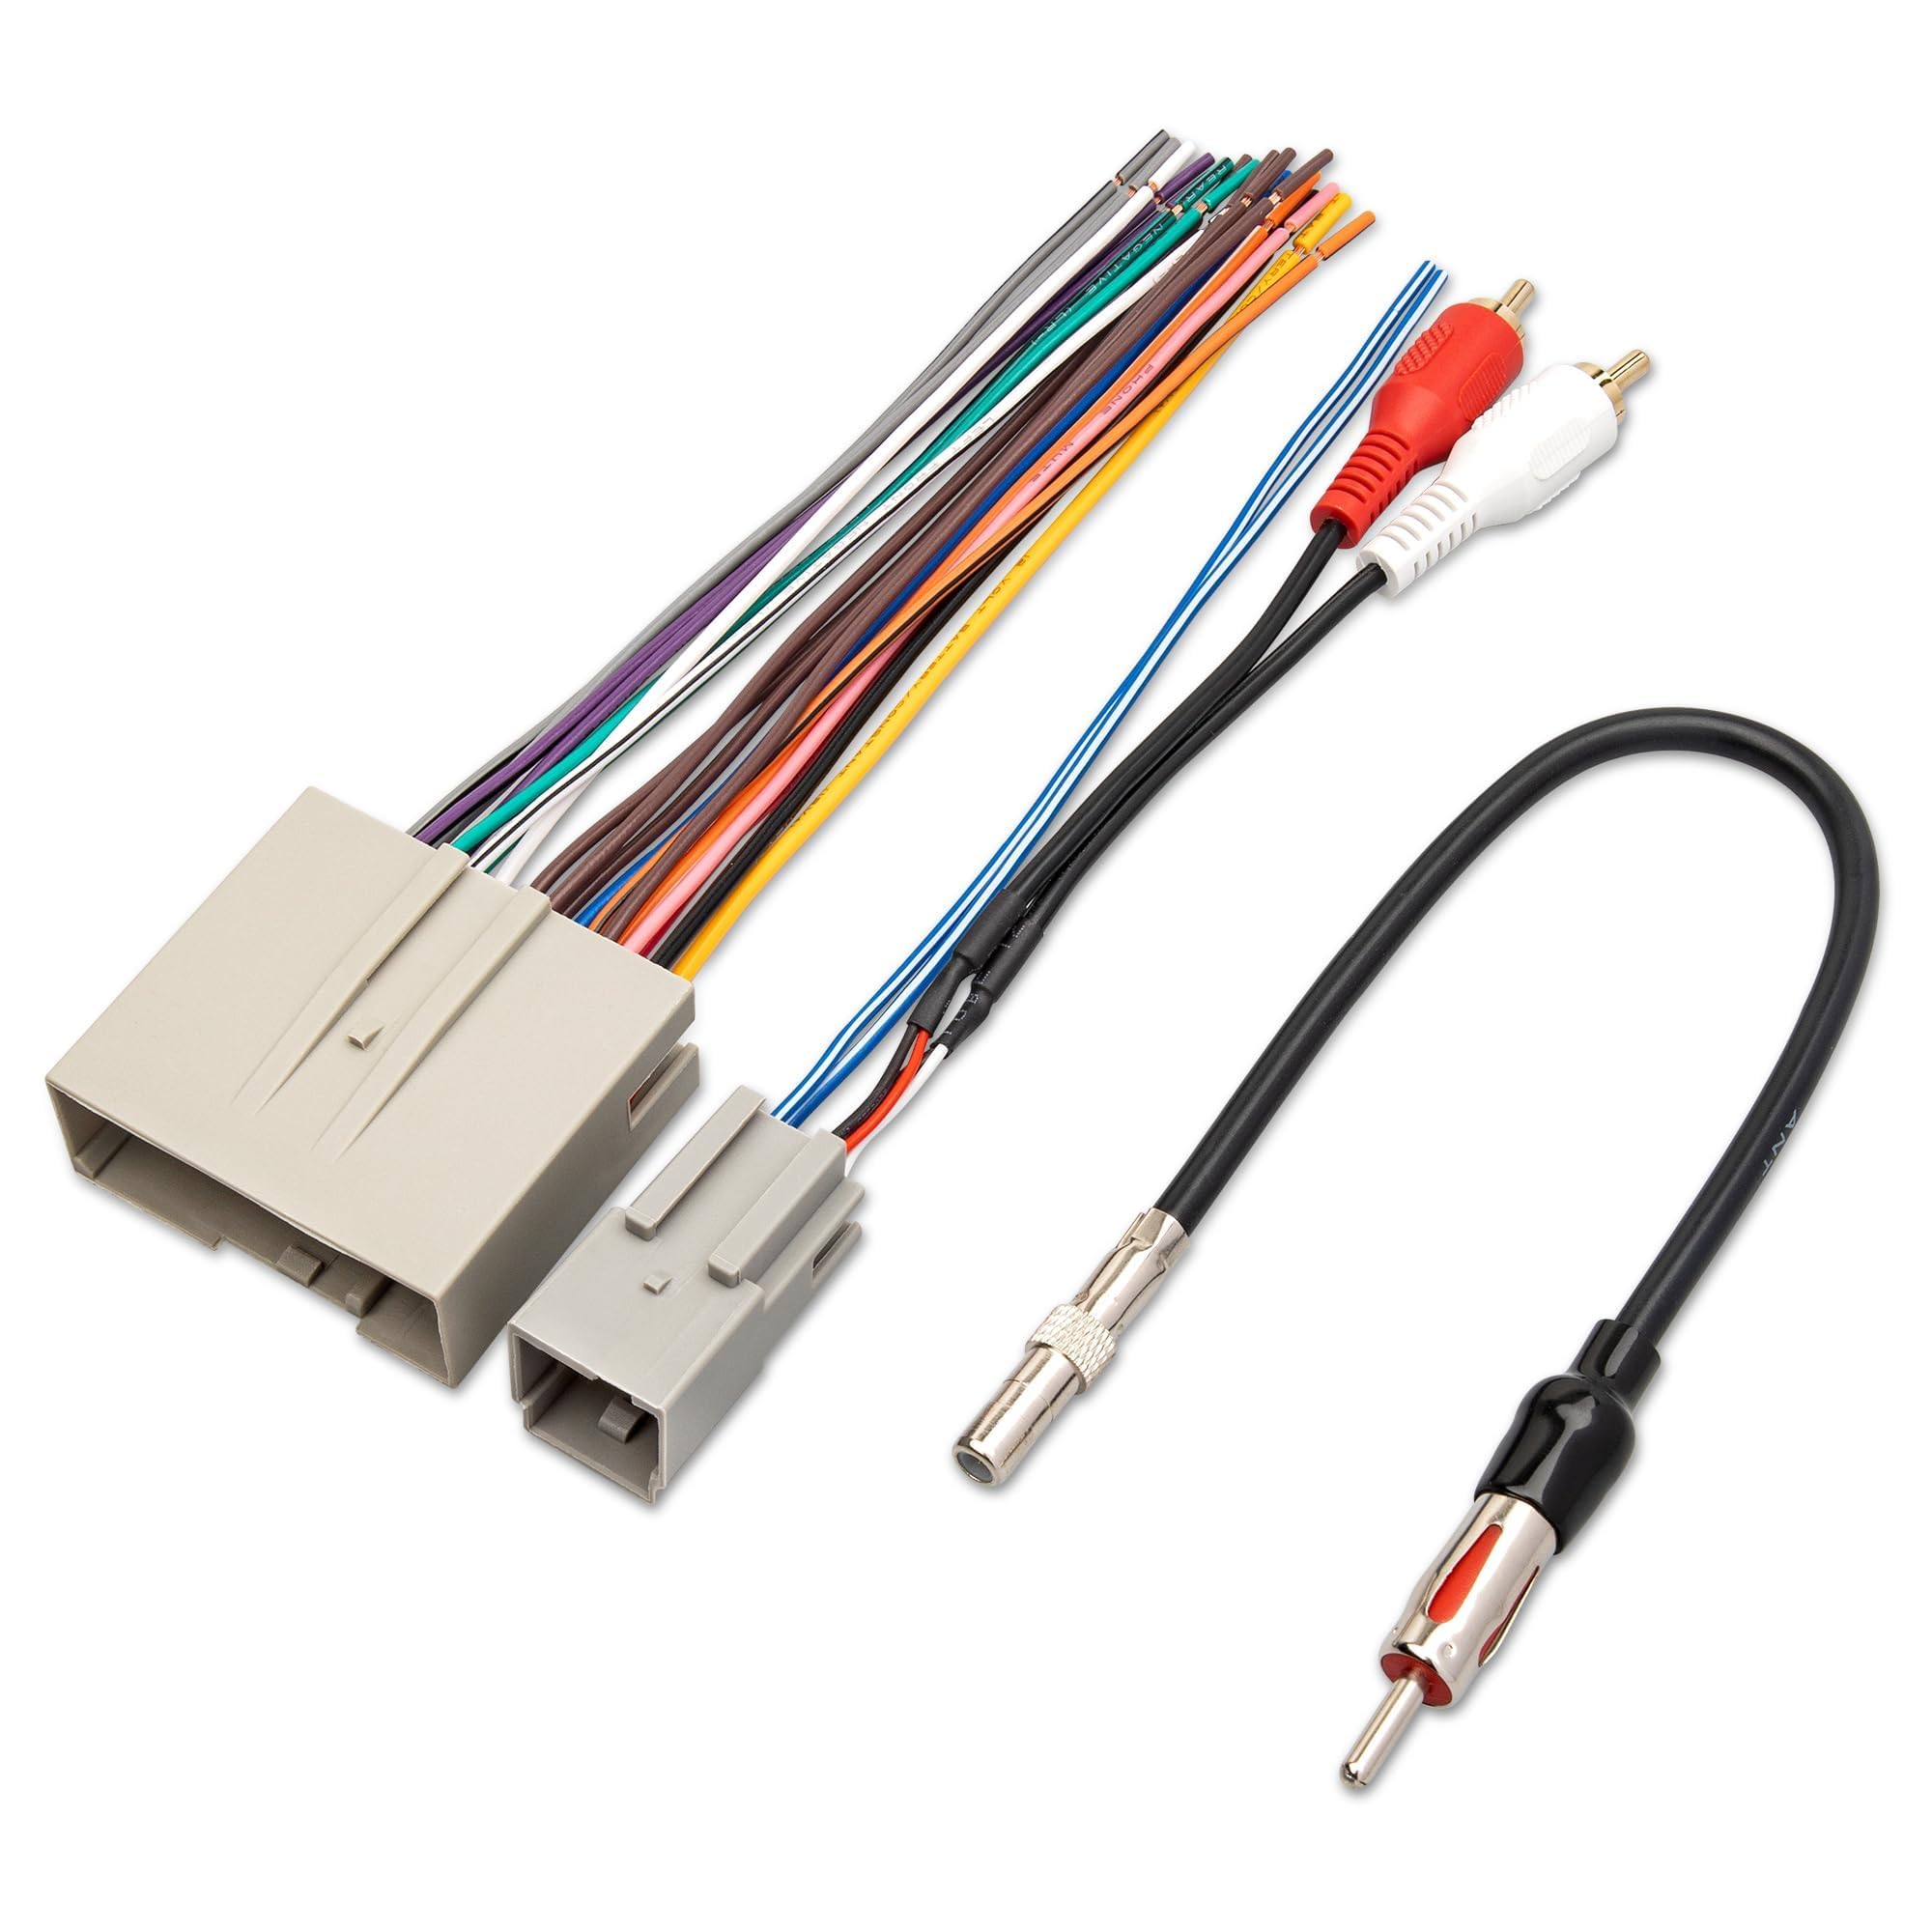
Credit: www.amazon.ca
Secure And Organize Wiring
Secure and organize wiring to keep your car stereo setup neat and safe. Proper wiring prevents damage, noise, and connection issues. Tidy cables make future maintenance easier.
Use simple tools and materials for a clean wiring job. Follow these tips for a durable and organized connection.
Use Cable Ties And Clips
Bundle RCA cables with cable ties to avoid tangling. Use clips to attach cables along the car frame or dashboard. This stops wires from moving or rubbing against sharp edges.
Separate Rca Cables From Power Wires
Keep RCA cables away from power wires to reduce noise interference. Run signal cables on one side and power cables on the other. This separation improves sound quality.
Label Each Cable
Mark RCA cables with labels or colored tape. Labeling helps identify connections quickly. It saves time during repairs or upgrades.
Wrap Excess Cable Length
Coil extra cable length neatly without tight bends. Use Velcro straps to hold coils in place. Avoid sharp bends that can damage the wires.
Protect Cables With Sleeves
Use wire sleeves or tubing to protect RCA cables. Sleeves guard against heat, abrasion, and moisture. This extends cable life and maintains signal quality.
Test The Connection
Testing the RCA connection to your car stereo is essential. It confirms the cables are properly connected and the sound system works. A simple test helps avoid frustration and saves time. Follow clear steps to check the connection effectively.
Check The Power And Volume
Turn on your car stereo and the device connected via RCA cables. Set the volume to a low level first. This prevents sudden loud noises that can damage speakers or startle you. Slowly increase the volume to a comfortable listening level.
Play Audio From The Source Device
Use a music player or radio app on the connected device. Play a clear and familiar audio track. This helps identify any distortion or interference easily. Listen carefully for consistent sound quality.
Inspect Each Rca Connector
- Ensure red and white connectors match the stereo’s input colors.
- Check for loose or wobbly plugs.
- Make sure connectors are fully inserted.
Listen For Sound Clarity And Balance
Sound should be clear without static or crackling. Both left and right channels must play correctly. If sound is missing on one side, check that RCA cables are connected properly.
Test Different Audio Sources
Try playing music from various apps or devices. This confirms the connection works with multiple sources. It also helps detect any compatibility issues early.
Troubleshooting Common Issues
Connecting RCA cables to your car stereo should be straightforward, but sometimes issues pop up. Troubleshooting these common problems can save you time and frustration. Let’s look at how to fix typical challenges so your sound system works perfectly.
No Sound Output
If you don’t hear any sound after connecting RCA cables, first check if your car stereo is set to the correct input source. Sometimes the stereo might be on radio or CD mode instead of the auxiliary input.
Also, inspect the RCA cables for any visible damage or wear. Damaged cables often prevent sound from passing through. Testing with a different RCA cable can quickly reveal if your cable is the problem.
Have you checked the amplifier or speakers? A faulty amplifier or blown speaker can make it seem like the RCA connection is at fault. Try connecting the stereo directly to another speaker to isolate the issue.
Static Or Noise Interference
Static or buzzing noise in your car audio system often comes from interference. Check if the RCA cables run too close to power wires or the car’s ignition system. This proximity can cause unwanted noise.
Using shielded RCA cables can help reduce interference. If your cables aren’t shielded, consider upgrading to a higher-quality set designed to block out electrical noise.
Grounding issues also cause static. Ensure your stereo and amplifier share a common ground point. A poor ground connection might be the culprit behind persistent noise in your audio.
Loose Connections
Loose RCA connections can cause intermittent sound or no sound at all. Make sure each RCA plug fits snugly into the stereo and amplifier ports.
Sometimes dust or dirt inside the ports can prevent a solid connection. Clean the RCA jacks gently with a dry cloth or compressed air to improve contact.
Have you tried wiggling the cables gently while playing music? If sound cuts in and out, that’s a sign of loose or faulty connections. Re-seating the cables or replacing worn connectors often fixes this.
Frequently Asked Questions
How Do I Connect Rca Cables To My Car Stereo?
To connect RCA cables, locate the RCA output on your car stereo. Then, plug the RCA cables into the corresponding color-coded jacks. Ensure a secure connection by gently pushing the cables in. Finally, connect the other end to your amplifier or audio device for optimal sound quality.
What Tools Do I Need For Rca Connection?
You’ll need a set of RCA cables, a screwdriver, and possibly wire strippers. Ensure you have the correct RCA cables for your stereo. A screwdriver may be necessary for removing stereo panels. Wire strippers can help with any necessary wire adjustments during installation.
Can I Connect Rca To Any Car Stereo?
Not all car stereos have RCA inputs. Check your stereo’s manual for compatibility. Most aftermarket stereos support RCA connections, while some factory stereos might not. If unavailable, consider using an RCA adapter or converter to enable compatibility with your existing setup.
Why Is My Rca Connection Not Working?
Ensure cables are securely connected to the correct jacks. Also, check for any loose connections or damaged cables. Verify the audio source is working and the stereo settings are correct. If issues persist, consult a professional for further diagnosis and potential repairs.
Conclusion
Connecting RCA cables to your car stereo is simple with clear steps. Check your car stereo and RCA cable ports carefully. Match the colors on the cables to the ports for correct sound. Secure the connections to avoid loose or crackling sound.
Test your system before finalizing the setup. This process helps improve your car audio experience easily. Enjoy better sound from your stereo with these easy tips. Now, you can connect RCA cables without stress or confusion.

