

Are you planning to upgrade your car stereo but unsure how to measure the screen size correctly? Getting the right dimensions is crucial to ensure a perfect fit and avoid costly mistakes.
In this guide, you’ll learn simple, step-by-step methods to measure your car stereo screen with confidence. Whether you’re replacing an old unit or installing a new one, these tips will help you make the best choice for your vehicle. Keep reading to get it right the first time!
Choose The Right Tools
Choosing the right tools is key to measuring a car stereo screen accurately. The right equipment ensures you get precise dimensions. This helps in finding the perfect fit for your stereo system. Avoid guesswork to save time and avoid errors.
Essential Measuring Tools
Use a tape measure or a ruler with clear markings. A digital caliper offers more accuracy for small measurements. A straight edge helps keep measurements aligned. A notepad or smartphone app is useful for recording numbers. Having these tools ready simplifies the process.
Preparing Your Workspace
Clear the area around your car stereo before measuring. Good lighting helps you see the screen edges clearly. A flat surface nearby provides a place to rest your tools. Make sure the car is parked on a level ground. Organizing your workspace reduces mistakes and speeds up work.
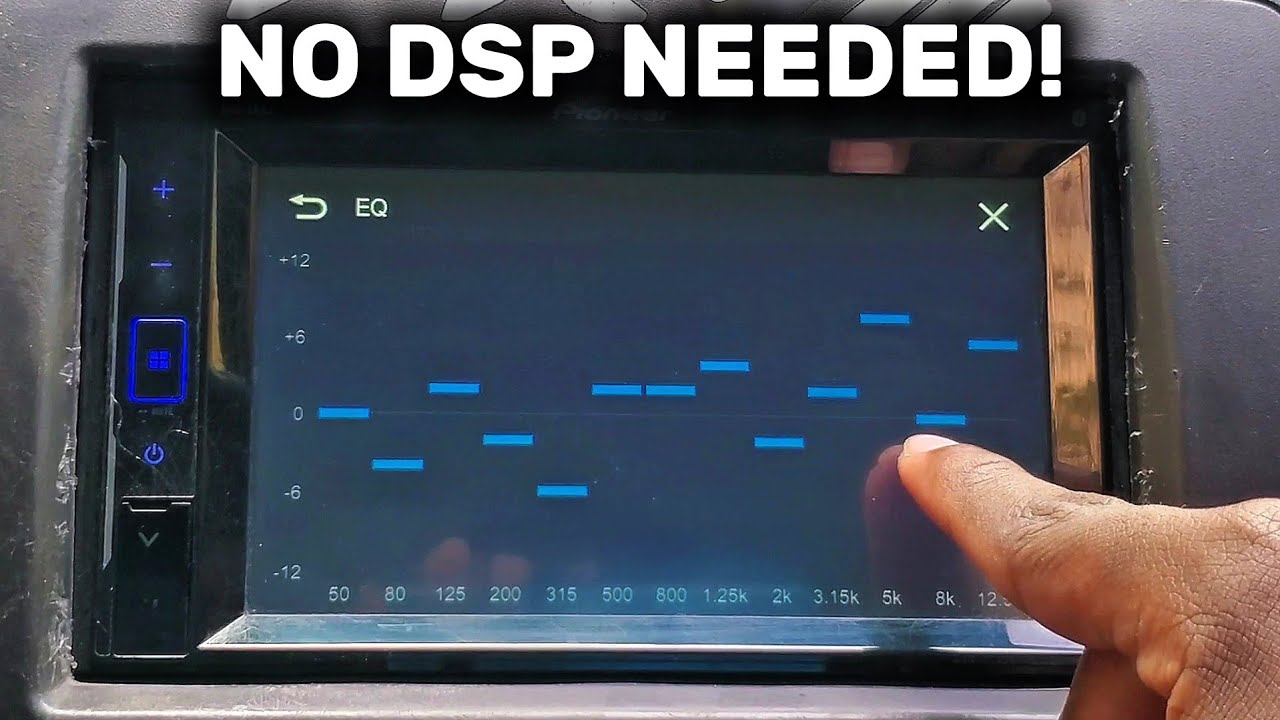
Credit: www.youtube.com
Measure Screen Dimensions
Measuring the screen dimensions of your car stereo is essential for a perfect fit and optimal viewing experience. Accurate measurements prevent costly mistakes and ensure compatibility with your vehicle’s dashboard. Let’s break down how to measure your car stereo screen effectively.
Width And Height Measurement
Start by measuring the visible part of the screen, not the entire stereo unit. Use a ruler or measuring tape to get the width from one edge of the screen to the other, straight across.
Next, measure the height from the top edge to the bottom edge of the screen. Write down these numbers carefully, as even a small difference can affect installation.
Remember to measure the screen area that will be visible once installed, not including any bezels or frame surrounding it. Are you confident your current stereo size matches your dashboard opening?
Depth Measurement Tips
Depth is often overlooked but equally important. Measure from the front of the screen to the back of the stereo unit to ensure it fits within your car’s dash space.
Keep in mind that wiring and connectors add to the depth. Leave at least an inch of extra space to avoid pressure on cables and allow easy installation.
Consider the shape of the stereo—some have curved backs that need more room in certain areas. How much space do you have behind your dashboard to accommodate these variations?
Check Installation Space
Before you buy a new car stereo screen, checking the installation space is crucial. This step helps avoid compatibility issues that can lead to costly returns or modifications. Measuring your car’s dashboard space carefully ensures the stereo fits perfectly and functions well.
Dashboard Cavity Size
Start by measuring the size of the existing cavity where the stereo will go. Use a tape measure to get the width, height, and depth in millimeters or inches. Don’t guess—accurate numbers matter here.
Take note of the standard sizes like single DIN (about 7 x 2 inches) and double DIN (about 7 x 4 inches). Knowing your car’s cavity size helps you pick a stereo screen that fits without gaps or forcing.
Clearance And Obstructions
Look beyond just the cavity size and check for any obstructions around the dashboard area. Things like air vents, buttons, and wiring harnesses can block or limit the space. You want to ensure your new screen won’t press against or interfere with these parts.
Ask yourself: Is there enough depth behind the dashboard for the screen’s connectors and cables? Sometimes, extra depth is needed for proper installation and airflow to avoid overheating.
Don’t forget to check for mounting points or brackets. Your stereo screen should align well with these to avoid awkward fitting or the need for custom mounts.
Consider Screen Shape
Choosing the right screen shape is essential when measuring your car stereo screen. The shape affects both the fit and the viewing experience. Understanding how different shapes impact measurement can save you from costly mistakes and ensure a perfect installation.
Rectangular Vs Custom Shapes
Most car stereo screens are rectangular, making them easier to measure and replace. You simply measure the width and height of the visible screen area. But what if your car stereo has a custom shape? Custom shapes require more precise measurements, often involving irregular angles or non-standard dimensions.
Have you checked if your stereo’s manual lists the exact screen dimensions? If not, consider using a flexible tape measure and carefully noting all edges. You might also need to measure the bezel or frame if it affects the overall fit.
Rounded Edges And Curves
Rounded edges can add complexity to measuring your screen. Simply measuring straight lines won’t give you an accurate size because curves reduce the visible display area. Using a contour gauge or tracing the screen outline on paper can help capture these shapes more precisely.
Think about how much space the curves take up—sometimes, a few millimeters make a big difference in fitting your replacement screen. Have you ever tried fitting a rectangular screen into a curved frame? It rarely fits well without gaps or pressure points.
Account For Mounting Brackets
Accounting for mounting brackets is crucial when measuring your car stereo screen. These brackets affect how the screen fits into your dashboard and can change the dimensions you need to consider. Ignoring them might lead to ordering the wrong size, which can be frustrating and costly.
Bracket Size And Position
Mounting brackets come in different sizes and shapes depending on the stereo model and car design. Measure the bracket’s width, height, and depth separately from the screen itself. Sometimes, brackets extend beyond the screen edges, so include their full reach in your measurements.
Pay attention to how the brackets attach to your car’s dashboard. Are they flush with the screen or do they stick out? This affects not only the fit but also the installation process. You want to avoid a scenario where the screen fits perfectly but the brackets don’t align with your car’s mounting points.
Compatibility With Car Model
Not all mounting brackets work with every car model. Some vehicles require custom brackets or adapters to secure the stereo screen properly. Check your car’s manual or look for online forums where others have shared their experiences with similar models.
Think about whether the brackets allow for any adjustment. Adjustable brackets can make installation easier and provide a better fit if your car’s dashboard has an unusual shape. Have you ever installed a stereo that felt like it was forcing its way into a spot? That often happens when brackets aren’t compatible.

Credit: www.youtube.com
Use Templates And Guides
Using templates and guides makes measuring your car stereo screen much easier and more accurate. They help you avoid mistakes that can lead to buying the wrong size or damaging your dashboard. These tools give you a clear visual reference and step-by-step instructions to follow.
Printable Templates
Printable templates are one of the simplest ways to measure your car stereo screen. You can often find these templates online, designed to match various screen sizes and models.
Print the template on paper and cut it out carefully. Place it over your existing stereo or the dashboard opening to see if it fits perfectly. This hands-on approach helps you visualize the actual size and shape before making any purchases.
Have you ever tried fitting a new device only to find it just doesn’t fit? Using a template saves you from that frustration. Plus, it’s free and quick to do at home with just a printer.
Manufacturer Guidelines
Manufacturers usually provide detailed guidelines for measuring their car stereo screens. These guidelines often include diagrams, exact dimensions, and tips for accurate measurement.
Following these instructions ensures you measure the right parts of the stereo, like the bezel or the actual screen area. You might be surprised how much difference a millimeter can make in fitting your stereo correctly.
Check the manual or the official website of your stereo brand for these guides. They often include recommended tools, such as calipers or rulers, and explain how to handle curved or irregular surfaces.
Double-check Your Measurements
Double-checking your measurements is crucial when sizing a car stereo screen. A small error can lead to purchasing a screen that doesn’t fit properly, causing frustration and additional costs. Taking the time to verify your numbers ensures a smooth installation and a perfect fit.
Cross-verification Techniques
Use different tools to measure the screen area, such as a tape measure and a ruler, then compare the results. Measure the width and height from multiple angles to catch any inconsistencies caused by curved surfaces or obstructions.
Try measuring the space both inside and outside the dashboard frame to confirm your numbers. Double-checking with a friend can also help spot errors you might miss.
Have you thought about measuring twice and cutting once? This old advice applies perfectly here—recheck before making any purchase or modification.
Common Measurement Mistakes
One common mistake is measuring only the visible screen area and ignoring the bezel or casing. This can cause the new stereo to be too large or too small for the allocated space.
Another error is mixing up units—sometimes inches are confused with centimeters. Always confirm your unit of measurement before recording your numbers.
Failing to account for the depth of the stereo can also create problems during installation. Remember to measure how far back the screen will sit within the dashboard to avoid clearance issues.

Credit: www.amazon.com
Finalize Screen Selection
Finalizing your car stereo screen selection is the last step after measuring the space. It ensures the new screen fits perfectly and works well with your car’s system. Choosing the right size and model avoids installation problems and provides a smooth user experience.
Matching Measurements To Models
Compare your screen measurements with available models. Check width, height, and depth carefully. Use the exact numbers to find screens that fit your dashboard space. Look for models with dimensions close to your measurements. Avoid screens that are too large or too small. Consider the mounting style to match your car’s frame. This helps ensure easy installation and a clean look.
Consider Future Upgrades
Think about adding new features later. Choose a screen that supports software updates and additional apps. Look for models with extra ports or wireless options. Pick a screen compatible with advanced audio systems. A flexible screen saves money and effort in future upgrades. It also keeps your car stereo current and functional for years.
Frequently Asked Questions
How Do I Measure A Car Stereo Screen?
To measure a car stereo screen, use a tape measure. Measure diagonally from one corner to the opposite corner. This will give you the screen size in inches. Ensure the tape measure is straight and flat against the screen for accuracy.
What Tools Are Needed To Measure The Screen?
To measure a car stereo screen, you’ll need a tape measure or a ruler. These tools will help you get an accurate measurement. Use a soft cloth to clean the screen before measuring. This ensures you can see the edges clearly.
Why Is Screen Size Important For Car Stereos?
Screen size affects visibility and user experience in car stereos. Larger screens provide better visibility for navigation and controls. They also enhance the overall aesthetic of the dashboard. Consider your car’s dashboard space when choosing a screen size.
Can I Measure The Screen Without Removing It?
Yes, you can measure the screen without removing it. Use a tape measure or ruler to measure diagonally from one corner to another. Ensure you have a clear view of the screen’s edges for accurate measurement. This method is quick and doesn’t require disassembly.
Conclusion
Measuring your car stereo screen is simple with the right steps. Always use a ruler or tape measure for accuracy. Measure diagonally from one corner to the opposite corner. Note the size in inches for the best fit. Double-check your numbers before buying a new screen.
Correct measurements help avoid installation problems. Take your time and follow the guide carefully. Enjoy a perfect fit and clear display in your car.

