
If your car’s sound system isn’t delivering the booming bass or clear highs you expect, your amplifier might be the problem. But before you rush to replace it, you can quickly check if your car amplifier is working properly—right from your driveway.
Testing a car amplifier with a multimeter is easier than you think, and it can save you time and money. In this guide, you’ll learn simple steps to diagnose your amplifier’s health with just one tool. Ready to take control of your car audio and fix the problem yourself?
Keep reading, and you’ll be confident in no time.
Tools Needed
Testing a car amplifier with a multimeter requires specific tools. Having the right equipment ensures accurate readings and safety during the process. This section covers the essential tools needed for the task.
Choosing The Right Multimeter
Select a multimeter that measures voltage, resistance, and continuity. Digital multimeters are easier to read and more accurate. Look for one with a range suitable for car audio systems, usually up to 20 volts for DC testing. A multimeter with a backlit display helps in low-light conditions. Make sure it has probes with insulated handles to prevent shocks.
Additional Equipment
- Test leads with sharp tips for precise contact on terminals
- Alligator clips to hold wires securely during testing
- A small screwdriver to remove amplifier covers or panels
- Protective gloves to avoid electric shock and dirt
- A clean cloth to wipe connections and keep them dust-free
Credit: www.diymobileaudio.com
Preparing The Amplifier
Preparing the amplifier is an essential first step before testing it with a multimeter. Proper preparation ensures safety and accurate results. It helps avoid damage to the amplifier or the multimeter.
Start by making sure the amplifier is completely disconnected from any power source. This stops any electrical current that could cause harm or give false readings. Next, check all wiring and connections. This ensures everything is set up correctly and ready for testing.
Disconnecting Power Sources
Unplug the amplifier from the car’s battery or any external power supply. Remove the fuse if the amplifier has one. This prevents any power from flowing through the device during testing. Double-check that no cables are connected to the amplifier’s power terminals. Safety first. Without power, the multimeter can measure resistance and continuity without risk.
Inspecting Wiring And Connections
Look closely at the amplifier’s wiring. Check for broken or frayed wires that could cause problems. Make sure all connections are tight and secure. Loose connections may give wrong readings or cause the amplifier to fail. Clean any dirty or corroded contacts gently. Clear contacts help the multimeter get accurate measurements. Also, verify that speaker wires and input cables are properly attached and not damaged.
Checking Power Supply
Checking the power supply is the first crucial step in testing your car amplifier with a multimeter. Without proper power, even the best amplifier won’t perform well. Ensuring the amplifier receives the right voltage and has a solid ground connection can save you from unnecessary troubleshooting later.
Measuring Voltage Input
Use your multimeter to measure the voltage at the amplifier’s power terminal. Set the multimeter to DC voltage mode and connect the red probe to the positive power terminal and the black probe to a good ground point. You should see a voltage reading close to your car battery’s voltage, typically around 12 to 14 volts when the car is running.
If the voltage is significantly lower, this could explain why your amplifier isn’t working properly. I once had an amplifier that wouldn’t turn on, and measuring the voltage revealed a loose power cable. Fixing that connection brought the amp back to life instantly.
Testing Ground Connections
Grounding is just as important as power input. To test the ground connection, place the multimeter’s black probe on the amplifier’s ground terminal and the red probe on the car chassis or battery negative terminal. A reading close to zero volts means you have a good ground.
A high reading indicates a bad ground, which can cause noise or power issues. I’ve seen amps with intermittent sound problems, and after checking the ground, I found corrosion on the grounding point. Cleaning and tightening the connection solved the problem immediately.
Have you checked both your power and ground connections thoroughly? Even a small issue there can stop your amplifier from working right.
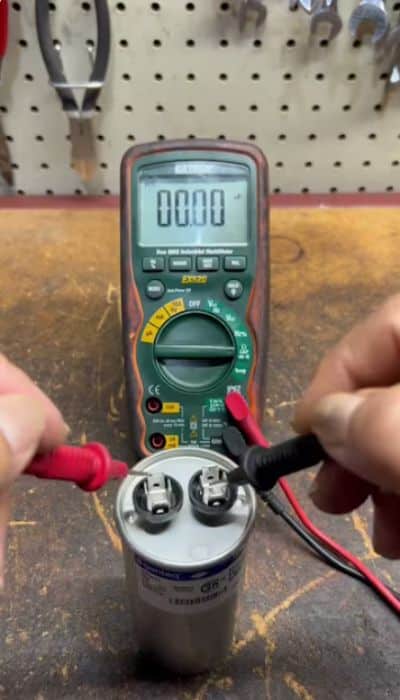
Testing Speaker Outputs
Testing the speaker outputs of a car amplifier is vital for ensuring sound quality. Faulty outputs can cause poor audio or damage speakers. Using a multimeter helps check if the amplifier sends the right signals to the speakers. This process involves measuring resistance and impedance to confirm proper function.
Setting Multimeter For Resistance
Start by turning on the multimeter. Set it to the resistance mode, often marked as “Ω” or “Ohms.” Choose a low resistance range, usually 20 ohms or less. This setting is ideal for testing speaker outputs. Make sure the multimeter probes are working correctly before testing.
Measuring Speaker Impedance
Disconnect the speaker wires from the amplifier. Touch the multimeter probes to the amplifier’s speaker output terminals. Note the reading on the display. A healthy output usually shows a low resistance value, typically between 2 and 8 ohms.
If the reading is very high or shows “OL,” the output may be faulty or disconnected. If the value is zero, it may indicate a short circuit. Repeat the test for each speaker output to ensure all channels work properly.
Evaluating Signal Input
Evaluating the signal input is a crucial step in testing your car amplifier with a multimeter. This process helps you verify whether the amplifier is receiving the correct audio signal from the source. Without a proper signal input, even the best amplifier won’t perform as expected.
Testing Rca Connections
Start by inspecting the RCA cables connecting your audio source to the amplifier. Loose or damaged RCA connectors can block the signal flow completely.
Use your multimeter set to measure continuity or resistance. Touch the probes to the tip and sleeve of each RCA plug to ensure the cable isn’t broken internally.
If the reading shows infinite resistance, the cable might be faulty. Also, check both ends of the cable for corrosion or bent pins, which can interrupt the signal.
Checking Signal Continuity
Next, verify that the signal travels through the amplifier’s input terminals properly. Disconnect the RCA cables and use the multimeter in continuity mode.
Place one probe on the amplifier’s input terminal and the other on the corresponding RCA jack inside the unit. A beep or zero resistance means the path is clear.
If there is no continuity, internal wiring might be damaged. This simple test can save you time before diving deeper into complex troubleshooting.
Measuring Amplifier Output
Measuring the output of a car amplifier is crucial to ensure it works properly. This process helps check if the amplifier sends the right power to your speakers. Using a multimeter is a simple way to measure the amplifier’s output voltage. It shows if the amplifier produces a clean and strong signal. This section guides you through setting your multimeter correctly and reading the output values.
Setting Multimeter For Ac Voltage
Start by turning on your multimeter. Set it to measure AC voltage because amplifier outputs are alternating current. Look for the “V~” symbol or “ACV” on the dial. Choose a voltage range higher than the expected output, usually 20 volts AC is a good start. Connect the multimeter probes correctly: the red probe to the positive output terminal and the black probe to the negative or ground terminal of the amplifier.
Interpreting Output Readings
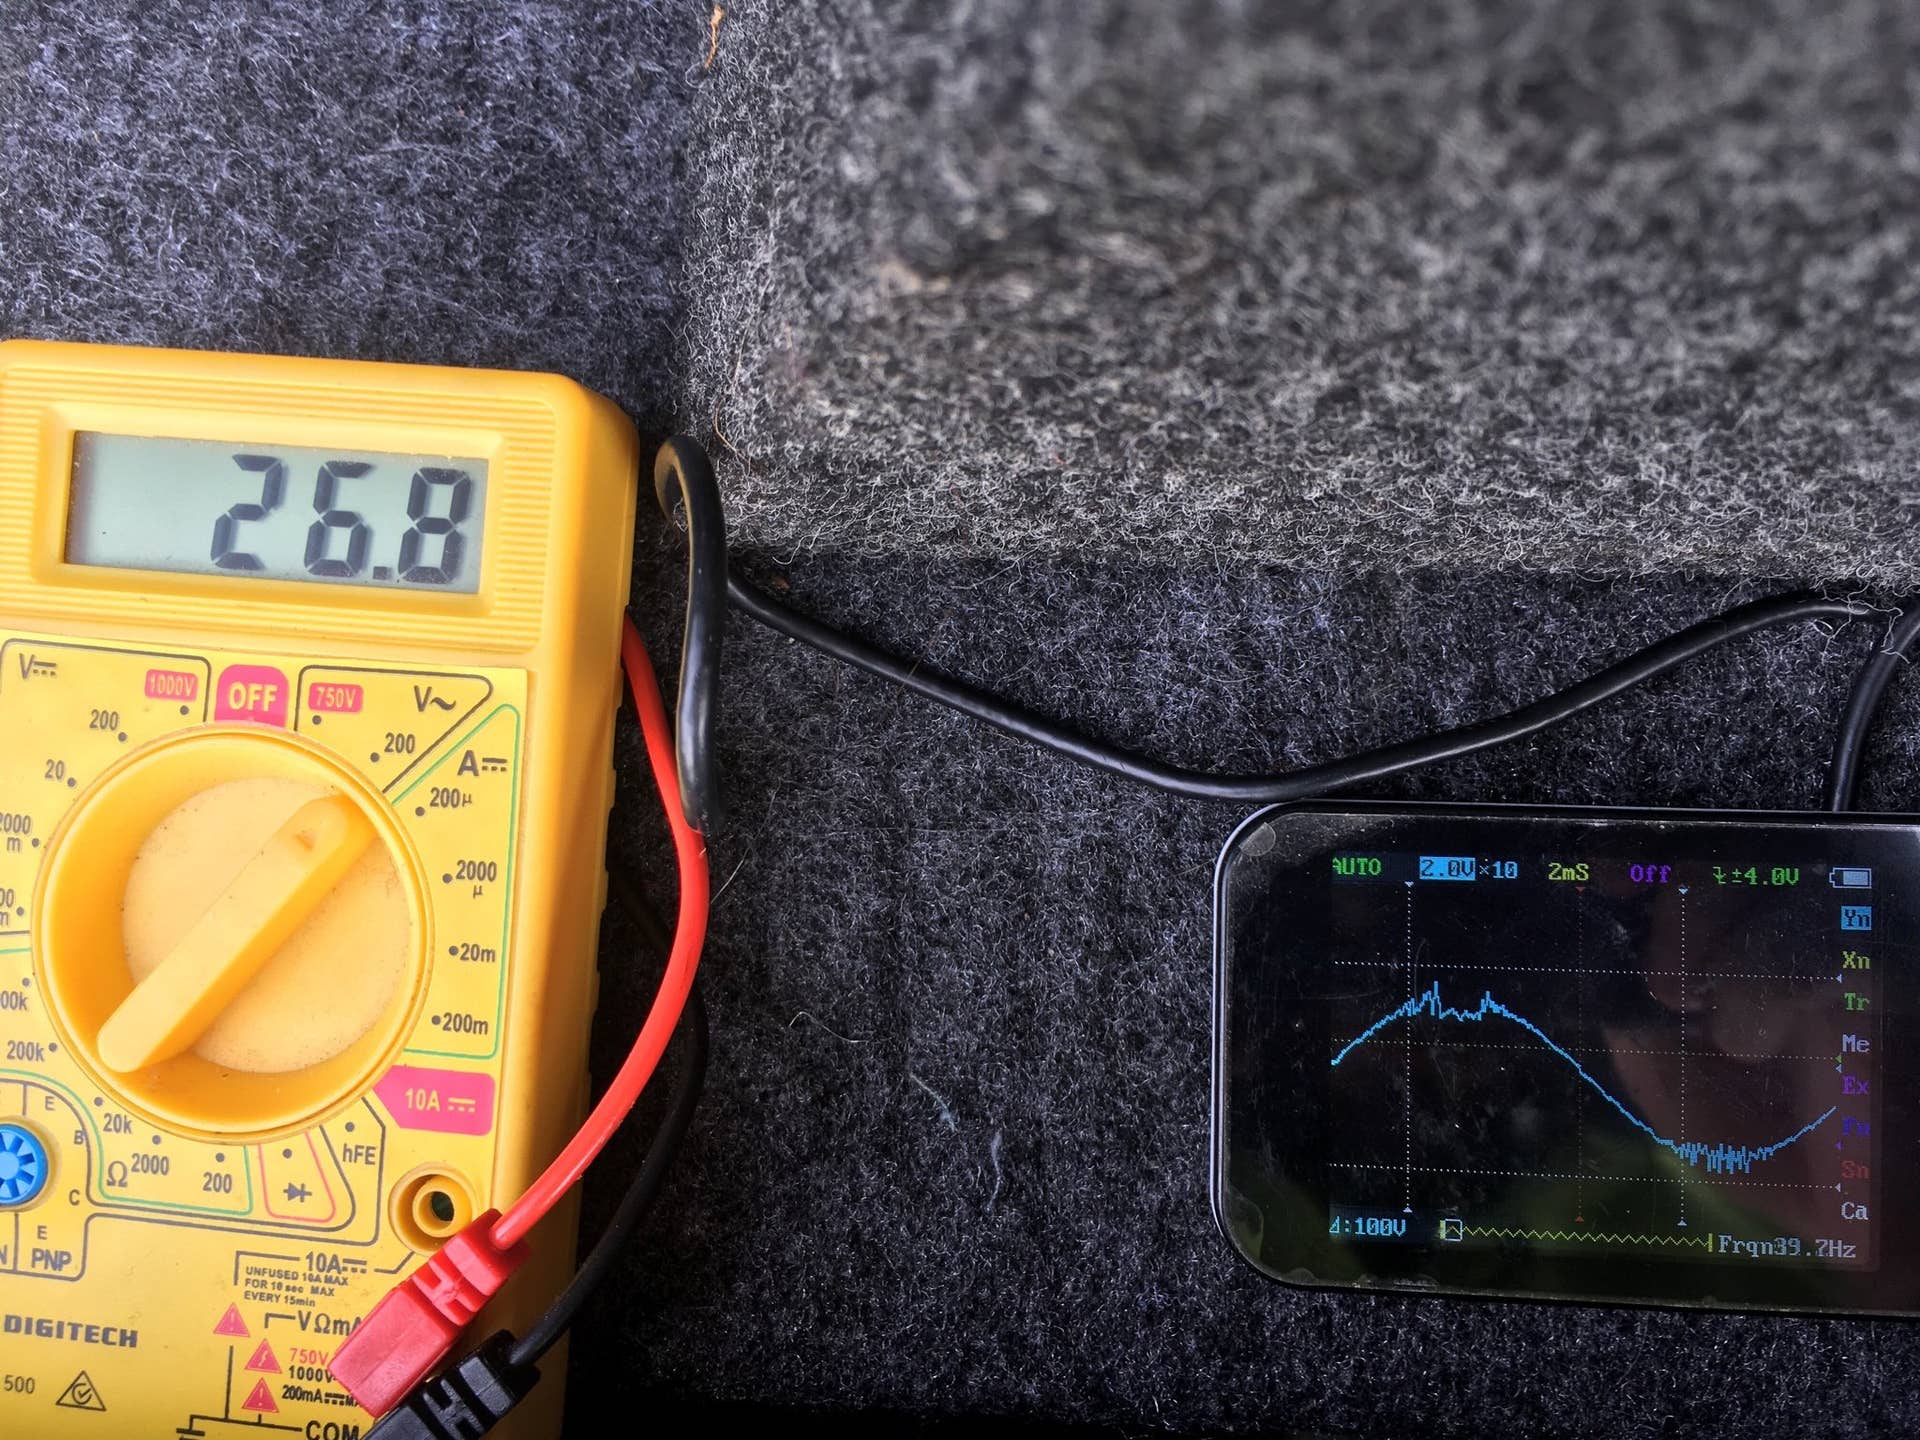
Check the multimeter display for the voltage reading. A steady number means the amplifier is working and sending power. Low or zero voltage can indicate a problem with the amplifier or connections. High voltage may cause speaker damage and suggests the amplifier is too powerful. Compare the reading to your amplifier’s rated output to verify if it matches the expected power. Small fluctuations are normal, but large spikes or drops need attention.
Troubleshooting Common Issues
Troubleshooting common issues with your car amplifier can save you time and money. A multimeter is a powerful tool that helps you pinpoint electrical problems quickly. Knowing how to spot shorts and opens in the amplifier wiring or components will keep your audio system running smoothly.
Identifying Short Circuits
A short circuit occurs when wires or components touch where they shouldn’t, causing a sudden drop in resistance. Using your multimeter’s continuity setting, place the probes on the amplifier’s input and output terminals.
If the multimeter beeps or shows very low resistance, a short is likely present. Check wiring near the amplifier for exposed or frayed wires that might be touching metal parts or each other.
Think about the last time your sound cut out suddenly—could a loose wire be the culprit? Carefully inspect solder joints and connectors; a tiny slip can cause a big short.
Detecting Open Circuits
An open circuit means the electrical path is broken somewhere, preventing current flow. Set your multimeter to measure resistance and test wires and connections from the amplifier to the speakers.
A reading of infinite resistance or no continuity indicates a break. Look for disconnected wires, blown fuses, or damaged speaker terminals that might be causing this interruption.
Imagine your music fading in and out—an open circuit often causes intermittent sound problems. Testing each segment with the multimeter helps you isolate and fix the exact spot where the connection fails.

Credit: www.youtube.com
Safety Tips
Testing a car amplifier with a multimeter is straightforward, but safety should always come first. Without proper precautions, you risk personal injury or damaging your equipment. Understanding key safety tips can help you avoid common pitfalls and keep your testing process smooth and secure.
Handling Electrical Components
Always disconnect the car battery before starting your test. This prevents accidental shorts or electric shocks that can occur when the amplifier is connected to live power.
Wear insulated gloves if possible. They provide an extra layer of protection when you handle wires or terminals.
Keep your work area dry and free of clutter. Moisture increases the risk of electrical shock, and a messy space can cause accidental damage or errors.
Avoiding Damage To Equipment
Set your multimeter to the correct measurement type and range before touching any component. Using the wrong setting can blow the meter’s fuse or damage the amplifier.
Never touch both multimeter probes together while connected to the circuit. This creates a short and can harm both your amplifier and the meter.
Check your multimeter leads for damage before use. Cracked insulation or exposed wires can cause false readings or dangerous shorts.
Have you ever rushed through a test only to realize you accidentally fried your equipment? Taking these simple safety steps can save you from costly mistakes and keep your gear intact.
Credit: caraudiohunt.com
Frequently Asked Questions
How Do I Check Car Amplifier Voltage With A Multimeter?
To check voltage, set your multimeter to DC volts. Connect the red lead to the amplifier’s positive terminal and black lead to ground. Turn on the amplifier and read the voltage on the multimeter display. It should match the amplifier’s specified voltage for proper operation.
Can A Multimeter Test Car Amplifier Speaker Output?
Yes, a multimeter can test speaker output by measuring resistance. Set it to the ohms setting and connect leads to speaker terminals. A healthy speaker usually shows 2 to 8 ohms. Infinite or zero resistance indicates speaker or amplifier issues.
What Multimeter Setting Is Best For Car Amplifier Testing?
Use the DC voltage setting to check power supply. Use the ohms setting to test speaker impedance and continuity. These settings help diagnose power and speaker connection problems accurately in your car amplifier system.
How To Test Car Amplifier Continuity With A Multimeter?
Set the multimeter to continuity mode. Touch the probes to amplifier input and output terminals. If you hear a beep or see zero resistance, continuity is good. No beep or high resistance indicates a broken circuit or faulty connection.
Conclusion
Testing a car amplifier with a multimeter is straightforward. Start by ensuring your safety. Always disconnect the power. Then, check the voltage, current, and resistance. This helps identify potential issues. Regular testing keeps your audio system in top shape. It prevents unexpected failures.
Remember, a multimeter is a handy tool. It provides quick, accurate readings. With practice, anyone can master this process. Keep your car’s sound system clear and powerful. Enjoy your music without interruptions. Taking these simple steps ensures a smooth audio experience.
Stay attentive and maintain your equipment regularly.

