

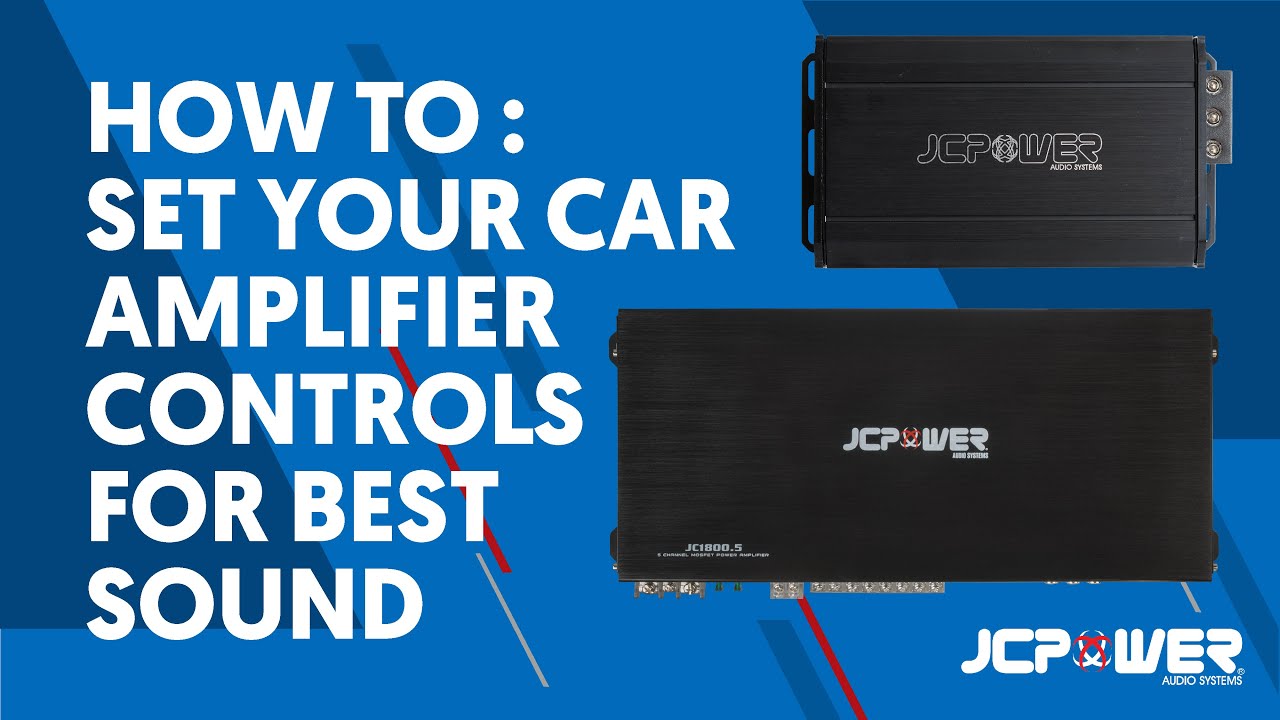
Are you tired of your car’s sound system feeling flat or distorted? Getting the best audio experience isn’t just about having a powerful amplifier—it’s about knowing how to adjust your car amplifier settings correctly.
When you fine-tune these settings, you unlock clearer highs, deeper bass, and a richer overall sound that makes every drive more enjoyable. This guide will walk you through simple steps to help you take control of your car audio, so you can hear your favorite music exactly the way it was meant to be heard.
Ready to transform your car’s sound? Let’s dive in!
Choosing The Right Amplifier
Choosing the right amplifier is key to great car audio. The amplifier powers your speakers and shapes your sound. Picking one that fits your setup improves audio quality and prevents damage to your system. Understanding different amplifier types, matching them with speakers, and knowing power ratings helps you make the best choice.
Types Of Car Amplifiers
Car amplifiers come in several types. Each serves a different purpose in your audio system.
- Class A/B Amplifiers:Common and reliable. They offer good sound quality and efficiency.
- Class D Amplifiers:Compact and very efficient. Ideal for subwoofers and bass-heavy music.
- Mono Amplifiers:Designed for powering a single channel, usually a subwoofer.
- Multi-Channel Amplifiers:Support multiple speakers. Useful for full car sound systems.
Matching Amplifier To Speakers
Speakers and amplifiers must work well together. Check the speaker’s power handling before choosing an amp. The amplifier’s output should be close to the speaker’s rating.
Impedance also matters. Match the amplifier’s rated impedance to the speaker’s to avoid damage. Proper matching ensures clear sound and system safety.
Power Ratings Explained
Power ratings show how much energy an amplifier delivers. Two key ratings are RMS and peak power.
- RMS Power:The continuous power output an amp can handle safely.
- Peak Power:The maximum power the amp can produce for short bursts.
Choose an amplifier with RMS power close to your speaker’s RMS rating. This balance prevents distortion and damage. Remember, higher power does not always mean better sound.
Credit: www.youtube.com
Preparing For Installation
Preparing for installation is the first step to adjust your car amplifier settings correctly. It helps ensure a smooth setup and avoids future problems. Taking time to prepare will save you effort later and improve sound quality from the start.
Gathering tools, following safety tips, and finding the right mounting spot are essential tasks. They help protect your car and amplifier while making the installation easier. Let’s explore each part in detail.
Gathering Necessary Tools
- Screwdrivers (flathead and Phillips)
- Wire strippers and cutters
- Multimeter for voltage and continuity checks
- Electrical tape and cable ties
- Crimp connectors or soldering kit
- Socket wrench set for mounting hardware
- Fuse holder and appropriate fuses
Having these tools ready avoids interruptions during installation. It also helps maintain a neat and secure setup.
Safety Precautions
- Disconnect the car battery before starting work
- Work in a well-lit, ventilated area
- Wear gloves and eye protection
- Avoid metal tools near battery terminals
- Check all wires for damage or wear
- Use correct fuse ratings to prevent electrical fires
Following safety rules protects you and your vehicle. It reduces risk of electric shock and damage.
Locating The Ideal Mounting Spot
Choose a dry, flat area with good airflow. Avoid places near heat sources or moving parts.
Common spots include under seats, in the trunk, or behind panels. Ensure enough space for wiring and future adjustments.
Secure mounting prevents vibrations and keeps connections stable. It also helps keep the amplifier cool for better performance.
Basic Amplifier Settings
Basic amplifier settings shape the sound quality in your car. Adjusting these settings helps balance loudness, clarity, and bass. Proper setup prevents distortion and protects your speakers. Focus on gain control, bass boost, and crossover settings for a clear sound.
Adjusting Gain Control
Gain control sets the amplifier’s input level. It matches the amplifier with your head unit’s output. Too high gain causes distortion and speaker damage. Too low gain results in weak sound.
- Start with gain at the lowest level.
- Play music at a medium volume.
- Slowly increase gain until sound is clear and loud.
- Stop before any buzzing or distortion.
Setting The Bass Boost
Bass boost enhances low-frequency sounds. It adds punch to your music but can cause distortion if overused. Use bass boost sparingly for tight, deep bass.
- Begin with bass boost turned off.
- Increase bass boost slowly while listening.
- Stop when bass sounds full but not overwhelming.
- Reduce bass boost if you hear distortion.
Configuring The Crossover
The crossover directs sound frequencies to the right speakers. It protects speakers by blocking unsuitable frequencies. Use the right setting for each speaker type.
- Set low-pass filter for subwoofers to block high frequencies.
- Set high-pass filter for tweeters to block low frequencies.
- Use full-range setting for midrange speakers.
- Adjust crossover frequency based on speaker specifications.

Credit: www.youtube.com
Advanced Tuning Techniques
Advanced tuning techniques help you get the best sound from your car amplifier. These methods go beyond basic settings. They focus on precision and clarity. You can improve sound staging, balance, and overall quality.
Understanding these techniques lets you create a personalized audio experience. They require some patience but deliver noticeable results. The following sections explain key concepts and tools for advanced tuning.
Time Alignment Basics
Time alignment adjusts the delay of sound from each speaker. This ensures all sound waves reach your ears simultaneously. It creates a clear and focused sound stage. Without time alignment, some sounds may seem out of sync or muddy.
To adjust time alignment, measure the distance from each speaker to your listening position. Use the amplifier’s delay settings to match these distances. Start with small changes and test by listening to familiar music. This fine-tunes the timing and improves sound clarity.
Using Equalizer Settings
The equalizer (EQ) controls the balance of different frequencies in your audio. It helps reduce harsh sounds and boosts weak ones. EQ settings can enhance bass, mids, or treble depending on your preferences.
Use the EQ to fix sound issues like rattling, muffled vocals, or overly sharp highs. Adjust frequencies in small steps and listen carefully after each change. Avoid extreme boosts that cause distortion or damage speakers.
- Cut frequencies causing distortion
- Boost frequencies that add warmth or clarity
- Use preset EQ modes as a starting point
Fine-tuning With A Sound Meter
A sound meter measures the volume of sound at different frequencies. It helps you set accurate levels for each speaker. This tool removes guesswork and improves consistency.
Place the meter at your normal listening spot. Play test tones or pink noise from the system. Adjust amplifier gain and EQ until the meter shows balanced sound levels. This method ensures all speakers work together smoothly.
Using a sound meter helps avoid too loud or quiet areas. It improves overall sound quality and protects your hearing. This step is important for precise and professional tuning results.
Troubleshooting Common Issues
Troubleshooting your car amplifier can be frustrating, especially when you’re eager to enjoy crisp sound. Common issues like distortion, noise, and overheating often have simple fixes. Understanding these problems helps you save time and get better audio performance quickly.
Eliminating Distortion
Distortion usually means your amplifier is pushed beyond its limits. Check if the gain is set too high—turn it down to reduce clipping and hear cleaner sound. Also, verify that your input signal isn’t too strong; lowering the source volume can help.
Another cause might be poor speaker wiring. Loose or damaged connections can introduce distortion. Make sure all wires are secure and use good quality cables to avoid interference.
Fixing Ground Loop Noise
That annoying humming or buzzing sound often comes from a ground loop. It happens when there are multiple grounding points creating electrical interference. To fix this, try connecting your amplifier and head unit to a common ground.
If the noise persists, a ground loop isolator can be a lifesaver. It breaks the loop and cleans up the audio signal. Have you checked your car’s battery and alternator connections? Sometimes, poor grounding there also causes noise.
Overheating And Protection Modes
If your amplifier shuts off or goes into protection mode, overheating is likely the culprit. Make sure your amp has enough ventilation and isn’t cramped in a tight space. Dust buildup can also block airflow, so keep it clean.
Check the wiring for shorts or damaged insulation, as these can trigger protection mode. Also, consider if your amplifier is powerful enough for your speakers; mismatched power levels can cause it to overwork and heat up.
Credit: www.diymobileaudio.com
Maintaining Optimal Performance
Maintaining optimal performance of your car amplifier ensures clear, powerful sound and long device life. Regular care keeps settings stable and prevents damage. Simple habits help your amplifier work at its best every time you drive.
Regular Cleaning Tips
Dust and dirt can block vents and cause overheating. Clean the amplifier surface with a soft, dry cloth often. Avoid liquids that could seep inside and harm electronic parts. Use compressed air to blow out dust from vents and controls carefully. Keep the area around the amplifier tidy to reduce dust buildup.
Checking Wiring Connections
Loose or damaged wires disrupt sound and can harm the amplifier. Inspect all wiring connections regularly for tightness and wear. Check power cables, ground wires, and speaker connections. Replace any frayed or broken wires immediately. Secure wires to avoid movement and friction that cause damage.
Upgrading Components
Better parts improve sound quality and amplifier performance. Upgrade speaker wires to thicker gauges for clearer sound. Consider higher-quality speakers that match your amplifier’s power. Replace old fuses with new ones of the right rating. Use updated connectors to ensure solid, corrosion-free links.
Frequently Asked Questions
What Is The Best Way To Set Amplifier Gain?
Setting amplifier gain correctly ensures optimal sound quality. Start by turning the gain down, then gradually increase it until you hear distortion. Once distortion is detected, slightly reduce the gain to achieve a clean sound. This method ensures your amplifier delivers powerful and clear audio without damaging speakers.
How Can I Improve Bass On My Amplifier?
To enhance bass, adjust the low-pass filter and bass boost settings on your amplifier. The low-pass filter eliminates high frequencies, focusing on bass sounds. Bass boost amplifies low-frequency signals, providing deeper bass. Fine-tune these settings while listening to your favorite music for the best results.
Why Is My Amplifier Distorting Sound?
Distortion often occurs when the amplifier’s gain is set too high. Ensure the gain matches your audio source’s output. Additionally, check the speaker impedance compatibility with your amplifier. Properly matched impedance and gain settings prevent distortion and ensure clear audio performance.
How Do I Balance Treble And Bass?
Balancing treble and bass involves adjusting the equalizer settings on your amplifier. Increase treble for clearer high-frequency sounds, and boost bass for deeper low-end tones. Experiment with different settings to find the perfect balance that suits your listening preferences and enhances the overall sound quality.
Conclusion
Adjusting your car amplifier settings improves sound quality a lot. Start with small changes and listen carefully each time. Balance the bass, treble, and volume to suit your taste. Avoid setting levels too high to prevent distortion or damage. Regular checks keep your audio system working well.
Enjoy clear, strong sound on every drive. Simple tweaks make your music more enjoyable. Keep practicing to find the best settings for your car. Sound control is easy once you know the basics.

