
Are you looking to upgrade your car stereo but unsure how to find the right screen size? Choosing the perfect screen can make a huge difference in your driving experience.
If the screen is too big, it might not fit properly. Too small, and you could miss out on important features. Don’t worry—you’re about to learn the simple steps to measure your car stereo screen size accurately. Keep reading, and you’ll feel confident picking the perfect fit for your car, every time.

Credit: www.youtube.com
Tools Needed
Measuring the size of your car stereo screen requires a few simple tools. These tools help you get accurate dimensions. Using the right tools ensures the measurement fits your needs perfectly.
Measuring Tape Or Ruler
A measuring tape or ruler is the easiest tool for screen measurement. Use it to measure the diagonal length of the screen. This length shows the screen size in inches. Make sure the tape or ruler is straight for accuracy.
Caliper For Precision
A caliper gives precise measurements for smaller areas. It helps measure the screen edges carefully. This tool is useful when the screen has a unique shape or frame. Calipers provide exact numbers that are hard to get with a ruler.
Screen Specifications Guide
Check the car stereo’s manual or product guide for screen size details. These guides often list the exact screen dimensions. They also explain how the size is measured. This information confirms your physical measurements.
Identify Screen Type
Identifying your car stereo screen type is key before measuring its size. Screens come in different formats and knowing which type you have helps you measure accurately and choose compatible accessories or upgrades.
Think about your last time using your car stereo. Did you tap the screen to change songs or adjust settings? That simple action can tell you a lot about your screen type.
Touchscreen Vs Non-touchscreen
Touchscreen displays respond directly to your finger taps and swipes. They let you control the stereo without physical buttons, making interaction faster and more intuitive.
Non-touchscreen models rely on buttons or knobs around the screen. If your stereo uses physical controls instead of touch input, it’s a non-touchscreen.
- Touchscreen:Usually larger, glossy displays with vibrant colors.
- Non-touchscreen:Smaller or medium-sized screens with more buttons on the faceplate.
Knowing this difference helps you measure the active screen area instead of the whole faceplate if you want screen size only.
Single-din Vs Double-din Screens
Another factor is whether your stereo is single-DIN or double-DIN. This refers to the height of the unit and screen combined.
| Type | Dimensions (approx.) | Screen Size Impact |
|---|---|---|
| Single-DIN | 7 x 2 inches (180 x 50 mm) | Smaller screen or no screen, mostly buttons |
| Double-DIN | 7 x 4 inches (180 x 100 mm) | Larger screen, often touchscreen |
Have you checked your car manual or stereo specs? That’s the easiest way to confirm your DIN size.
Understanding these distinctions helps you measure precisely. You’ll avoid guessing and get measurements that match your actual screen space.
Measure Screen Width
Measuring the screen width of a car stereo is key to finding the right fit. The width tells you how wide the visible part of the screen is. This helps when choosing a new stereo or a screen protector. Use a ruler or tape measure for accuracy. Focus only on the screen part, not the frame or buttons.
Locate The Visible Display Area
Start by identifying the part of the screen that shows images or information. This is the visible display area. Ignore any black borders or plastic edges around it. The display area is usually flat and glossy. Make sure the screen is clean and free of dust for a clear view.
Measure From Left To Right
Place the ruler or tape at the left edge of the visible display. Stretch it straight across to the right edge. Keep the measuring tool level and close to the screen surface. Note the measurement in inches or centimeters. This number is the screen width.
Measure Screen Height
Measuring the height of your car stereo screen is a key step to ensure you get the right fit for replacement or upgrade. Focusing on the visible screen area helps avoid mistakes that could cost you time and money. Let’s break down how to get an accurate height measurement.
Determine Top To Bottom Visible Area
Start by identifying the part of the screen where images and information actually appear. Use a ruler or measuring tape to measure from the very top edge of this visible area straight down to the bottom edge. Avoid including any part that looks dim or inactive because that’s not part of the display.
It helps to turn on the screen and display a full white or colored background. This makes it easier to see exactly where the active screen starts and ends. Have you noticed how some screens have a small black border? That border isn’t part of the usable display, so don’t count it.
Avoid Including Bezels
The bezel is the frame surrounding the actual screen. Including it in your measurement will give you an inaccurate screen height. Make sure your measurement stops where the glass or plastic screen ends, not where the bezel begins.
To avoid confusion, place your measuring tool right against the screen’s edge, not the outer plastic frame. This distinction is crucial when shopping for a new stereo screen, as bezels vary widely between models. Have you ever bought a screen that was too big or too small? That’s usually because bezels were mistakenly measured as part of the screen.
Calculate Diagonal Size
Calculating the diagonal size of a car stereo screen is essential to know its actual display size. The diagonal length gives a true representation of the screen’s visible area. It helps in choosing the right fit for your car dashboard. Measuring only width or height can be misleading. The diagonal measurement combines both dimensions for accuracy.
Use Pythagorean Theorem
The Pythagorean theorem helps find the diagonal of a rectangle. You need to measure the screen’s width and height first. Square both numbers, then add the results together. Finally, find the square root of that sum. This number is the diagonal size in the same units you used for width and height.
- Measure width (W) and height (H) of the screen.
- Calculate W² + H².
- Find the square root of the sum: √(W² + H²).
Convert Measurements To Inches
Car stereo screen sizes are usually expressed in inches. If your measurements are in centimeters or millimeters, convert them first. Use this simple conversion:
| Unit | Conversion |
|---|---|
| Centimeters (cm) | Divide by 2.54 to get inches |
| Millimeters (mm) | Divide by 25.4 to get inches |
After conversion, apply the Pythagorean theorem again with the new values. This gives the diagonal size in inches. Use this number to compare different car stereo screens easily.

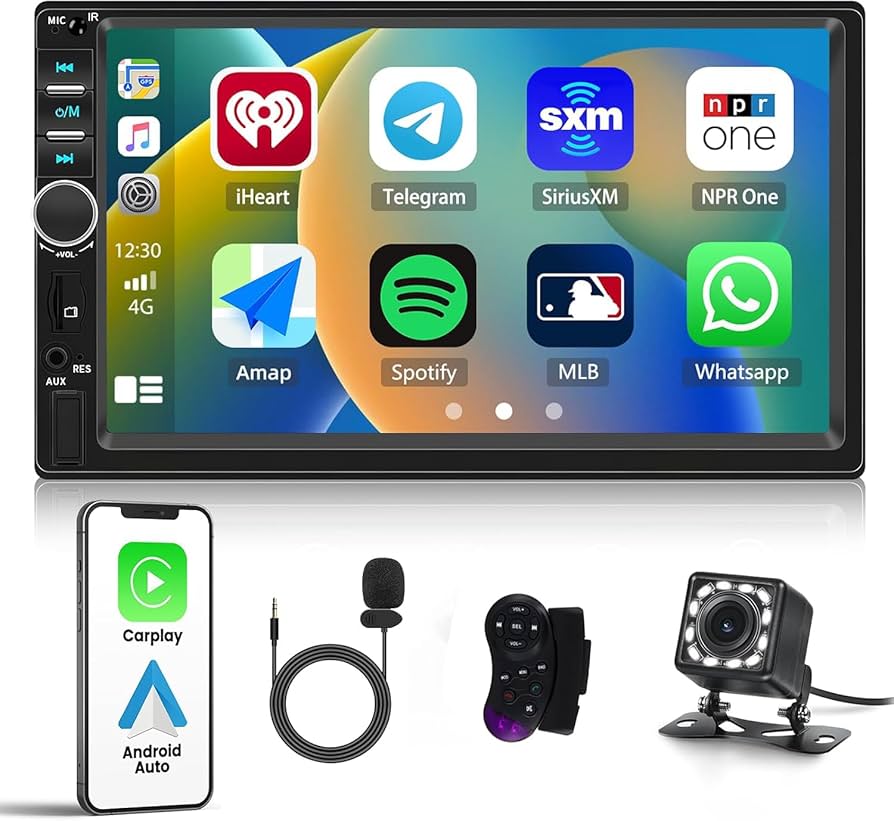
Credit: www.amazon.com
Verify With Manufacturer Specs
Verifying your car stereo screen size with the manufacturer’s specs is a crucial step to avoid buying the wrong fit. Measurements taken yourself can be slightly off, so cross-checking with official details provides accuracy. This simple verification saves you from installation headaches and ensures compatibility with your vehicle’s dashboard.
Match Measurements To Model Details
Start by locating the exact model number of your car stereo. This number is often printed on the back of the unit or found in the user manual. Once you have it, visit the manufacturer’s website or trusted retailer pages to find the official screen size and dimensions.
Compare your physical measurements with the specs listed. Pay attention to both the screen size and the total faceplate dimensions. If your numbers don’t match, don’t assume your measurement is wrong—sometimes different trims or versions of the same model have slight variations.
Check For Aspect Ratio
Knowing the aspect ratio of your car stereo screen helps ensure the display fits perfectly and looks right. Common aspect ratios include 16:9 and 4:3, but some models may use custom ratios. Manufacturer specs will clearly state this, so verify it against your measurements.
Why does aspect ratio matter? A mismatch can cause the screen image to stretch or squeeze, affecting your viewing experience. Confirming this detail guarantees your new stereo will not just fit physically but also display content correctly.
Common Measurement Mistakes
Measuring a car stereo screen size may seem easy but contains common mistakes. These errors often lead to buying the wrong size screen. Knowing what to avoid helps get the right fit. Avoid confusion by understanding these common pitfalls.
Including Bezels Or Frames
Many people measure the entire front surface, including bezels or frames. Bezels are the borders around the actual screen. Including them makes the size seem bigger than the viewable area. Always measure only the visible screen, not the outer frame. This gives the true screen size and avoids errors.
Ignoring Screen Curvature
Some car stereo screens curve slightly, which complicates measurement. Measuring straight across may not show the true size. The curve can make the screen look smaller or larger than it is. Use a flexible tape or measure along the screen’s curve. This ensures an accurate size for curved displays.
Credit: www.amazon.ca
Tips For Accurate Measurement
Getting an accurate measurement of your car stereo screen size is key to finding the right fit. Small errors can lead to buying a screen that’s too big or too small, causing installation headaches. Use these tips to make sure your measurements are spot on and save yourself time and frustration.
Measure Multiple Times
Taking a single measurement might seem enough, but it rarely is. Measure the screen size at least two or three times to ensure consistency.
Try measuring from different angles and positions. If your measurements don’t match, check if you’re measuring from the right points.
Have you ever bought something based on one quick measurement, only to realize it didn’t fit? Avoid that mistake by double-checking your numbers.
Use Proper Lighting
Good lighting makes a big difference in accuracy. Shadows or dim light can hide edges or distort what you see.
Use natural daylight if possible, or a bright flashlight to clearly see the screen’s corners and edges. This helps you measure exactly from one point to another.
Think about the last time you struggled to read a ruler in poor light—how much easier was it when the light was better? The same principle applies here.
Frequently Asked Questions
How Do I Measure My Car Stereo Screen Size?
Measure diagonally from one corner of the screen to the opposite corner. Use a tape measure or ruler for accuracy. This diagonal length is the screen size, typically in inches.
What Tools Are Needed To Measure Car Stereo Screens?
A simple tape measure or a ruler is enough to measure the screen size. Ensure the tool has clear markings for precise measurement.
Why Is Knowing Car Stereo Screen Size Important?
Screen size affects compatibility with your car’s dashboard. It also influences viewing comfort and the overall user experience.
Can Screen Size Affect Car Stereo Installation?
Yes, the screen size determines if the stereo fits your car’s dashboard space. Incorrect size may cause installation issues.
Conclusion
Measuring your car stereo screen size is simple and useful. It helps in choosing the right accessories and replacements. Grab a tape measure. Measure diagonally from corner to corner. Note the size in inches. This ensures a perfect fit for your needs.
No more guessing. Accurate measurements bring satisfaction. Your car stereo experience improves greatly. Enjoy clearer screens and better visuals. Knowledge of screen size can guide future purchases. It keeps your car audio system in top shape. Always measure carefully for best results.
Happy driving and listening!

