
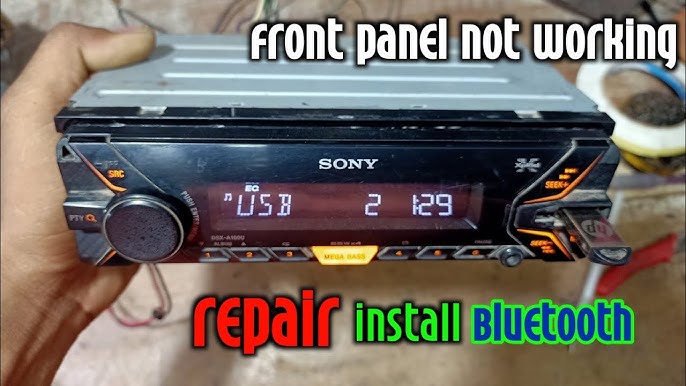
Are you struggling to remove your Sony Xplod car stereo without damaging your dashboard or wiring? You’re not alone.
Taking out a car stereo can feel tricky, especially if you want to avoid costly mistakes. But don’t worry—this guide will walk you through each step clearly and simply. By the end, you’ll have the confidence to safely remove your Sony Xplod stereo and get ready for a new upgrade.
Keep reading to learn exactly what you need to do!
Credit: www.ebay.ca
Tools Needed
Removing a Sony Xplod car stereo needs the right tools for a smooth job. Using proper tools protects your car’s interior and the stereo unit. It also makes the removal easier and faster. Gather everything before starting to avoid interruptions.
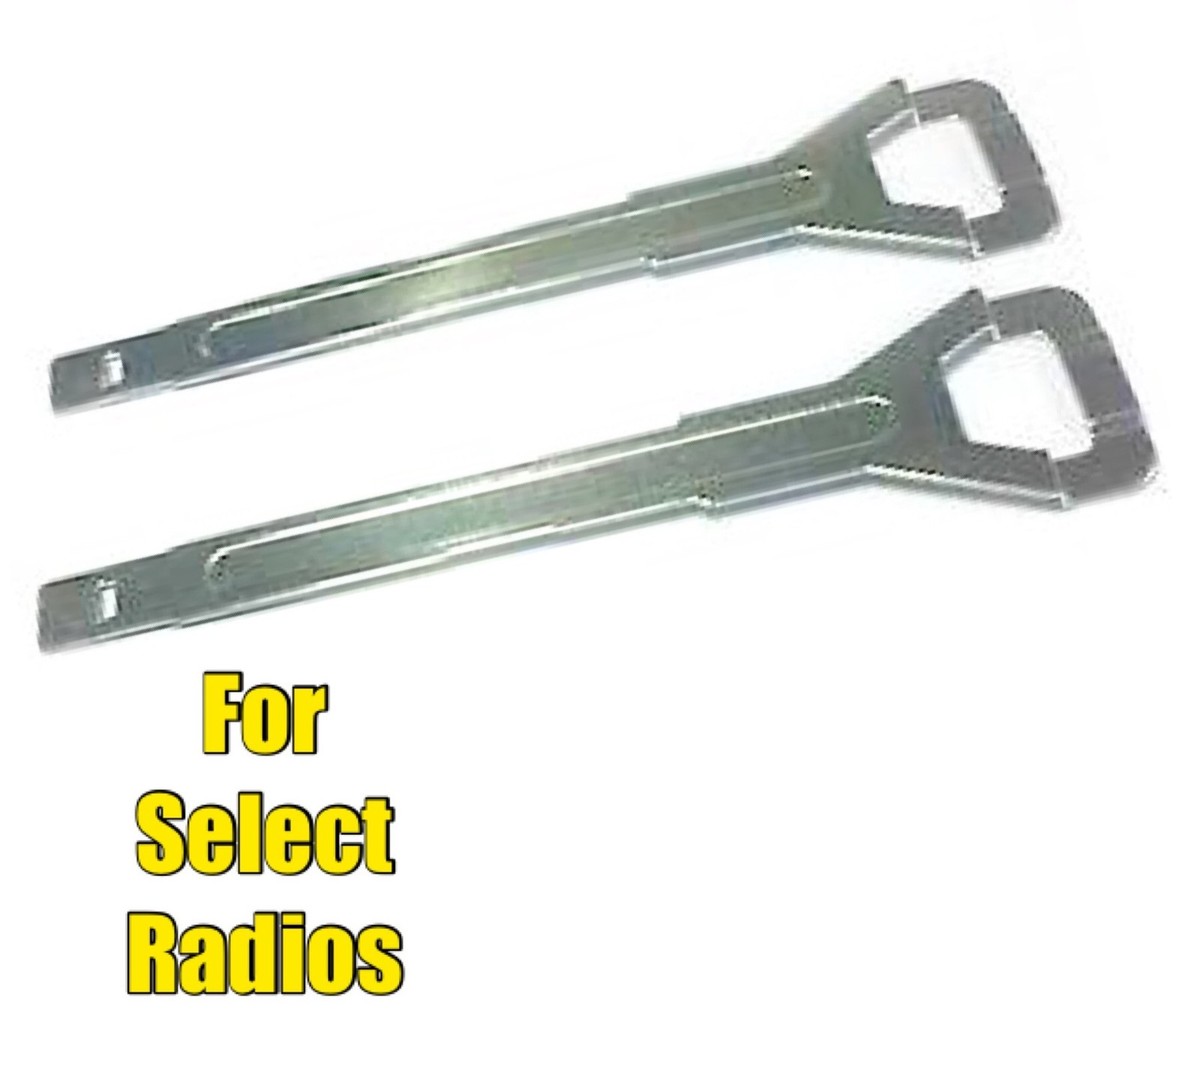
Removal Keys
Special removal keys come with some Sony Xplod models. These keys fit into slots on the stereo’s front panel. They release the locking mechanism holding the stereo in place. Without these keys, the stereo might be hard to pull out.
Flathead Screwdriver
A small flathead screwdriver helps to pry open panels or remove screws. Use it gently to avoid scratching the dashboard. It can also assist in pushing clips or tabs that hold the stereo.
Phillips Screwdriver
Many car stereos use Phillips screws. This screwdriver is essential to remove screws securing the stereo frame. Choose the right size to prevent stripping the screws.
Panel Removal Tool
Plastic panel removal tools prevent damage to your car’s interior. They help pry off trim pieces and panels without scratching surfaces. Metal tools risk leaving marks or dents.
Wire Connectors Or Tape
Label wire connectors to keep track of connections. Electrical tape can secure loose wires after removal. This ensures easy reinstallation or replacement later.
Credit: www.elementownersclub.com
Prepare Your Vehicle
Getting your vehicle ready before removing the Sony Xplod car stereo is crucial. It not only ensures your safety but also protects your car’s electrical system. Taking the time to prepare properly will make the removal process smoother and prevent any unexpected issues.
Disconnect The Battery
Start by disconnecting the negative terminal of your car battery. This step cuts off power to the stereo and prevents any electrical shorts or shocks. I once skipped this, and a sudden spark caused a fuse to blow, delaying my project for hours.
Use a wrench to loosen the nut on the negative terminal, then carefully remove the cable. Make sure the cable doesn’t touch the battery terminal or any metal parts. This simple action keeps both you and your vehicle safe during the removal.
Clear The Area Around The Stereo
Remove any items from the dashboard and center console that could get in the way. Loose objects can fall inside the panel or scratch surfaces during the process. I found that clearing this space helps keep you focused and avoids unnecessary distractions.
Also, gather all tools you will need—like screwdrivers and panel removal tools—before you start. Having everything within reach saves you from stopping mid-task. Think about your workspace like a mini workshop; a clean and organized area speeds up the whole job.
Remove The Trim Panel
Removing the trim panel is the first important step in taking out your Sony Xplod car stereo. This panel covers the stereo and holds it in place. Careful removal prevents damage to your car’s dashboard and the stereo unit. Use gentle pressure and the right tools to avoid scratches or broken clips.
Locate The Clips And Screws
Start by looking closely around the trim panel edges. You will see clips or screws holding the panel to the dashboard. Some clips hide behind small covers or trim pieces. Use a flat tool to gently check for hidden screws. Knowing where these fasteners are helps you remove the panel safely.
Gently Pry Off The Panel
Use a plastic trim removal tool to pry the panel away from the dashboard. Avoid metal tools to prevent scratches. Insert the tool carefully between the panel and the dashboard. Work slowly around the edges to release the clips one by one. Once the clips are free, the panel will come off easily. Store the panel in a safe place to avoid damage.
Extract The Sony Xplod Stereo
Extracting the Sony Xplod stereo requires careful handling. This step is crucial to avoid damaging the unit or the car’s dashboard. Follow clear instructions to remove the stereo safely and smoothly. Using the right tools and techniques makes the process straightforward.
Insert Removal Keys
Locate the removal keys that came with your Sony Xplod stereo. These keys are thin and flat, designed to fit into specific slots on the stereo faceplate.
Insert each key gently into the slot until you feel it click. This unlocks the stereo from the dashboard frame. Both keys should be pushed in evenly to release the locking mechanism.
Slide Out The Stereo Unit
Once the removal keys are in place, grip the stereo firmly. Pull it straight out from the dashboard with steady force. Avoid twisting or pulling at an angle to prevent damage.
As the stereo slides out, watch for connected wires behind it. Disconnect these carefully to free the unit completely. Keep the removal keys handy for reinstalling or future use.
Disconnect Wiring Harnesses
Disconnecting the wiring harnesses is a crucial part of removing your Sony Xplod car stereo safely. It prevents electrical damage and ensures you don’t lose any connections that might be tricky to replace later.
Taking your time here helps you avoid costly mistakes. Have you ever pulled on a wire only to realize it was still connected? That sudden jolt can damage the stereo or your car’s electrical system.
Unplug The Antenna
The antenna cable is usually a single wire with a round metal end. It connects to the back of your stereo and provides radio signals.
To unplug it, gently pull the connector straight out. Twisting or yanking it can bend the metal pins or damage the cable.
If the antenna connector feels stuck, wiggle it slightly while pulling to ease it out. This small step saves you from frustrating repairs later.
Detach Wiring Connectors
The wiring connectors bundle together multiple wires that power your stereo and link it to speakers and controls. Each connector has a clip or tab that locks it in place.
Press the tab firmly and pull the connector apart. Avoid pulling the wires themselves, as this can cause disconnections or breakage.
- Note which connector goes where—taking a photo can help when reinstalling.
- Keep the connectors organized to prevent confusion.
- If any connector is hard to detach, inspect for a hidden clip or locking mechanism before forcing it.
Have you noticed how careful handling can make the whole process smoother? Patience here pays off during reassembly and protects your investment in the stereo system.

Credit: www.youtube.com
Tips For Reinstallation Or Replacement
Reinstalling or replacing a Sony Xplod car stereo needs care. Proper steps ensure the new unit fits and works well. Avoid damage to wires and connectors. Keep the dashboard safe from scratches.
Use these tips to make the process smooth and effective.
Check Wiring Connections Carefully
Match the wires by color and function. Use a wiring diagram for your car model. Connect wires firmly to avoid loose contacts. Use electrical tape or wire connectors for safety.
Test The Stereo Before Final Installation
Connect the stereo and turn on the car power. Check sound quality and all functions. Test radio, CD player, and Bluetooth features. Fix any issues before securing the unit in place.
Use The Right Tools For Installation
Have screwdrivers, wire strippers, and panel removal tools ready. Avoid forcing parts into place. Use tools gently to protect the stereo and car interior. Proper tools help save time and effort.
Secure The Stereo Firmly
Use mounting brackets or screws provided with the new stereo. Ensure the unit fits snugly in the dashboard. Avoid gaps or loose fitting that cause vibrations. A secure stereo lasts longer and sounds better.
Keep User Manual Handy
Follow instructions from the Sony Xplod manual closely. Manuals offer specific tips for your stereo model. Refer to diagrams for wiring and mounting details. Manuals help avoid common installation mistakes.
Common Issues And Troubleshooting
Removing a Sony Xplod car stereo might seem straightforward, but several common issues can complicate the process. Knowing how to troubleshoot these problems can save you time and frustration. Let’s look at some typical challenges and how to handle them effectively.
Stuck Or Jammed Stereo Unit
Sometimes the stereo won’t budge despite using the removal keys or tools. This usually happens if the unit is tightly fitted or if clips are stuck. Try gently rocking the stereo side to side while pulling it out; this can loosen the clips holding it in place.
If it still won’t come out, double-check that you’ve fully pressed the release buttons or keys. Applying too much force can damage the dashboard or the stereo itself, so patience and a careful approach work best.
Difficulty Disconnecting Wiring Harness
After pulling out the stereo, disconnecting the wiring harness can be tricky if the connectors are tight or hidden. Look for a small tab or clip on the connector; pressing it allows the plug to come free easily.
Using a flashlight helps to see the connectors clearly, especially in tight or dark spaces. If a connector feels stuck, avoid pulling on wires directly to prevent damage.
Dashboard Damage Risk
Removing the stereo without the right tools might scratch or crack your dashboard. Plastic trim removal tools are cheap and prevent damage better than screwdrivers or knives.
Take your time to carefully pry away any panels before attempting to remove the stereo. If you rush or force parts, you may end up with costly repairs instead of a simple stereo swap.
Unable To Remove Security Screws
Some Sony Xplod models use special screws that need unique tools to remove. If you don’t have the correct size or type, the screws may strip or stay stuck.
Check your stereo’s manual or online forums to identify the screw type and get the right tool before starting. This small step can prevent a frustrating and unsuccessful removal attempt.
Frequently Asked Questions
How Do I Remove A Sony Xplod Stereo?
To remove a Sony Xplod stereo, first disconnect the battery. Use a panel removal tool to detach the trim. Unscrew the stereo mounting bolts and gently pull out the stereo. Disconnect the wiring harness and antenna cable. Ensure you follow the car manual for specific instructions.
What Tools Are Needed For Removal?
You’ll need a panel removal tool, screwdriver set, and possibly a wiring harness removal tool. A panel removal tool helps prevent damage to your dashboard. Ensure you have the correct screwdriver size to avoid stripping screws. Always refer to your car’s manual for specific tool recommendations.
Can I Remove It Without Professional Help?
Yes, you can remove it without professional help. Follow instructions carefully and take safety precautions. Disconnect the car battery before starting. Use the right tools to avoid damaging the dashboard or wiring. Always consult your car’s manual if you encounter difficulties during the removal process.
Do I Need To Disconnect The Battery First?
Yes, always disconnect the battery before removing the stereo. This prevents electrical shorts and potential damage. Disconnecting the battery ensures your safety during the process. It also avoids triggering any security features in your car’s electronic system. Use the car manual for guidance on battery disconnection.
Conclusion
Removing your Sony Xplod car stereo can be simple and safe. Follow each step slowly and carefully. Use the right tools and keep screws in one place. Take your time to avoid damage to wires or the dashboard. After removal, you can easily upgrade or fix your stereo system.
This guide helps you feel confident doing it yourself. Enjoy clear music and better sound once your new stereo is installed. Stay patient and good luck with your project!

