How to Connect Equalizer to Car Amplifier: Easy Step-by-Step Guide
Are you looking to boost your car’s sound system and get the perfect audio experience? Connecting an equalizer to your car amplifier can take your music to the next level.
But if you’re unsure where to start or worried about making mistakes, you’re not alone. This guide will walk you through simple, step-by-step instructions so you can set up your equalizer quickly and easily. By the end, you’ll know exactly how to fine-tune your sound and enjoy crystal-clear music every time you hit the road.
Keep reading to unlock the full potential of your car’s audio system!
Choosing The Right Equalizer
Choosing the right equalizer is a crucial step to enhance your car audio system’s sound quality. It directly affects how well your amplifier performs and how balanced your music sounds. Picking an equalizer that matches your needs and equipment can make a significant difference in your listening experience.
Types Of Equalizers
There are several types of equalizers to consider, each offering different levels of control and sound shaping.
- Graphic Equalizers:These have fixed frequency bands with sliders you can adjust. They’re simple and user-friendly, great for beginners.
- Parametric Equalizers:Offer more detailed control by allowing you to adjust frequency, bandwidth, and gain. Perfect if you want precise tuning.
- Semi-Parametric Equalizers:A middle ground where you can adjust frequency and gain but with limited bandwidth control.
Choosing between these depends on how much control you want over your sound and your familiarity with audio adjustments.
Matching Equalizer With Amplifier
Your equalizer should complement your amplifier, not complicate its performance. Check the input and output levels to ensure compatibility.
If your amplifier supports high-level inputs, you can use an equalizer with speaker-level inputs, which simplifies connections. For low-level inputs, a line-level equalizer is necessary.
Think about the number of channels your amplifier has and pick an equalizer that can handle the same or more channels. This prevents any bottleneck in signal processing.
Key Features To Consider
Look for features that fit your audio goals and make setup easier. Some important ones include:
- Number of Bands:More bands mean finer control over sound frequencies.
- Adjustable Gain:Helps in balancing the output level with your amplifier.
- Bypass Function:Allows you to compare equalized sound with original sound easily.
- Build Quality:Durable components ensure consistent performance over time.
- Ease of Installation:Consider size and connection types to fit your car’s setup.
Have you thought about how often you’ll tweak your equalizer settings? If you plan to adjust frequently, choose one with intuitive controls and clear labeling.
Gathering Necessary Tools
Gathering the right tools is the first step in connecting an equalizer to a car amplifier. Having everything ready helps avoid delays and mistakes. This section details the essential cables and connectors, along with the tools needed for a smooth installation. Proper preparation ensures a clean setup and better sound quality.
Essential Cables And Connectors
- RCA cables: Transfer audio signals from the equalizer to the amplifier.
- Power cables: Provide electricity to the amplifier from the car battery.
- Ground cable: Prevents electrical noise by grounding the amplifier.
- Speaker wires: Connect the amplifier to the car speakers.
- Fuse holder and fuse: Protect the amplifier and wiring from power surges.
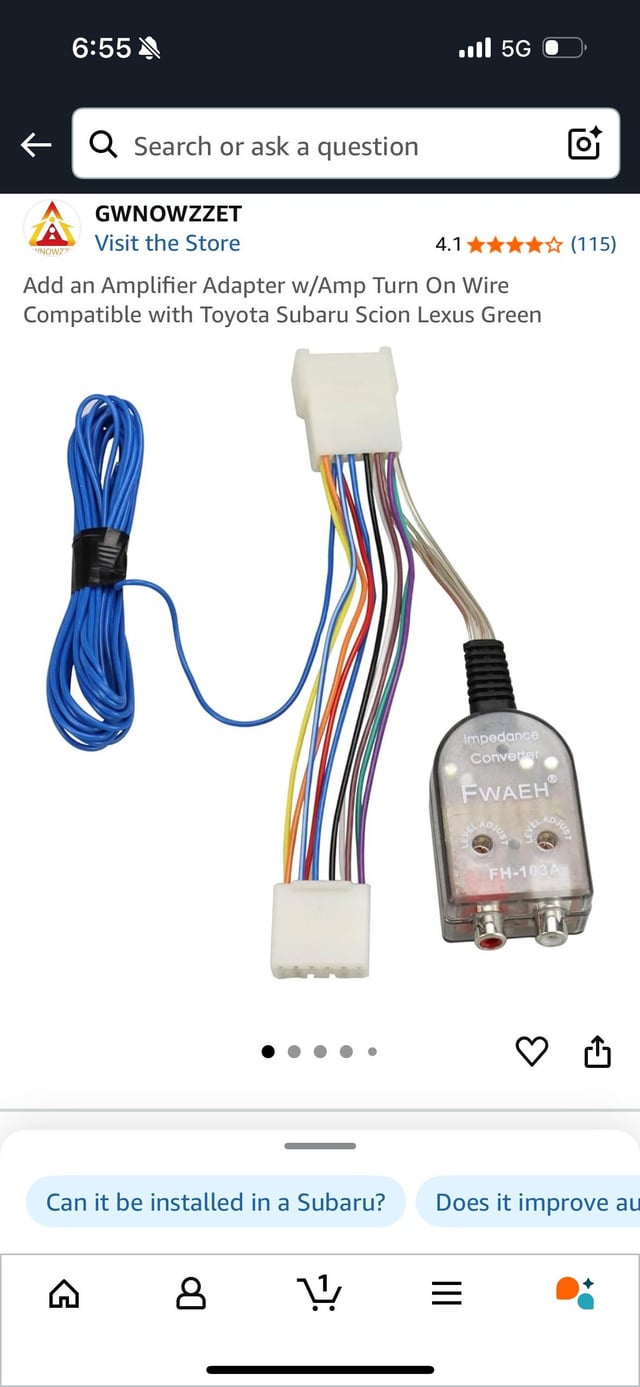
- Line output converter (if needed): Converts speaker level signal to RCA output.
Required Tools For Installation
- Wire strippers: Remove insulation from wires cleanly.
- Crimping tool: Secure connectors on cables firmly.
- Screwdrivers: Tighten or loosen screws during mounting.
- Multimeter: Test voltage and continuity for safety.
- Electrical tape or heat shrink tubing: Insulate wire connections.
- Drill (optional): Create mounting holes if needed.
- Zip ties: Organize and secure cables neatly.
Preparing The Car Audio System
Preparing the car audio system is essential before connecting the equalizer to the amplifier. Proper preparation ensures safety and smooth installation. It helps avoid damage to the components and delivers better sound quality.
Start with organizing the workspace and gathering necessary tools. Clear access to the amplifier and equalizer locations will speed up the process. Planning the setup reduces errors and saves time.
Disconnecting The Battery
Disconnect the car battery to prevent electrical shocks and shorts. Use a wrench to loosen the negative terminal first. This stops power flow to the audio system.
Leave the battery disconnected until all wiring and connections are complete. Reconnect it only when ready to test the system. This simple step protects both you and your car’s electronics.
Locating Amplifier And Equalizer Positions
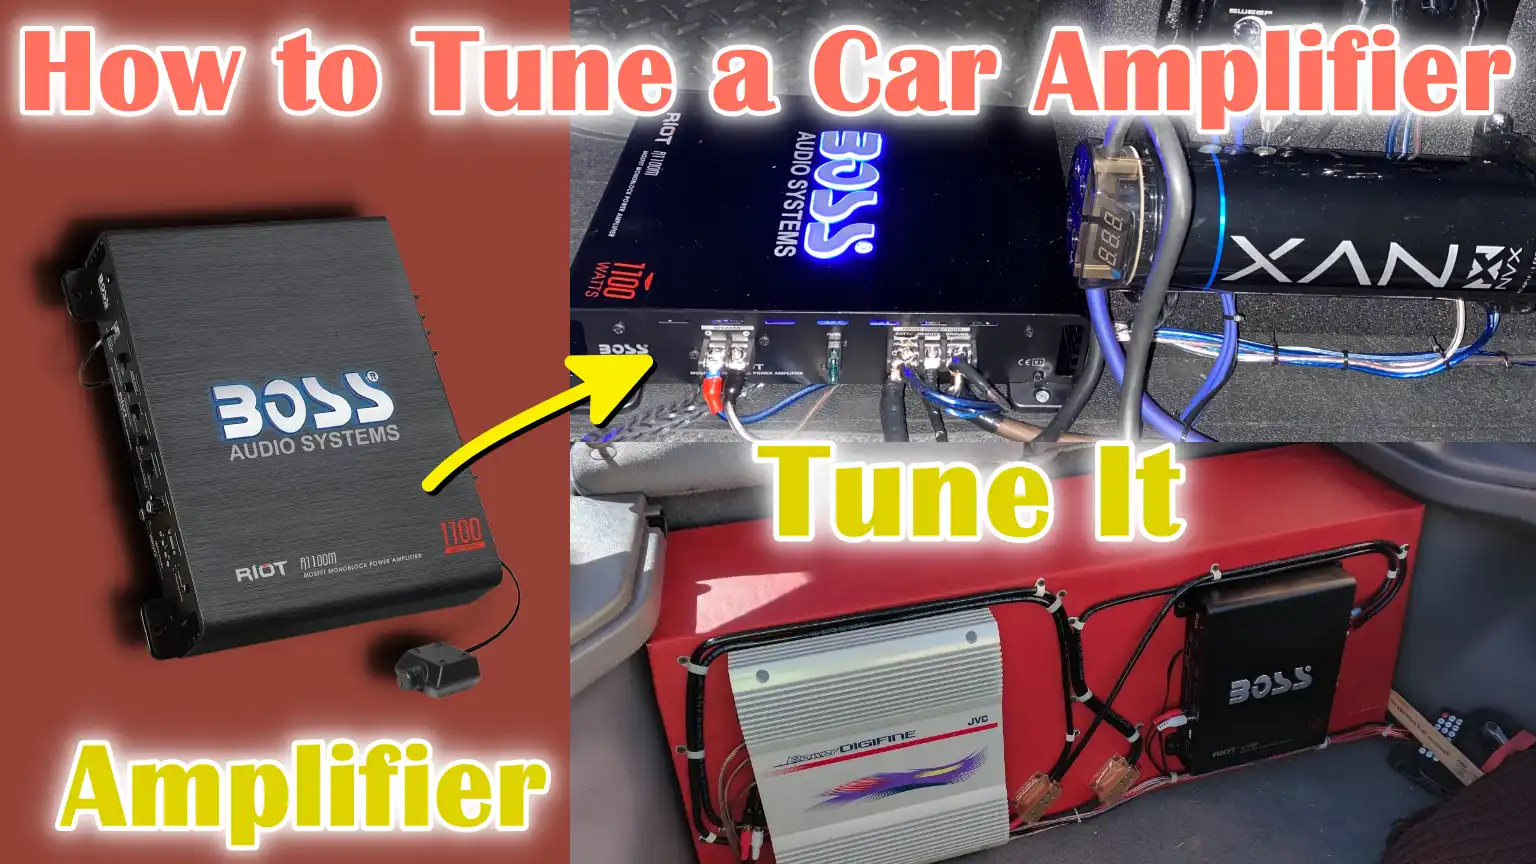
Find the best spots for the amplifier and equalizer inside the vehicle. Common amplifier locations include under seats or in the trunk. The equalizer usually fits near the head unit or amplifier.
Choose places with good ventilation to prevent overheating. Avoid areas exposed to moisture or extreme heat. Ensure cables can reach both devices without stretching or bending sharply.
Mark the positions and check mounting options. Secure placement keeps components stable while driving. Proper locations also improve wiring neatness and accessibility for future adjustments.
Wiring The Equalizer To Amplifier
Wiring the equalizer to your car amplifier is a crucial task that affects the overall sound quality of your audio system. Proper connections ensure that the equalizer can accurately modify the audio signals before they reach the amplifier. Mistakes in wiring can lead to poor sound performance or even damage to your equipment.
Connecting Rca Cables
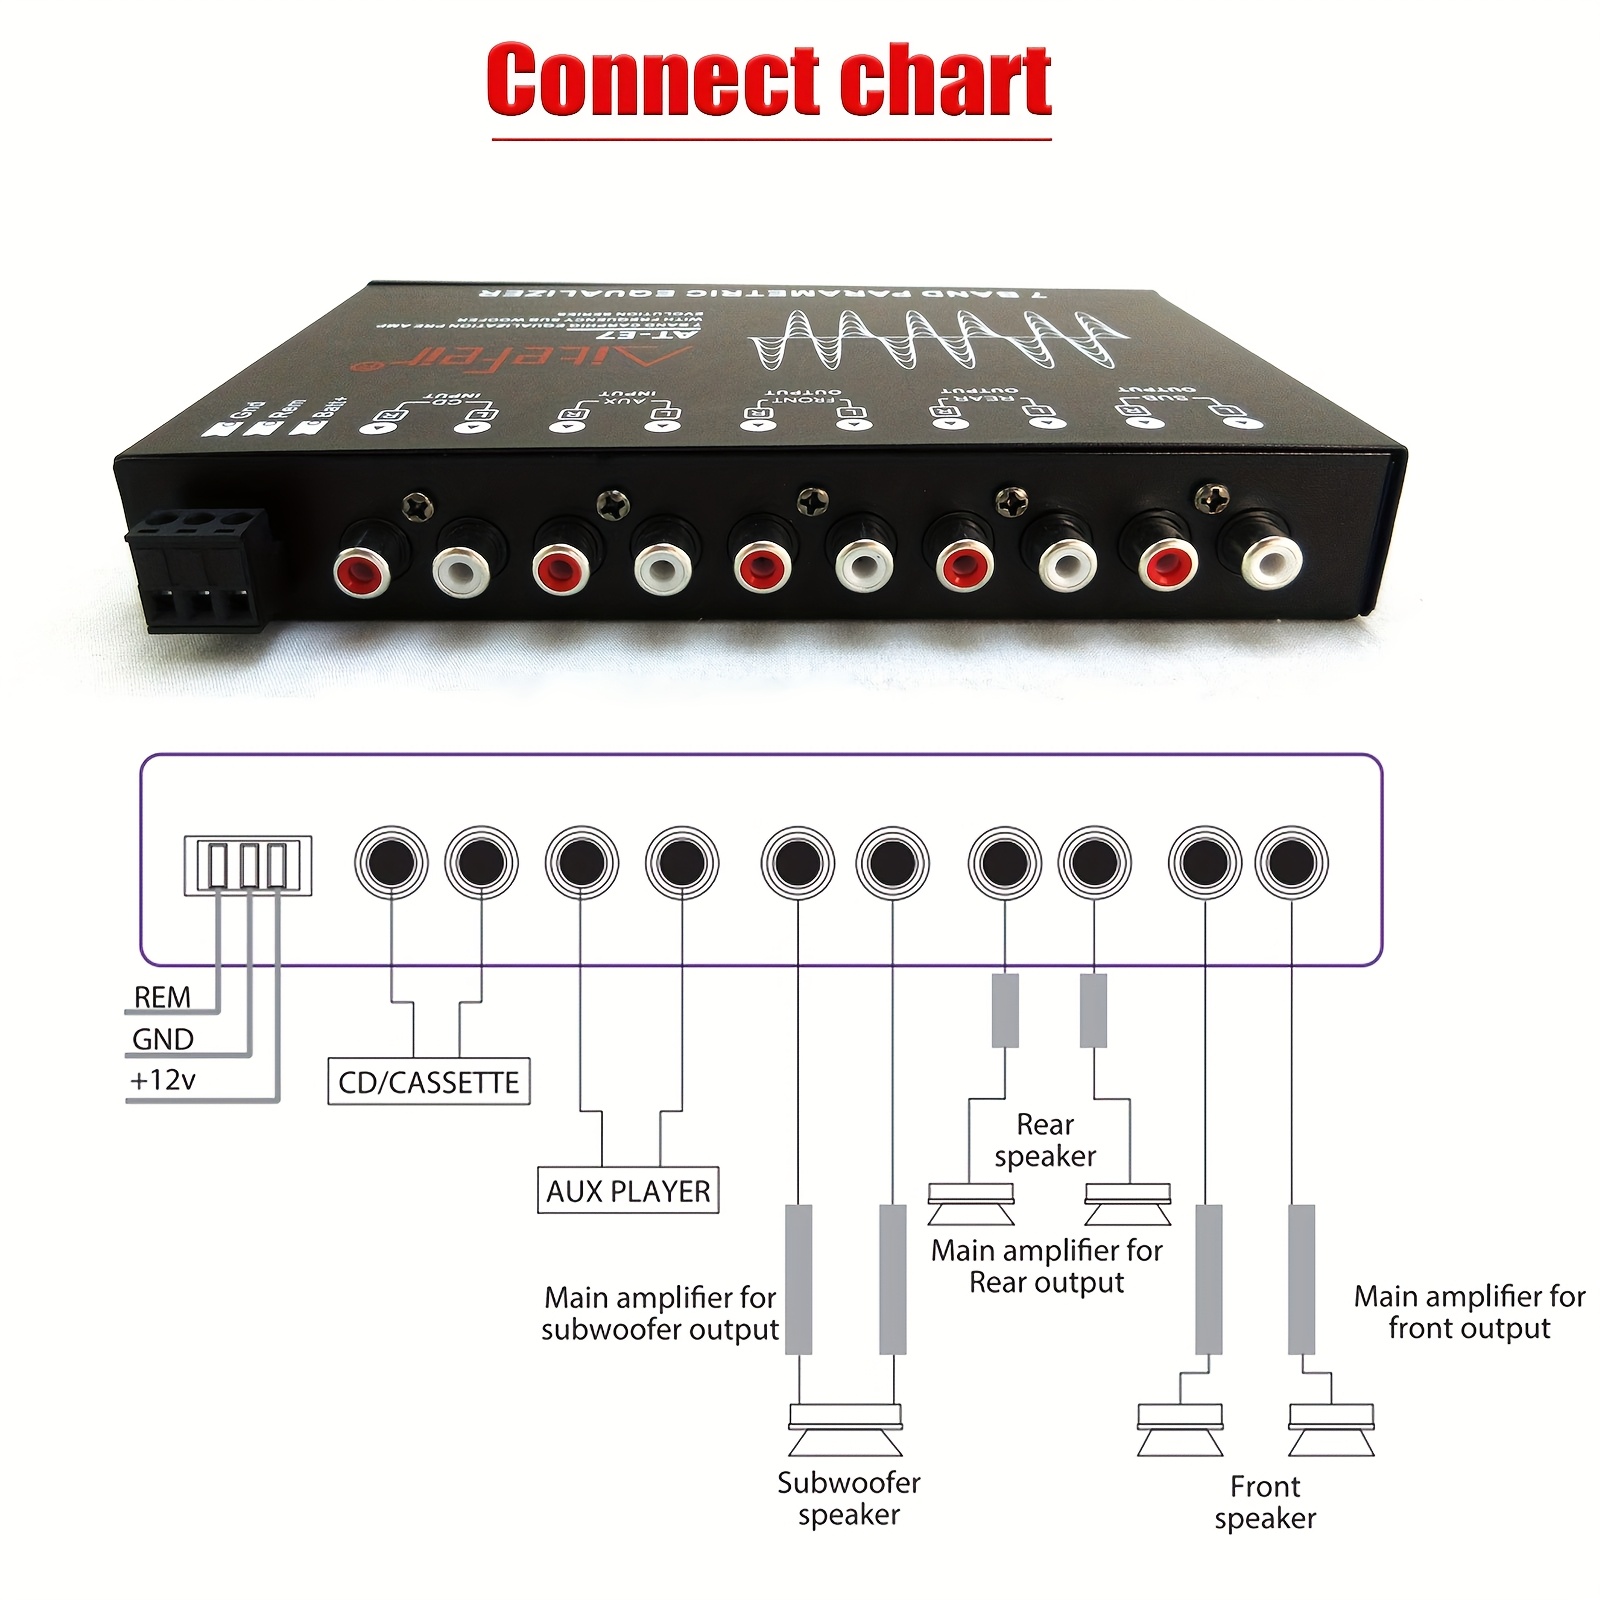
RCA cables carry the audio signal from the equalizer to the amplifier. Always use good-quality RCA cables to prevent signal loss or interference. Connect the equalizer’s output RCA jacks to the amplifier’s input RCA jacks, matching the colors—usually red for right and white for left channels.
Make sure the connections are secure and snug. Loose RCA cables can cause static or unwanted noise in your sound system. Have you checked if your cables are shielded? Shielded cables reduce interference, which is especially important in cars where electrical noise is common.
Wiring Power And Ground
Both the equalizer and amplifier need a stable power source and a proper ground connection. Use a suitable power cable connected directly to the car battery with an inline fuse close to the battery terminal. This fuse protects your system from electrical shorts or power surges.
Ground the equalizer and amplifier to a clean, unpainted metal surface on your car’s chassis. A poor ground connection can cause humming or buzzing sounds. Have you tried using a multimeter to check for a solid ground? It’s a simple step that saves headaches later.
Linking Signal Wires
Signal wires carry control or remote turn-on signals between the equalizer and amplifier. Connect the remote turn-on wire from your head unit or equalizer to the amplifier’s remote terminal. This wire tells the amplifier when to power on and off with the car stereo.
Double-check that these wires are properly insulated and routed away from power cables to avoid interference. If your system uses speaker-level inputs, ensure the signal wires are connected correctly to prevent distortion. How often do you inspect these wires for wear or damage? Regular checks can prevent unexpected audio failures.
Configuring The Equalizer Settings
Configuring the equalizer settings is essential for the best sound experience in your car. Proper adjustment ensures clear, balanced audio without damage to your equipment. It lets you shape the sound according to your taste and car acoustics. Take your time to fine-tune each setting carefully for optimal results.
Adjusting Frequency Bands
Frequency bands control different sound ranges like bass, midrange, and treble. Start by setting each band to a neutral or flat position. Gradually increase or decrease bands to improve sound clarity. Focus on boosting bass for deeper lows or treble for sharper highs. Avoid extreme boosts to prevent sound distortion.
Balancing Sound Output
Balance the sound output between all speakers for a smooth listening experience. Adjust left and right channels to avoid one side being louder. Check front and rear speaker levels to create a natural sound stage. Use your ears to find a comfortable volume and balance that fits your car’s interior.
Avoiding Distortion
Distortion damages sound quality and can harm your amplifier or speakers. Keep volume levels moderate to prevent clipping. Avoid pushing frequency bands too high, especially bass, which strains equipment. Listen carefully for any crackling or buzzing sounds and reduce gain or equalizer settings accordingly.
Credit: www.diymobileaudio.com
Testing The System
Testing the system is a crucial step after connecting your equalizer to the car amplifier. It ensures everything works well and delivers the best sound possible. This phase helps catch any issues early and lets you adjust settings for clear, balanced audio. Follow these simple checks to make sure your setup sounds just right and runs smoothly.
Powering On And Initial Check
Turn on your car’s ignition to power the audio system. Start with the volume low to avoid sudden loud sounds. Listen for any noises like humming or static. Check all connections to confirm they are secure and properly plugged in. Verify the equalizer and amplifier lights are on, showing they have power. Make sure the amplifier’s gain control is set to a moderate level.
Fine-tuning Audio Quality
Play a familiar song with clear vocals and balanced instruments. Adjust the equalizer bands slowly to enhance bass, midrange, and treble. Avoid extreme boosts to prevent distortion. Use small increments to find the best sound. Test different music genres to ensure the sound is good overall. Balance volume levels between speakers for a smooth experience. Take time to listen carefully and make small changes.
Troubleshooting Common Issues
- No sound: Check if the amplifier is getting power and the input cables are connected.
- Distorted sound: Lower the amplifier gain or reduce equalizer boosts.
- Static or humming noise: Inspect ground connections and cable quality.
- Uneven sound: Verify speaker wiring and adjust equalizer settings.
- System shuts off: Check for overheating or loose power connections.
Address these problems one by one to restore clear sound. Keep tools and spare cables handy for quick fixes.
Maintenance Tips
Proper maintenance keeps your equalizer and car amplifier working well. Regular care avoids sound issues and extends device life. Simple steps protect your investment and improve audio quality.
Regular Inspection
Check all cables and connections for wear or damage. Look for loose wires or corrosion at terminals. Test the sound output for any distortion or dropouts. Clean dust and dirt from devices using a soft cloth. Schedule inspections every few months to catch problems early.
Protecting Connections
Use quality connectors and ensure tight fits between wires. Avoid bending cables sharply or placing heavy objects on them. Keep connection points dry and free from moisture. Apply dielectric grease to metal contacts to prevent corrosion. Secure wires with clamps to reduce strain and movement.
Updating System Components
Replace old or damaged cables with new, high-quality ones. Upgrade your equalizer or amplifier firmware if updates are available. Consider swapping out parts that no longer meet your sound needs. Keep components compatible to ensure clear and balanced audio. Regular updates improve performance and reliability over time.
Credit: dondodicarcustoms.com
Credit: www.temu.com
Frequently Asked Questions
How Do I Connect An Equalizer To A Car Amplifier?
To connect an equalizer to a car amplifier, use RCA cables. Connect the head unit’s output to the equalizer’s input. Then, link the equalizer’s output to the amplifier’s input. Ensure secure connections and match the input/output levels for optimal sound.
Can I Use A Car Equalizer Without An Amplifier?
Yes, you can use a car equalizer without an amplifier. However, sound quality may be limited. An amplifier boosts audio signals, improving clarity and volume. Using both together provides better control and enhanced sound performance in your car audio system.
What Tools Are Needed To Connect An Equalizer To A Car Amp?
You need RCA cables, wire cutters, electrical tape, and a screwdriver. RCA cables connect the equalizer to the amplifier. Wire cutters help strip wires if needed. Electrical tape secures connections. A screwdriver assists in opening panels or securing components.
Why Is Proper Wiring Important For Car Equalizer Connection?
Proper wiring ensures clear signal transmission without interference. It prevents sound distortion and electrical issues. Correct connections protect your equipment from damage. This setup guarantees optimal audio performance and a longer lifespan for your car’s audio system.
Conclusion
Connecting an equalizer to a car amplifier enhances your audio experience. It’s a simple process. Start by organizing your cables. Ensure everything is powered off for safety. Identify the input and output ports. Connect the equalizer to the amplifier carefully.
Double-check connections to avoid issues. Turn the system on and test the sound. Adjust settings for the best audio quality. Enjoy improved sound clarity and depth. Remember, patience is key. Follow these steps, and you’ll succeed. Happy listening!