How to Connect Camera to Car Stereo: Easy Steps for Seamless Setup
Have you ever wished you could see what your camera captures right on your car stereo screen? Connecting your camera to your car stereo can make this possible, giving you a clear, bigger view while driving or recording.
Whether you want to check your backup camera or enjoy footage from your action camera, this guide will show you simple steps to make it happen. Keep reading, and you’ll learn how to set up your camera with your car stereo quickly and easily—no complicated tech skills needed.
Choosing The Right Camera
Choosing the right camera for your car stereo is important. The right camera improves safety and makes parking easier. It must fit well with your car’s system and meet your needs. This section guides you through picking the best camera.
Types Of Car Cameras
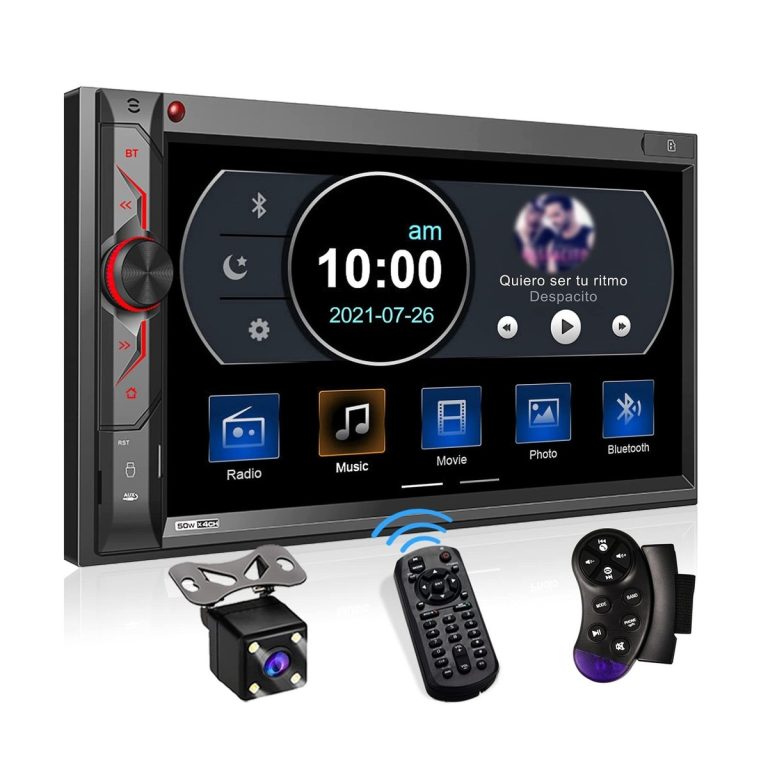
- Rearview Cameras:Show what is behind your car. Useful for parking and reversing.
- Dash Cameras:Record the road ahead. Help with accidents and insurance claims.
- 360-Degree Cameras:Provide a full view around the car. Great for tight spaces.
- Wireless Cameras:Easy to install and connect without cables.
- Wired Cameras:Reliable connection but need more installation work.
Features To Consider
- Resolution:Higher resolution gives clearer images.
- Night Vision:Enables clear view in low light.
- Waterproof Rating:Protects the camera from rain and dirt.
- Wide Angle Lens:Covers a larger area behind the car.
- Guidelines:Helps judge distance and parking space.
Compatibility With Car Stereo
- Check if the camera supports your stereo’s input type.
- Some stereos accept RCA input; others use USB or wireless signals.
- Make sure the camera’s video format matches your stereo’s display.
- Confirm if power requirements fit your car’s system.
- Look for cameras recommended by your stereo brand for best results.
Preparing Your Car Stereo
Preparing your car stereo is a crucial step before connecting a camera. It ensures compatibility and smooth integration between the devices. Taking time here can save you headaches later and improve your overall setup experience.
Checking Input Options
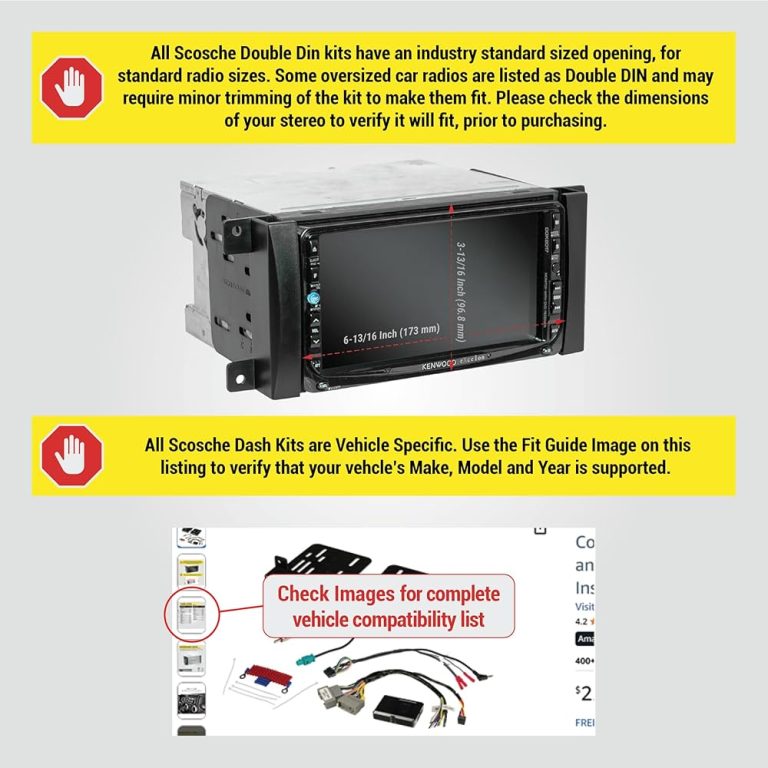
Start by examining your car stereo’s available input ports. Look for video input jacks like RCA or dedicated camera input connectors. Some modern stereos support wireless connections or USB inputs that can handle video signals.
If your stereo lacks a direct video input, consider if an adapter or external interface is needed. Have you checked your stereo’s manual or manufacturer website for supported connection types? Knowing this upfront will guide your next steps effectively.
Gathering Necessary Tools
Gather the tools required for installation to avoid interruptions during the process. Common tools include screwdrivers, wire strippers, electrical tape, and connectors. Having a multimeter handy can help verify power and signal connections.
Don’t forget to prepare the camera’s cables and any mounting accessories. Organize everything on a clean surface so you can work efficiently. This preparation makes the whole process faster and less frustrating.
Safety Precautions
Safety is key when working with your car’s electrical system. Disconnect the car battery before starting to prevent short circuits or shocks. Avoid forcing connectors as this can damage delicate pins or wiring.
Work in a well-lit area and use gloves if needed to protect your hands. Have you considered how you’ll route cables to avoid interference with airbags or moving parts? Careful planning here protects both you and your vehicle.
Wiring The Camera
Wiring the camera is a crucial step to ensure your car stereo receives a clear video feed. It involves connecting the camera’s power and video cables securely while grounding it properly to avoid electrical issues. If you want a smooth installation without electrical hiccups, pay close attention to these wiring details.
Locating The Power Source
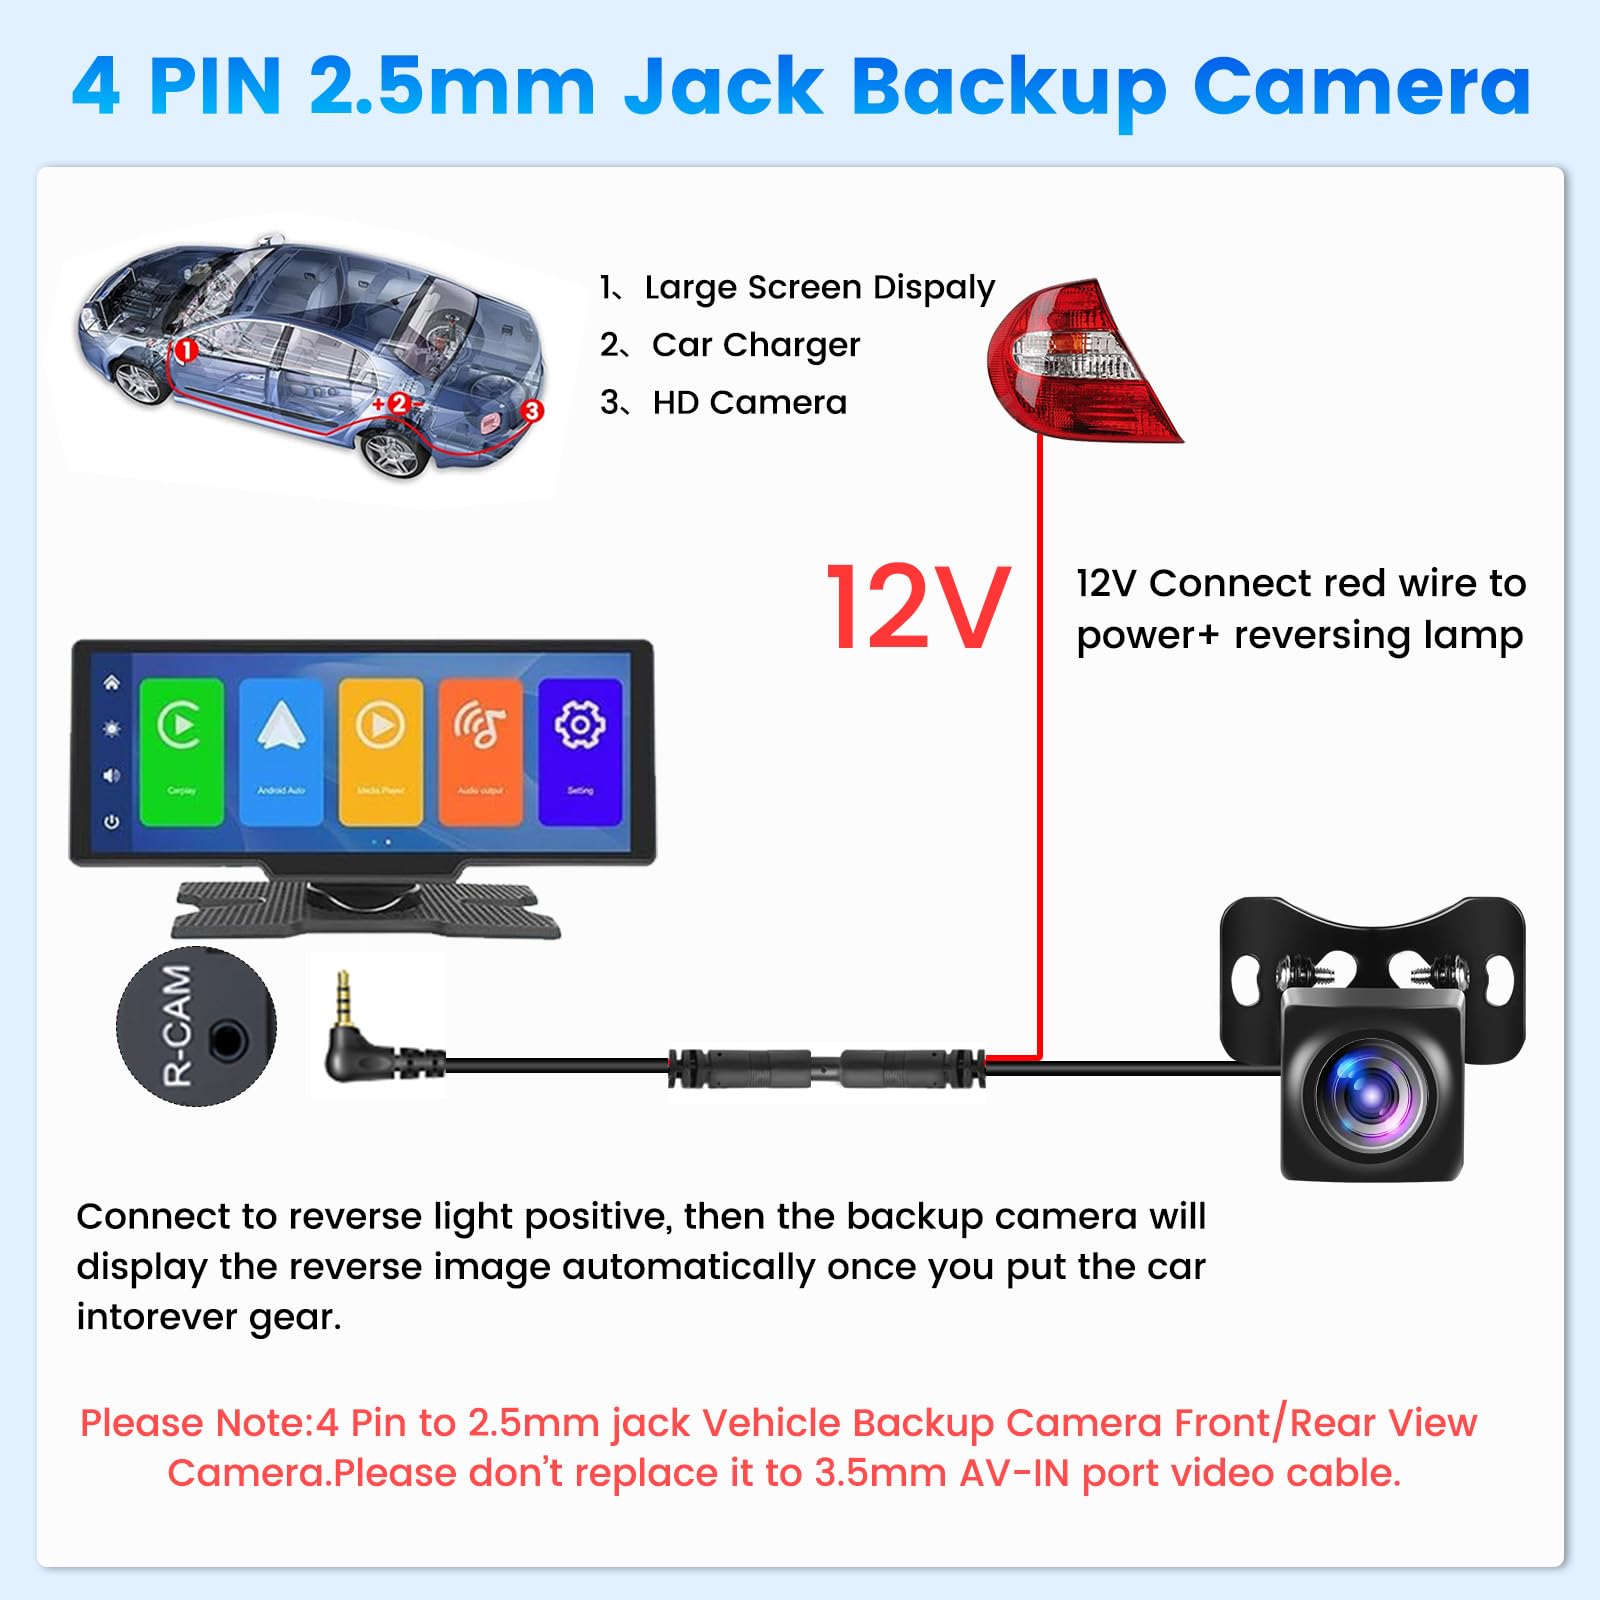
Finding the right power source for your camera is essential. Usually, the reverse light wiring is the best option since it activates the camera only when you shift into reverse gear.
You can tap into the reverse light wire behind your car’s tail light assembly. Use a multimeter to confirm the wire becomes live only when the car is in reverse. This ensures your camera powers on exactly when needed.
Connecting Video Cables
The video cable carries the camera’s feed to your car stereo. Most cameras use an RCA connector, which is simple to plug into your stereo’s video input port.
Run the video cable through your car’s interior carefully, avoiding sharp edges or moving parts that could damage it. Using cable clips or zip ties helps keep the wiring neat and secure.
Securing The Ground Wire
The ground wire completes the electrical circuit and prevents interference. Attach the ground wire to a clean, unpainted metal surface on your car’s body.
A loose ground connection can cause flickering or static in the video feed. Double-check the connection by gently tugging the wire and verifying the video quality before finalizing your installation.
Mounting The Camera
Mounting the camera properly is key to getting clear, useful footage on your car stereo screen. A poorly placed camera can result in blind spots or distorted views, which defeats the whole purpose. Let’s focus on how to mount your camera effectively for the best results.
Choosing The Best Location
Think about where the camera will capture the most helpful view. Rear cameras usually go near the license plate or on the bumper, providing a full view behind your car. Front or side cameras should be placed where they avoid obstructions like the hood or mirrors.
Consider the wiring too—pick a spot close enough to the stereo system to keep installation neat and avoid long cable runs. Have you checked if your chosen spot stays clean and clear from dirt or water?
Installing The Camera
Use the mounting hardware that came with your camera—usually screws or adhesive pads. Clean the surface before attaching the camera to ensure a strong hold. If you’re drilling holes, measure twice and drill once to avoid damage.
- Secure cables to prevent them from dangling or getting caught.
- Test the camera connection before finalizing the mount to ensure the image appears on your stereo.
- Seal any drilled holes with silicone to protect against water.
Adjusting The Camera Angle
After mounting, adjust the angle so you see the widest and clearest view possible. Tilt it slightly downward to capture the ground behind your car, which helps with parking. Don’t forget to check the image on your stereo while adjusting to avoid blind spots.
Ask yourself: does the angle give you a clear view of obstacles and moving objects? Small angle tweaks can make a big difference in safety and convenience.
Configuring The Stereo Settings
Configuring your car stereo to properly display the camera feed is a crucial step after physically connecting the camera. This ensures that you get a clear, well-positioned image that enhances your driving experience. Let’s dive into how you can fine-tune these settings for the best results.
Accessing Camera Input Mode
First, you need to switch your stereo system to the camera input mode. Usually, this option is available in the settings menu under “Input” or “Source.” If you don’t see it immediately, check your stereo’s manual or explore the on-screen menus carefully.
Some stereos automatically switch to the camera feed when you shift to reverse, but manual activation might be necessary for others. Do you know if your system supports auto-switching? This small detail can save you time and make the setup smoother.
Adjusting Display Settings
Once the camera feed appears, it’s time to adjust the display settings. Focus on brightness, contrast, and color balance to make sure the image is clear in different lighting conditions. Many stereos also allow you to adjust the angle or zoom of the camera view.
Don’t overlook the guidelines or grid lines that help you judge distances. If your stereo lets you toggle these, try turning them on and off to see what feels most intuitive while driving. Remember, a well-calibrated display can significantly reduce blind spots and improve safety.
Testing The Camera Feed
After adjusting settings, test the camera feed in a real-world scenario. Put your car in reverse in a safe, open area and watch the screen carefully. Check for any delays or blurry images that might indicate wiring or compatibility issues.
Ask yourself: Is the view wide enough? Are objects clearly visible at different distances? If not, revisit your adjustments. Testing is the key to ensuring your camera setup works flawlessly every time you need it.

Credit: www.amazon.com
Troubleshooting Common Issues
Connecting a camera to your car stereo can sometimes lead to unexpected hiccups. These issues can range from missing video signals to poor image quality or annoying interference. Understanding how to tackle these problems will save you time and keep your setup running smoothly.
No Video Signal
If your screen stays blank or shows “No Signal,” start by checking the camera’s power source. Cameras often rely on the car’s reverse light circuit for power—make sure the wiring is secure and receiving voltage when in reverse.
Also, inspect the video cable connections. Loose or damaged RCA connectors are a common culprit. Try disconnecting and reconnecting the cables firmly to ensure a solid connection.
Have you tried swapping the cables? Sometimes, a faulty cable causes the issue. Testing with another cable can quickly rule out hardware problems.
Poor Image Quality
Blurry or washed-out images can frustrate any driver. Start by cleaning the camera lens thoroughly—dirt and grime can distort the picture more than you might expect.
Next, check the camera’s resolution settings and compatibility with your car stereo. Using a camera with lower resolution than your display can lead to pixelated visuals.
If your image looks too dark or too bright, adjust the camera’s brightness and contrast settings if available. Many car stereos allow you to tweak these directly in their menu.
Interference And Noise
Seeing static or weird lines across the video? This noise often comes from electrical interference. Try rerouting the video cable away from power wires or other electronics in your vehicle.
Shielded cables can reduce interference significantly. If your current cables aren’t shielded, consider upgrading to a better quality set for a cleaner signal.
Grounding issues can also cause noise. Ensure your camera and stereo share a proper ground connection to avoid this problem.
Enhancing Your Setup
Enhancing your camera-to-car stereo setup improves safety and convenience. Small upgrades can make parking and driving easier. These features provide better guidance and clearer visuals.
Adding Parking Guidelines
Parking guidelines help you judge distance while reversing. Lines appear on the screen to show safe zones. They adjust as you turn the steering wheel. This feature reduces the risk of hitting obstacles. Many cameras and stereos support this function.
Integrating With Sensors
Connecting sensors with your camera adds extra safety alerts. Sensors detect nearby objects and warn you with sounds or visuals. This combination enhances obstacle detection beyond the camera view. It helps avoid accidents in tight spots.
Upgrading To Wireless Cameras
Wireless cameras offer easier installation and cleaner setups. No need to run long cables through the car. They connect via Wi-Fi or Bluetooth to your stereo. Wireless models allow flexible camera placement and quick removal.

Credit: www.amazon.com

Credit: www.youtube.com
Frequently Asked Questions
How Do I Connect A Camera To My Car Stereo?
Connecting a camera to your car stereo typically involves using a compatible AV input. First, verify your stereo’s compatibility and gather necessary cables. Connect the camera’s output to the stereo’s input. Finally, test the setup by ensuring the camera’s video feed displays on the stereo screen.
Can All Car Stereos Support Camera Connections?
Not all car stereos support camera connections. Most modern car stereos with video inputs can support cameras. Check your stereo’s manual for AV input options. If unavailable, consider upgrading to a compatible stereo.
Is Professional Installation Required For Connecting A Camera?
Professional installation is not always required for connecting a camera. Many car owners manage this task themselves. However, if unsure, seek professional help to ensure proper installation and functionality. Professionals also ensure safety and reliability.
What Types Of Cameras Can I Connect?
You can connect various cameras, including rear-view, dash, and front-view cameras. Compatibility depends on the stereo’s input options. Check the camera and stereo specifications for compatibility. Some stereos may need specific adapters for certain cameras.
Conclusion
Connecting your camera to a car stereo is simpler than it seems. Follow the steps carefully and take your time. Check all connections to avoid issues. Use the right cables for a clear video signal. Test the system before driving to ensure safety.
This setup helps you see better while parking or reversing. Enjoy the added convenience and safety in your car. Keep your tools ready for quick adjustments. Stay safe and confident on the road every day.