How to Put an Amplifier in Your Car: Easy Steps for Epic Sound
Are you ready to take your car’s sound system to the next level? Adding an amplifier can transform your music experience, making every beat clearer and every note richer.
But if you’ve never installed one before, it might seem tricky. Don’t worry—you’re in the right place. This guide will walk you through simple steps to put an amplifier in your car, even if you’re not a tech expert. By the end, you’ll know exactly how to boost your sound and enjoy your favorite tunes like never before.
Keep reading, and let’s get started!
Choosing The Right Amplifier
Choosing the right amplifier is key to improving your car’s sound system. The right amplifier powers your speakers properly. It affects sound clarity, volume, and overall audio quality. Understanding different amplifiers helps you pick one that fits your needs and car setup.
Types Of Car Amplifiers
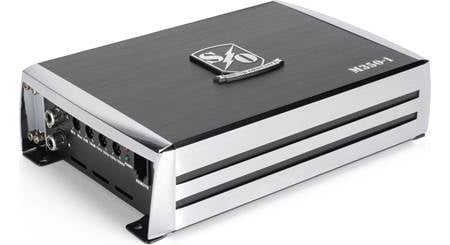
Car amplifiers come in several types. Each type suits different sound needs and speaker setups.
- Mono Amplifiers:Designed for subwoofers, providing strong bass output.
- 2-Channel Amplifiers:Ideal for powering two speakers or one subwoofer and one speaker.
- 4-Channel Amplifiers:Great for powering four speakers, often used for a full car audio setup.
- Multi-Channel Amplifiers:Combine multiple channels for complex systems with speakers and subwoofers.
Matching Amplifier To Speakers
Speakers need the right amplifier for best sound. Check your speaker’s power handling before choosing an amplifier.
- Match the amplifier’s output power to your speaker’s RMS rating.
- A too-weak amplifier causes weak sound and distortion.
- A too-powerful amplifier can damage speakers by overpowering them.
- Check speaker impedance (ohms) and match it with amplifier support.
Power Ratings And Channels
Power ratings show how much energy an amplifier can deliver. Channels refer to how many speakers it can power.
| Term | Meaning |
|---|---|
| RMS Power | Continuous power the amplifier can deliver safely. |
| Peak Power | Maximum power output for a short time. |
| Channels | Number of speakers or subwoofers the amp can support. |
Choose an amplifier with enough RMS power to support all your speakers. Pick the right number of channels for your car audio setup.
Gathering Essential Tools And Materials
Before you start installing an amplifier in your car, gathering the right tools and materials is crucial. Having everything ready not only speeds up the process but also prevents unexpected interruptions. Imagine halfway through your installation only to realize you don’t have the right wire stripper or fuse holder—it can be frustrating and costly.
Getting familiar with the essential components and tools will give you confidence. Plus, it helps you avoid unnecessary trips to the store. Are you ready to see what you need to make your car’s sound system truly stand out?
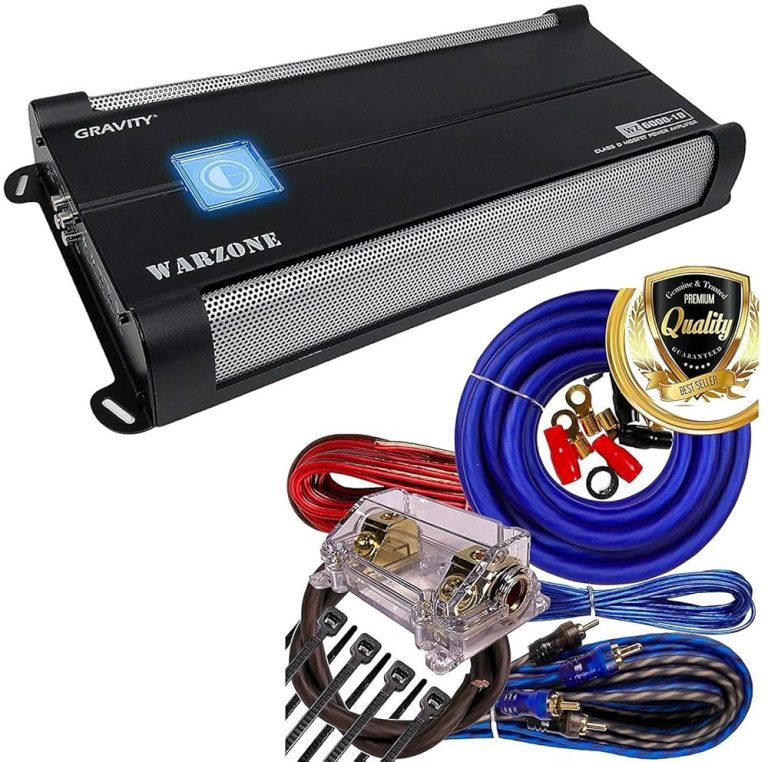
Amplifier Kit Components
- Amplifier Unit:The heart of your upgrade, choose one that matches your car’s audio needs.
- Wiring Kit:Usually includes power cables, ground cables, RCA cables, speaker wires, and remote turn-on wire.
- Fuse Holder and Fuse:Protects your car’s electrical system from damage caused by short circuits or overloads.
- Mounting Hardware:Screws, brackets, and pads to securely install the amplifier without vibrations or damage.
- Distribution Blocks (optional):Useful if you plan to add multiple amplifiers or other electrical components later.
Each piece plays a specific role in the installation process. Skipping any can lead to poor performance or safety hazards.
Required Tools List
- Wire Strippers and Crimpers:Essential for cutting and preparing wires cleanly.
- Screwdrivers (Phillips and Flathead):Needed for removing panels and securing the amplifier.
- Socket Set and Wrenches:Helps in loosening or tightening bolts, especially for grounding points.
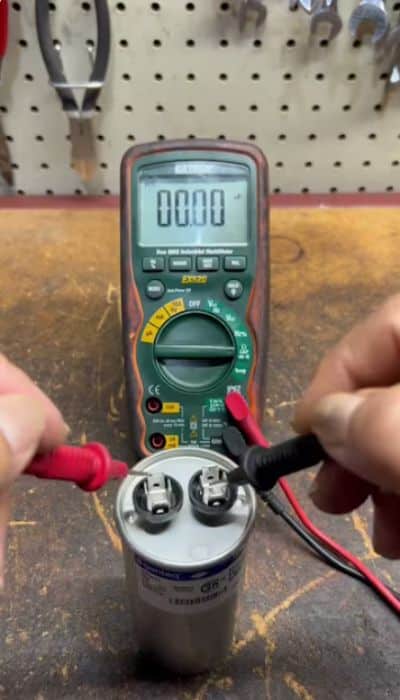
- Multimeter:Useful for checking voltage, continuity, and ensuring correct wiring.
- Electrical Tape and Heat Shrink Tubing:For insulating wire connections safely.
- Drill and Drill Bits:Sometimes necessary to create mounting holes.
- Panel Removal Tools:Prevent damage when removing door panels or trim.
Missing even one tool can slow down your progress. When I first installed an amp, forgetting a multimeter meant I had to guess if the wiring was right, which added hours of troubleshooting. Don’t let that happen to you—prepare well and save time.
Preparing Your Car
Getting your car ready to install an amplifier is a crucial step that sets the foundation for a smooth and safe setup. Proper preparation helps you avoid common mistakes and ensures your equipment works at its best. Let’s focus on two key tasks that will get your vehicle ready for the amplifier installation.
Selecting The Amplifier Location
Choosing where to place your amplifier is more than just picking a spot. You need a location that offers good ventilation to prevent overheating, like under a seat or in the trunk near the back seats.
Think about accessibility too. You’ll want to reach the amp easily for adjustments or troubleshooting without having to remove everything.
Also, consider the wiring distance. Placing the amplifier too far from the battery or speakers can cause signal loss or voltage drops. Have you checked the cable lengths you’ll need before finalizing the spot?
Disconnecting The Battery Safely
Before touching any electrical parts, disconnect the battery to prevent shorts or shocks. Start by removing the negative terminal first, as it’s the safest way to cut power.
Use a wrench to loosen the terminal clamp gently. Don’t forget to secure the disconnected cable away from the battery post, so it doesn’t accidentally reconnect.
Once the negative terminal is off, you can remove the positive terminal if needed. Taking these simple steps protects both you and your car’s electronics during the installation.

Credit: www.youtube.com
Wiring The Amplifier
Wiring the amplifier correctly is crucial for getting the best sound performance from your car’s audio system. It involves connecting power, ground, remote turn-on, and audio signal cables in a way that ensures safety and clarity. Skipping or messing up any part can lead to poor sound quality or even damage to your equipment.
Running Power Wire
Start by choosing a power wire thick enough for your amplifier’s current draw—usually between 8 and 4 gauge. Run this wire from the car’s battery to the amplifier location, keeping it away from moving parts and heat sources. Don’t forget to add an inline fuse near the battery; it protects your system from electrical shorts.
Installing Ground Wire
The ground wire should be as short as possible to reduce electrical noise and ensure stable operation. Attach it securely to a clean, unpainted metal surface on your car’s chassis. A bad ground connection often causes annoying hums or intermittent audio issues, so make sure the contact point is tight and rust-free.
Connecting Remote Turn-on Wire
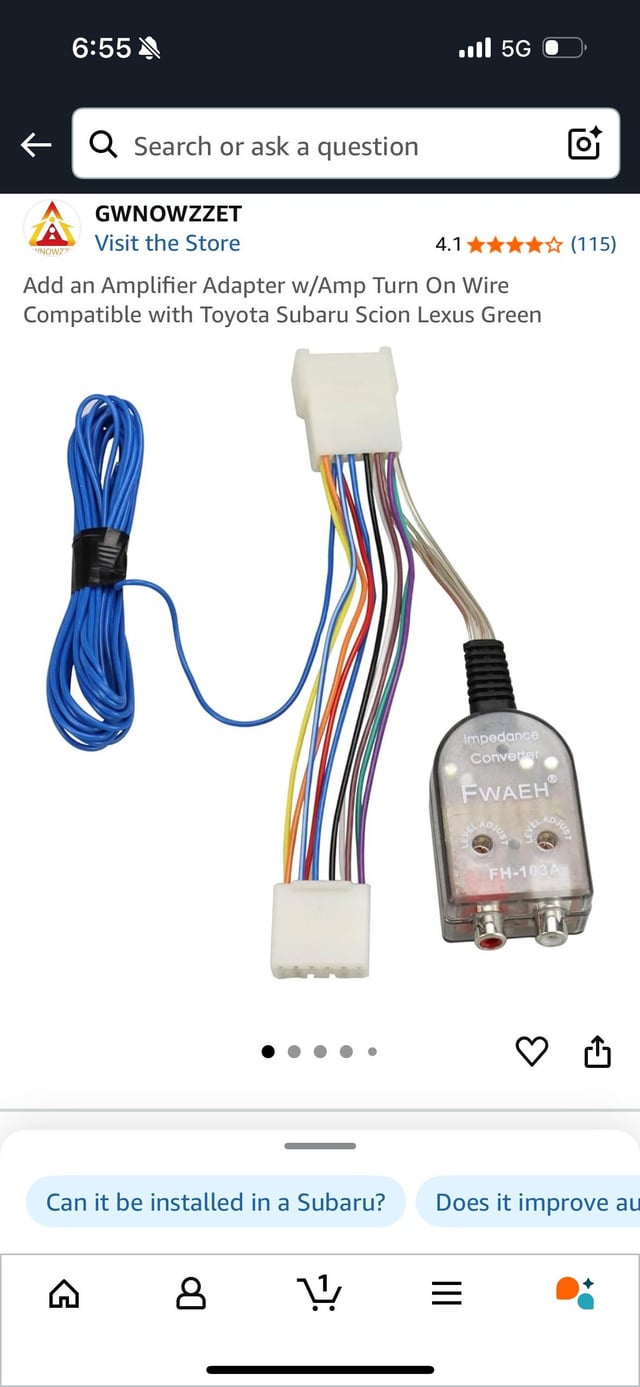
This thin wire signals your amplifier to power on when you start your car stereo. Tap it from the head unit’s remote turn-on lead and run it to the amplifier’s remote terminal. Without this wire, your amp won’t switch on automatically, which can be confusing if you’re not expecting it.
Routing Rca Cables
RCA cables carry the audio signal from your head unit to the amplifier. Keep these cables away from power wires to prevent interference and noise in your sound. Run them along the opposite side of the car and use cable ties to keep everything neat and secure.
Mounting The Amplifier
Mounting your car amplifier correctly is key to getting the best sound and keeping your equipment safe. This step goes beyond just finding a spot; it’s about securing the amplifier firmly and making sure it stays cool. How you place your amp can affect its performance and lifespan, so pay close attention to these details.
Securing The Amplifier
Start by choosing a solid surface to mount your amplifier. Common spots include under a seat, in the trunk, or on the back of a seat, depending on your car’s layout.
Use screws or mounting brackets to fasten the amp securely. Avoid loose fittings that can cause vibrations or damage during driving. I once learned this the hard way when a poorly secured amp rattled against the car frame and eventually caused wiring issues.
Make sure the amplifier is mounted in a way that the controls and connections are easily accessible. This will save you time when adjusting settings or troubleshooting later.
Ensuring Proper Ventilation
Amplifiers generate heat, and too much heat can reduce their efficiency or even cause permanent damage. Your amplifier needs good airflow to stay cool and run smoothly.
Avoid tight, enclosed spaces without ventilation. Leave at least a couple of inches of clearance around the amplifier, especially near its heat sinks and fans.
Think about where heat naturally dissipates in your car. Placing the amp near vents or areas with some airflow can help manage temperature. Have you checked if your amplifier feels warm or hot after a long drive? That’s a sign it needs better ventilation.
Credit: www.optimaforums.com
Connecting Speakers And Subwoofers
Connecting speakers and subwoofers to your car amplifier is essential for clear and powerful sound. Proper connections ensure the best audio quality and protect your equipment. Understanding how to wire speakers and configure the subwoofer helps create a balanced sound system.
Speaker Wire Connections
Use high-quality speaker wire for a strong signal. Choose the right gauge wire, usually 16 or 14 gauge, depending on speaker distance. Keep wire length short to reduce signal loss.
- Strip about half an inch of insulation from each wire end.
- Connect positive wire (usually marked red or with a plus sign) to the speaker’s positive terminal.
- Connect negative wire (usually black or with a minus sign) to the speaker’s negative terminal.
- Secure all connections to avoid loose wires or shorts.
Match the amplifier’s speaker output terminals with the speaker wires. Check polarity to keep sound clear and avoid phase issues. Use crimp connectors or solder connections for durability.
Configuring Subwoofer Setup
Subwoofers need special attention for deep bass. Connect the subwoofer using speaker wire or RCA cables depending on your amplifier and subwoofer type.
Set the amplifier’s low-pass filter to limit high frequencies. This lets the subwoofer focus on bass sounds. Adjust the gain control to balance volume with other speakers.
- Use a mono channel for a single subwoofer or bridge channels for more power.
- Check the subwoofer’s impedance and match it with the amplifier output.
- Place the subwoofer in a suitable location inside your car for best sound.
Test the setup at low volume first. Make small adjustments to crossover and gain until the bass sounds clean and powerful.
Setting Up And Testing
Setting up and testing your car amplifier is the moment where everything comes together. This stage ensures your sound system performs at its best without distortion or damage. Taking the time to adjust settings carefully and perform thorough checks will pay off in crisp, powerful audio that transforms your driving experience.
Adjusting Gain And Crossover
Start by setting the gain control to match your head unit’s output. Too high, and you risk distortion; too low, and the sound will be weak. Turn the gain down initially, then slowly increase it until you hear clear, distortion-free volume at your preferred listening level.
Next, focus on the crossover settings. Your amplifier’s crossover filters the frequencies sent to your speakers or subwoofer. Set the low-pass filter for subs around 80-100 Hz to let only bass frequencies pass through, while full-range speakers should have the high-pass filter set to block those low frequencies that could cause distortion.
Ask yourself: Are your speakers handling the right frequencies? Adjusting the crossover can prevent your speakers from struggling with sounds they aren’t designed to play. Small tweaks here can make a big difference in sound clarity and speaker longevity.
Performing Sound Checks
After adjustments, it’s time to listen closely. Play a variety of music genres you know well—this helps identify any inconsistencies in sound quality. Pay attention to clarity, bass punch, and whether any distortion or rattling occurs at higher volumes.
Walk around your car while the music plays. Notice if the sound is balanced in all seats or if some areas feel too loud or too quiet. This simple test can guide you in making further fine-tuning adjustments.
If you hear distortion or buzzing, double-check your wiring connections and settings. Sometimes a loose ground wire or an incorrect gain level causes these issues. Testing thoroughly ensures your amplifier runs smoothly and your music sounds fantastic every time you hit the road.
Troubleshooting Common Issues
Troubleshooting common issues after installing a car amplifier helps keep your sound clear and powerful. Problems like noise, interference, or power failures can spoil the listening experience. Knowing how to fix these issues saves time and frustration. Focus on simple checks and fixes to get your amplifier working smoothly again.
Eliminating Noise And Interference
Noise and interference often come from poor wiring or bad ground connections. Check all ground wires for tight, clean contact with the car’s metal frame. Loose or rusty grounds cause humming or buzzing sounds.
Use shielded RCA cables to reduce interference from other electronics. Keep power and audio cables separated to avoid noise pickup. Route wires away from the engine or other noisy parts.
Try adding a noise filter or ground loop isolator if noise persists. These devices block unwanted electrical signals that cause interference.
Fixing Power And Connection Problems
Power issues cause the amplifier to cut out or not turn on. First, check the fuse on the power wire. Replace any blown fuses with the correct rating. Make sure the battery connection is clean and tight.
Inspect all cable connections for firmness and no corrosion. Loose connections can cause power loss or signal drop. Confirm that the remote turn-on wire is connected to the head unit properly.
Use a multimeter to test voltage at the amplifier terminals. Voltage below 12 volts may cause poor performance. If wiring looks good but problems continue, test the amplifier itself for faults.

Credit: www.youtube.com
Frequently Asked Questions
How Do I Choose The Right Amplifier For My Car?
Select an amplifier based on your car’s speaker power and impedance. Match the amplifier’s RMS wattage to your speakers. Consider the amplifier class for efficiency and sound quality. Check size to fit your car’s space. This ensures optimal sound and performance.
Where Should I Install The Amplifier In My Car?
Install the amplifier in a dry, ventilated area, like under a seat or trunk. Avoid spots near heat sources or moisture. Proper placement prevents overheating and damage. Ensure easy access for wiring and adjustments. Secure the amplifier firmly to avoid vibrations.
What Wiring Is Needed To Install A Car Amplifier?
Use a power cable rated for your amplifier’s current draw. Connect a ground wire to a clean metal surface. Run RCA cables from the head unit to the amplifier. Use a remote turn-on wire for automatic power control. Proper wiring ensures safety and sound quality.
How Do I Connect The Amplifier To My Car Stereo?
Connect RCA cables from the stereo’s preamp outputs to the amplifier inputs. Use the remote turn-on wire from the stereo to power the amp. Connect speaker wires from the amp to the speakers. Double-check all connections for tightness and correct polarity.
Conclusion
Installing an amplifier in your car enhances sound quality. Follow the steps carefully for best results. Gather all necessary tools and materials first. Ensure correct wiring to avoid malfunctions. Take your time with connections and placements. A well-installed amplifier makes a noticeable difference.
Enjoy your improved audio experience on the road. Don’t rush the process; patience is key. Regularly check connections for safety and efficiency. Now, your car’s music can shine. Feel the beats and rhythms like never before. Happy listening!