How to Hook Up a Jvc Car Stereo: Easy Step-by-Step Guide
Are you ready to upgrade your car’s sound system with a JVC stereo but don’t know where to start? Hooking up a JVC car stereo might seem tricky at first, but with the right steps, you can have it done quickly and easily.
Imagine driving with your favorite music blasting perfectly through your speakers, making every trip more enjoyable. In this guide, you’ll discover simple, clear instructions that anyone can follow—even if you’re not a tech expert. Keep reading, and by the end, you’ll have your JVC car stereo hooked up like a pro.

Credit: www.youtube.com
Gather Necessary Tools
Before hooking up a JVC car stereo, gathering the right tools is vital. The proper equipment makes the installation smooth and safe. Without these tools, the process can become confusing and risky. Preparing everything in advance saves time and avoids mistakes.
Essential Equipment
Having the correct tools ensures a quick and clean stereo setup. Here is a list of must-have items:
- Screwdrivers (Phillips and flathead)
- Wire strippers and cutters
- Electrical tape or heat shrink tubing
- Crimp connectors or soldering kit
- Panel removal tool
- Multimeter for checking voltage
- Wiring harness adapter for JVC stereo
- Socket wrench set
These tools help in removing panels, connecting wires, and securing the stereo unit properly.
Safety Precautions
Safety is key when working with car electronics. Disconnect the car battery before starting. This stops electrical shorts and shocks. Wear gloves to protect your hands from sharp edges. Work in a well-lit area to see all connections clearly. Avoid loose clothing that could get caught in parts. Keep a fire extinguisher nearby in case of emergencies.
Prepare Your Car Stereo
Preparing your JVC car stereo before installation is crucial for a smooth and safe setup. This phase involves removing the old stereo and carefully inspecting the wiring harness. Taking your time here prevents damage and ensures your new stereo works perfectly from the start.
Remove Old Stereo
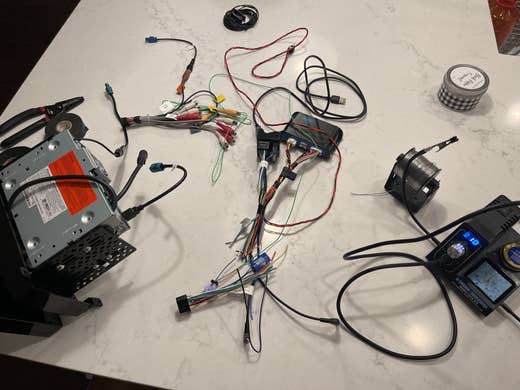
Start by disconnecting your car battery to avoid any electrical shorts. Use a panel removal tool to gently pry off the dashboard trim surrounding your stereo. This prevents scratches and broken clips.
Next, unscrew the mounting bolts holding the old stereo in place. Carefully slide the unit out, watching for any connected wires. If you rush, you might damage the connectors or wiring, causing headaches later.
Have you noticed how some old stereos feel stuck? It’s usually due to hidden clips or screws. Take a moment to double-check your car’s manual or look up a video specific to your model to avoid unnecessary force.
Inspect Wiring Harness
Once the old stereo is out, focus on the wiring harness. Check for any frayed wires, corrosion, or loose connections. Damaged wires can cause short circuits or poor sound quality.
Compare the harness connectors with your new JVC stereo’s wiring. Make sure the colors and pin layouts match to avoid confusion during hookup. If the wiring harness is not compatible, you might need an adapter.
Have you ever faced the frustration of a stereo that won’t power on? Often, this is due to incorrect wiring. Take a moment to label wires or take a photo before disconnecting anything—it saves time and stress during installation.
Identify Wiring Connections
Identifying the wiring connections is a crucial step in hooking up your JVC car stereo. Understanding each wire’s purpose helps avoid mistakes that can damage your stereo or car’s electrical system. It also makes the installation smoother and faster, saving you from frustration.
Color Codes And Functions
JVC car stereos use standardized color codes for their wiring. Knowing these colors helps you quickly identify the function of each wire. Here’s a simple table outlining the common color codes and their roles:
| Wire Color | Function |
|---|---|
| Red | Accessory power (switched 12V) |
| Yellow | Constant power (12V battery) |
| Black | Ground (negative terminal) |
| Blue | Antenna or amplifier remote turn-on |
| White and White/Black | Front left speaker (+ and -) |
| Gray and Gray/Black | Front right speaker (+ and -) |
| Green and Green/Black | Rear left speaker (+ and -) |
| Purple and Purple/Black | Rear right speaker (+ and -) |
Are you surprised by how consistent these colors are across different models? This consistency can give you confidence as you connect each wire.
Match Car Wires With Stereo
Your car’s wiring might not perfectly match the JVC stereo’s colors, especially if you have an older vehicle or aftermarket wiring. You’ll need to identify which wires in your car serve the same functions as those in the stereo.
Start by consulting your car’s manual or searching online for its wiring diagram. Then, use a multimeter or test light to verify each wire’s purpose. For instance, the wire supplying constant power should show 12 volts even when the ignition is off.
Don’t rush this step. Incorrect wiring can cause the stereo to malfunction or even blow fuses. Have you ever tried connecting wires without testing? It usually leads to trial and error that wastes time and patience.
Once you identify matching wires, use crimp connectors or soldering to create secure, lasting connections. Wrapping each connection with electrical tape or heat shrink tubing protects against shorts and moisture damage.
Credit: www.crutchfield.com
Connect The Wiring Harness
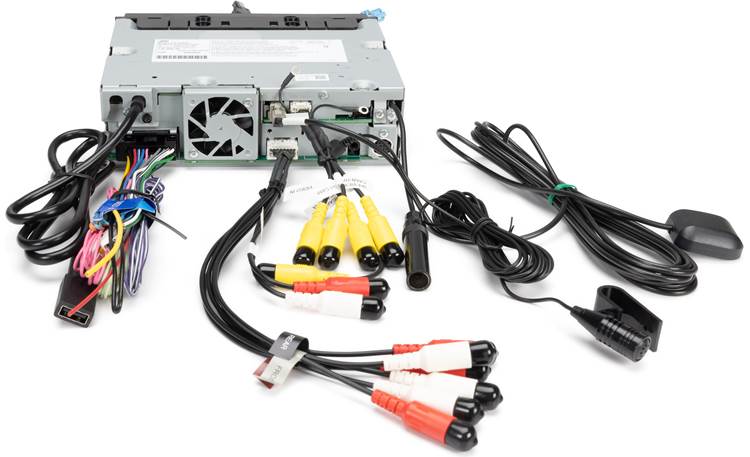
Connecting the wiring harness is a crucial step for installing your JVC car stereo. The wiring harness links the stereo to the car’s power, speakers, and other components. Proper connection ensures your stereo works perfectly and avoids electrical problems.
Before connecting, organize the wires by color and function. Match each wire from the stereo harness to the car’s wiring harness. This step helps prevent confusion and mistakes.
Strip And Twist Wires
First, strip about half an inch of insulation from each wire end. Use a wire stripper for clean and precise removal. Expose the copper wire without damaging it.
Next, twist the exposed copper ends tightly. Twisting keeps wires together and improves the connection. Twisted wires make it easier to attach connectors or crimping tools securely.
Use Connectors Or Crimping Tools
Choose between wire connectors or crimping tools to join wires firmly. Connectors like butt connectors or quick splice connectors offer simple, reliable joins. Push wires into the connector and secure them.
Crimping tools create strong mechanical bonds. Insert twisted wires into a crimp sleeve and squeeze the tool firmly. This holds wires tightly and prevents them from loosening.
- Double-check each connection for firmness
- Cover exposed wires with electrical tape or heat shrink tubing
- Ensure no bare wire touches metal parts to avoid shorts
Proper wiring harness connection keeps your stereo safe and working well. Take time to do this step carefully for the best sound and performance.
Install The Stereo Unit
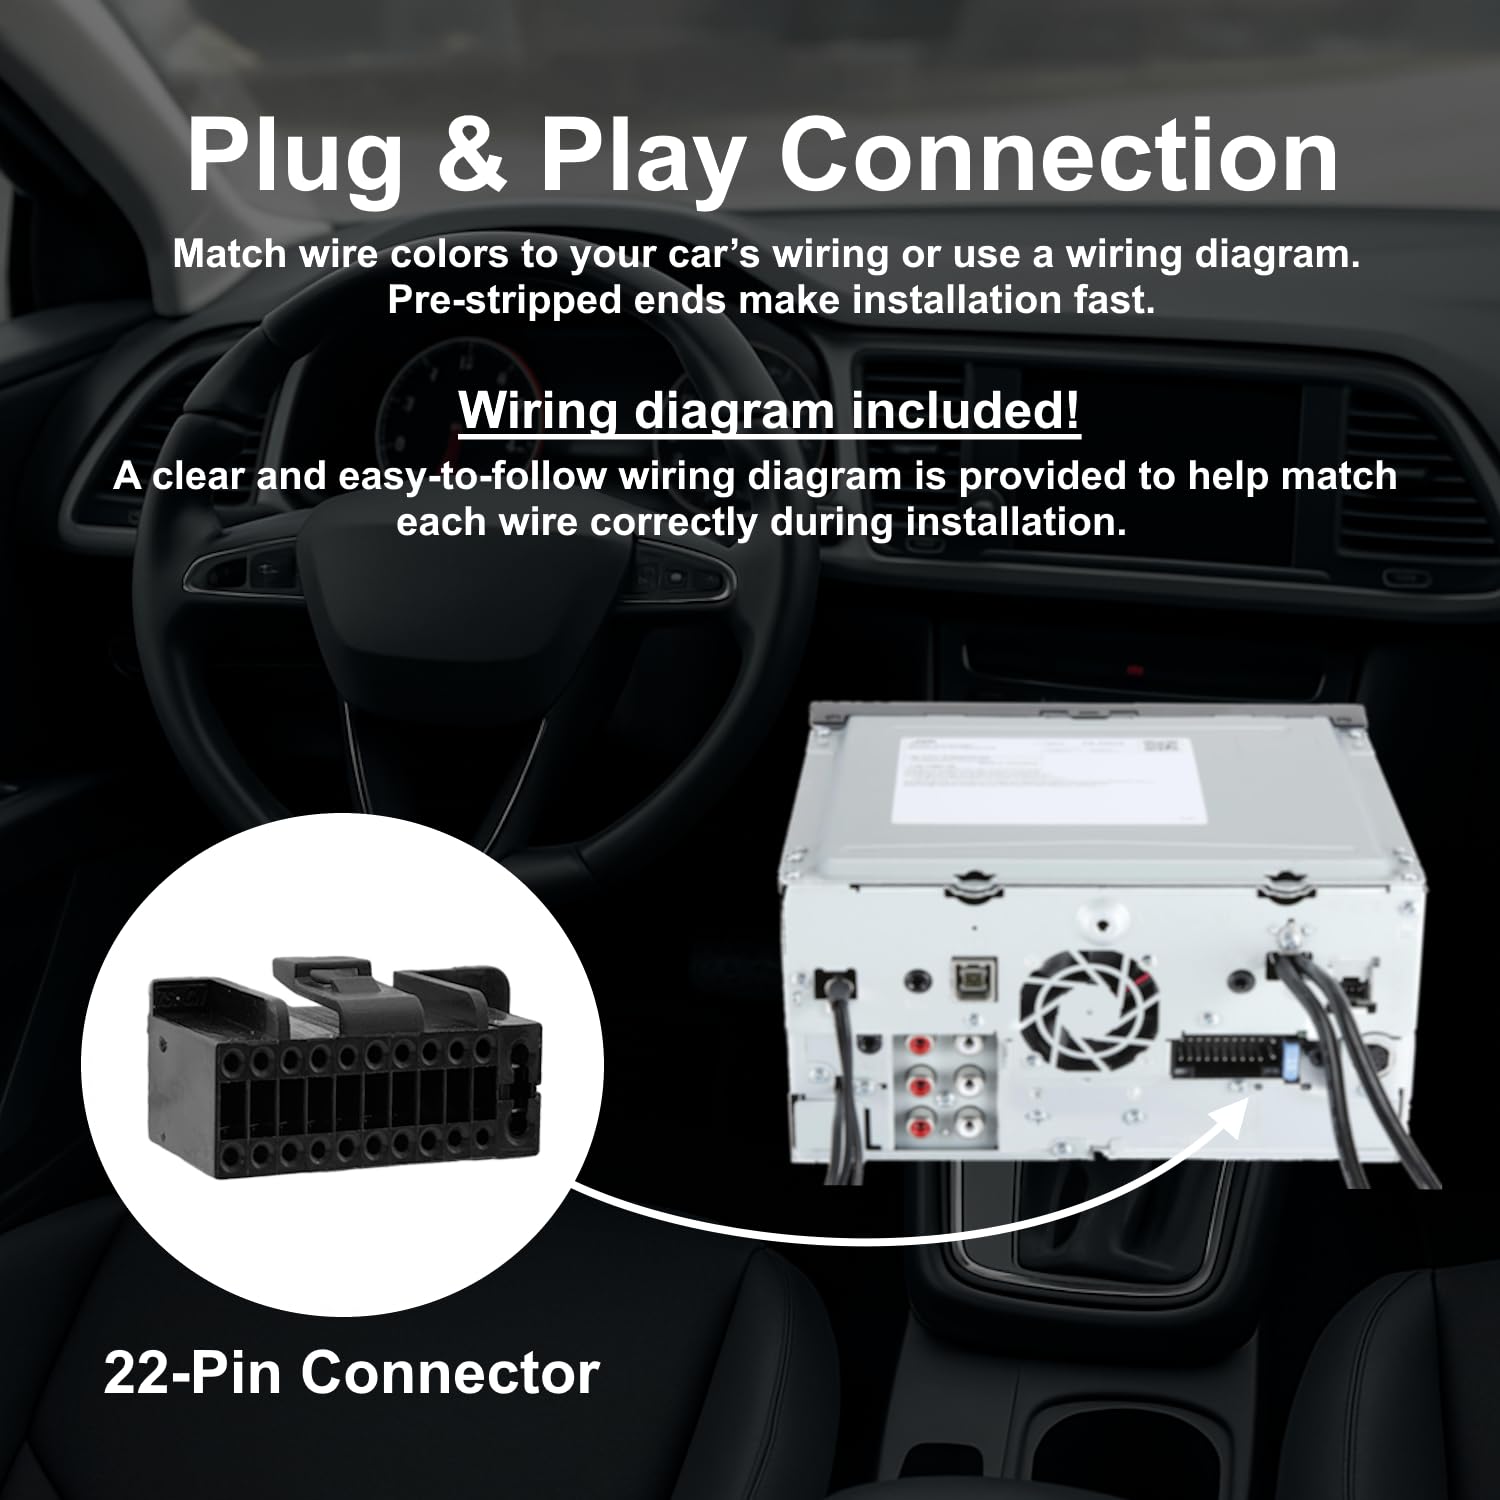
Installing the stereo unit is a key part of setting up your JVC car stereo. This step ensures your stereo fits tightly and works properly. Careful installation keeps the unit safe and stable while driving. Follow these points to install the stereo securely and correctly.
Secure Mounting Bracket
Start by placing the mounting bracket in the dashboard slot. Check that the bracket fits without forcing. Use screws to fasten the bracket firmly. Tighten screws evenly to avoid damage. The bracket must not move or wiggle after securing.
Inspect the bracket for any sharp edges. Smooth them to prevent wire damage. Confirm the bracket is level and straight. A secure bracket supports the stereo and prevents noise from vibrations.
Attach Stereo In Dashboard
Slide the JVC stereo unit into the mounted bracket slowly. Push it until you hear a click or feel resistance. This means the stereo is locked in place.
Use the stereo’s side screws to lock it firmly. Do not overtighten, or the stereo case may crack. Check that the front panel aligns with the dashboard.
Test the fit by gently pushing the unit. It should stay fixed without moving. A proper fit ensures safe driving and good sound quality.
Credit: www.amazon.ca
Test The System
Testing the system is a crucial step after installing your JVC car stereo. It ensures all connections work correctly and the stereo functions as expected. This phase helps identify any problems early and guarantees a smooth listening experience on the road.
Power On And Audio Check
Turn on your car’s ignition to power the stereo. The display should light up clearly. Play a radio station or a music track from a connected device.
Listen carefully to the speakers for clear sound. Check both front and rear speakers to confirm they work. Adjust the volume and balance to ensure even sound distribution.
Test the bass and treble settings for sound quality. Make sure the stereo responds to control buttons and touchscreen commands.
Troubleshoot Common Issues
- No power: Check the fuse and wiring connections. Ensure the car battery is charged.
- No sound: Verify speaker wires are connected correctly. Check speaker settings on the stereo menu.
- Distorted sound: Inspect speaker wires for damage. Adjust audio settings or lower volume.
- Display not working: Confirm the stereo is properly plugged in. Reset the unit if needed.
Use the stereo manual for specific error codes or troubleshooting tips. Address small issues before they cause bigger problems.
Finalize Installation
Finalizing the installation of your JVC car stereo is where everything comes together. This phase ensures your setup looks neat and works perfectly. Taking the time to do it right now saves you from headaches later.
Reassemble Dashboard
Start by carefully putting the dashboard panels back in place. Align each piece so it fits snugly without forcing anything. Loose panels can rattle or damage the wiring over time.
Use the screws or clips you removed earlier to secure the dashboard firmly. Check for any leftover parts—missing just one screw can cause a loose fit. Take a moment to test the stereo’s buttons and screen before fully closing everything up.
Clean Up And Safety Check
Remove any tools, wires, or debris from the car’s interior. A clean workspace helps you spot potential issues quickly. Check that no wires are pinched or exposed—they should be tucked safely out of reach.
Test the stereo again, this time with the car running. Listen for any unusual sounds and confirm all functions operate as expected. Ask yourself: Have you secured all connections and ensured the dashboard is stable? If yes, your installation is complete and safe.
Frequently Asked Questions
How Do I Connect A Jvc Stereo To Power?
To connect a JVC stereo to power, locate the red and yellow wires in the stereo harness. Connect the red wire to the ignition switch and the yellow wire to the battery. Ensure all connections are secure. This ensures the stereo turns on and off with your car.
What Tools Are Needed For Jvc Stereo Installation?
You’ll need basic tools for JVC stereo installation. Gather a wire stripper, screwdriver, and crimping tool. An installation kit, including wiring harness and mounting bracket, is essential. Having these tools ready ensures a smooth installation process. Always follow the manufacturer’s instructions for best results.
How Do I Remove The Factory Car Stereo?
To remove the factory car stereo, start by disconnecting the car battery. Use a screwdriver to unscrew the mounting screws. Carefully pull out the stereo, disconnecting all attached wires. Ensure you note the wire connections for easy installation of the new JVC stereo.
Can I Install A Jvc Stereo Without A Harness?
Installing a JVC stereo without a harness is possible but not recommended. Without a harness, wire connections can be complex. This increases the risk of errors. A wiring harness simplifies the process and ensures reliable connections. Always consider using a harness for a safer installation.
Conclusion
Hooking up a JVC car stereo is easier than it seems. Follow each step carefully to avoid mistakes. Double-check all connections for safety and sound quality. Take your time, and don’t rush the process. Soon, your car will have great music and clear sound.
Enjoy the ride with your new stereo setup!