How to Put a New Stereo in an Old Car: Easy Step-by-Step Guide
Are you tired of your old car’s outdated stereo system? Imagine enjoying crystal-clear sound, modern features, and your favorite playlists every time you drive.
Upgrading your car’s stereo might seem tricky, but it’s easier than you think. In this guide, you’ll discover simple steps to install a new stereo in your old car—no fancy tools or expert skills needed. Keep reading, and you’ll be ready to transform your driving experience with better sound and fresh technology.

Credit: www.oreillyauto.com
Tools And Materials Needed
Installing a new stereo in your old car requires more than just the stereo itself. Having the right tools and materials can make the process smooth and prevent damage to your vehicle’s interior. Knowing what you need upfront saves you from frustrating trips to the hardware store mid-project.
Essential Tools
Before you start, gather these essential tools:
- Screwdrivers:Both flathead and Phillips to remove panels and screws.
- Wire Strippers and Crimpers:To handle wiring connections safely and securely.
- Panel Removal Tools:Plastic pry tools prevent scratching your car’s dashboard.
- Multimeter:Useful for checking electrical connections and voltage.
- Socket Wrench Set:Needed for bolts holding the stereo or dashboard components.
Having these tools at hand will help you avoid makeshift solutions that can cause damage or poor connections.
Choosing The Right Stereo
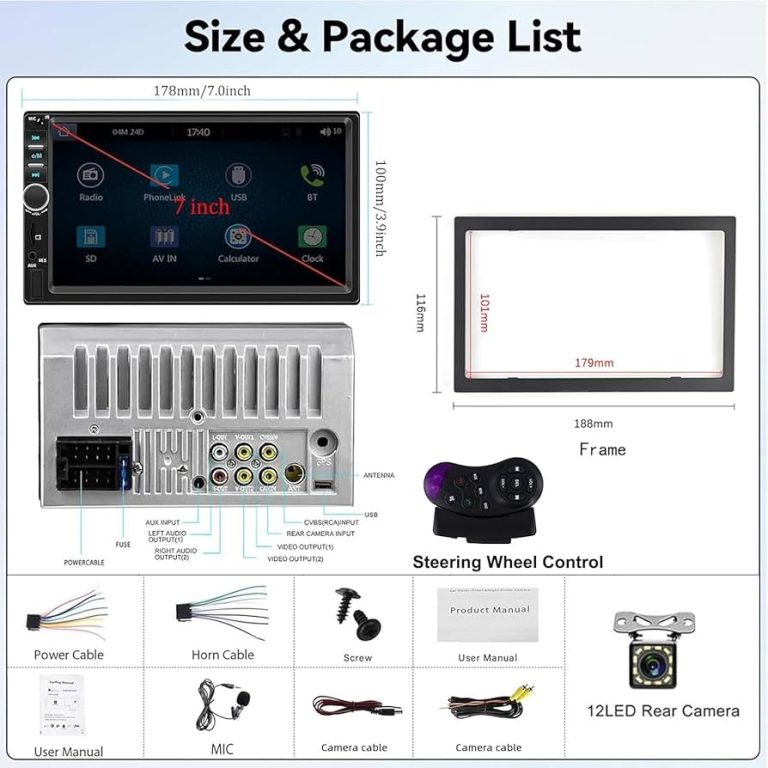
Picking the right stereo isn’t just about looks or features. Consider compatibility with your car’s wiring and space. Some older cars have unique dash sizes that may require adapters or special brackets.
Think about what features matter most to you. Do you want Bluetooth, USB ports, or a touchscreen? Also, check if the stereo supports your preferred audio format and if it can integrate with your existing speakers.
Ask yourself: Will this stereo stay relevant in a few years, or will it feel outdated quickly? Investing in a model with future-proof features can save you money and hassle down the line.
Additional Accessories
Besides the stereo and tools, some accessories can make your installation easier and your setup cleaner:
- Wiring Harness Adapter:Matches the stereo wiring to your car’s factory harness, avoiding cutting factory wires.
- Dash Kit:Ensures the new stereo fits perfectly in the dash opening.
- Electrical Tape or Heat Shrink Tubing:For insulating and protecting wire connections.
- Fuse Tap or Inline Fuse Holder:Adds safety by protecting your stereo’s electrical circuit.
- Soldering Kit (Optional):Provides the most secure electrical connections if you prefer soldering over crimping.
Consider what accessories will fit your skill level and budget. Sometimes spending a little extra here saves you from headaches later.

Credit: www.youtube.com
Preparing Your Car
Preparing your car for a new stereo is a key step before installation. It helps avoid damage and ensures a smooth process. Take time to work carefully and safely.
Disconnecting The Battery
Start by disconnecting the car battery. This stops electrical shocks and short circuits. Use a wrench to loosen the negative terminal first. Always remove the negative cable before the positive one. This small step protects both you and your car’s electronics.
Removing Old Stereo Components
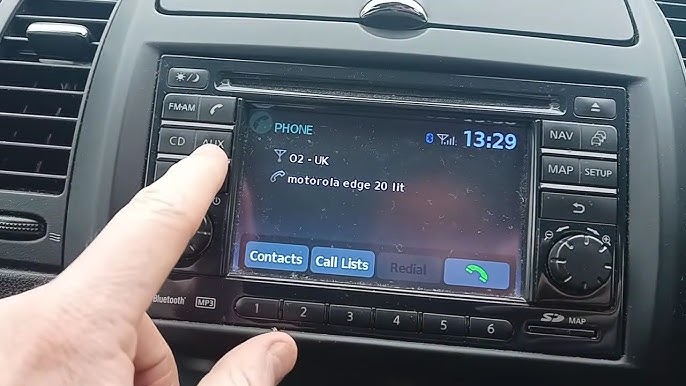
Next, remove the old stereo from the dashboard. Use the right tools, like screwdrivers or panel removal tools. Be gentle to avoid breaking clips or damaging the dashboard. Keep screws and small parts in a safe place. They might be useful later.
Inspecting Wiring And Connectors
Check the wiring behind the stereo carefully. Look for frayed wires or loose connectors. Clean any dirt or corrosion with electrical cleaner. Make sure connectors fit tightly. Good wiring means better sound and fewer problems after installation.
Wiring The New Stereo
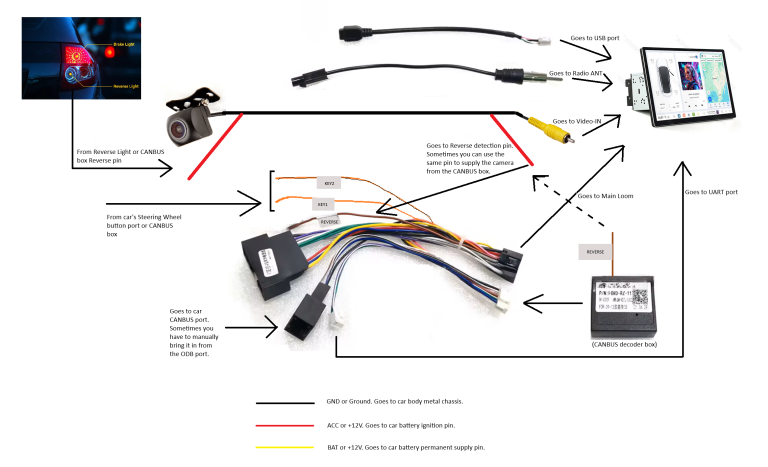
Wiring the new stereo in an old car requires care and attention. This step connects your stereo to the car’s power, speakers, and controls. Proper wiring ensures the stereo works well without damaging the car’s electrical system.
Each wire in the stereo has a specific role. Matching these wires correctly is key to a successful installation. Let’s explore the basics of wiring your new stereo.
Matching Wire Colors
Car stereos use different wire colors for power, ground, and speakers. Identifying each wire by color helps avoid mistakes.
- Red usually means accessory power (turns on with ignition).
- Yellow is often constant power (keeps memory settings).
- Black is the ground wire.
- Speaker wires come in pairs, often with one solid color and one striped.
Check the stereo’s manual for its wire colors. Compare with your car’s wiring if possible. Use a wiring diagram for your car model for accuracy.
Using Wiring Harness Adapters
Wiring harness adapters make connecting wires easier and safer. These adapters match the stereo’s wires to the car’s harness without cutting wires.
- Plug one end into the car’s stereo connector.
- Connect the other end to the stereo wires.
- Follow the color codes on the adapter for correct matching.
Adapters save time and prevent damage to the car’s wiring. They allow you to return the car to original condition if needed.
Securing Connections
Loose or poor connections cause stereo problems. Use these tips to secure wiring properly.
- Twist wires tightly before joining.
- Use crimp connectors or solder wires for strong bonds.
- Cover connections with electrical tape or heat shrink tubing.
- Keep wires away from sharp edges and moving parts.
Secure wiring prevents shorts, noise, and connection failures. Test the stereo before final assembly to ensure all connections work well.

Credit: www.youtube.com
Installing The Stereo Unit
Installing the stereo unit in your old car can feel like a puzzle, but with the right approach, it becomes straightforward and even satisfying. The key is to handle each part carefully, ensuring the new stereo fits perfectly and stays secure. Let’s dive into how you can get your stereo in place and ready to play your favorite tunes.
Fitting The Stereo Into The Dash
Start by sliding the new stereo gently into the dash opening. Make sure the wires are not pinched or tangled behind the unit as you push it in. It should fit snugly without forcing; if it feels too tight, double-check the wiring and any adapters you used.
Have you noticed some older cars have slightly different dash sizes? Using a dash kit designed for your car model can make a big difference in getting a clean fit. Don’t skip this step, as a loose or crooked stereo can cause issues later.
Securing With Mounting Brackets
Once the stereo is in place, the next step is to secure it with mounting brackets. These brackets keep the unit stable and prevent it from moving while you drive. Use the screws provided with your stereo or the dash kit to attach the brackets firmly.
It’s tempting to tighten screws quickly, but take a moment to align everything properly. A misaligned stereo can rattle or come loose over time. If the brackets don’t line up, you might need to adjust the dash kit or use different screws.
Reassembling The Dashboard
After the stereo is securely mounted, carefully put the dashboard pieces back in place. Start by reconnecting any clips or screws you removed earlier, ensuring nothing is left loose. Pay attention to how the dashboard panels fit together to avoid gaps or misalignment.
Before fully snapping everything back, test the stereo to confirm it powers on and the sound works correctly. This quick check can save you from reopening the dash later. Have you ever forgotten this step and had to take everything apart again? Avoid that hassle by testing now.
Testing And Troubleshooting
After installing a new stereo in your old car, testing and troubleshooting are key to making sure everything works smoothly. This phase helps you catch any issues early and ensures that the system performs just the way you want it. Let’s look at how to power on your stereo, check its sound and features, and handle common installation issues.
Powering On The Stereo
Start by turning on your car’s ignition without starting the engine. This sends power to the stereo, letting you test it safely. If the stereo doesn’t turn on, double-check the wiring connections, especially the power and ground wires.
Have you verified that the stereo’s fuse is intact? Sometimes a blown fuse can stop the unit from powering up. Also, test the stereo with the car battery fully charged—low voltage can prevent it from turning on.
Checking Sound And Features
Once the stereo powers on, test the sound by playing different types of audio, such as radio, Bluetooth, or CDs. Listen carefully for clarity, volume consistency, and any distortion. Adjust the bass, treble, and balance settings to confirm the controls respond properly.
Check if all features like Bluetooth connectivity, USB ports, and auxiliary inputs work as expected. If your stereo has a display screen or touchscreen, navigate through menus to ensure responsiveness. Are the steering wheel controls syncing correctly? If not, you may need an additional adapter.
Common Installation Issues
- No Power:Loose connections, wrong wiring, or a blown fuse often cause this. Revisit your wiring harness and verify each connection.
- No Sound from Speakers:Speaker wires might be reversed or disconnected. Also, check if the mute function is accidentally activated.
- Interference or Static Noise:Grounding problems or poor cable shielding can cause unwanted noise. Ensure your ground wire is secure and try rerouting audio cables away from power lines.
- Features Not Working:Some older cars require additional modules for steering wheel controls or factory amplifiers. Research your car’s compatibility before installing.
Have you faced any tricky issues during your car stereo installation? Sometimes, stepping back and testing each component separately helps identify the root cause faster. Patience during troubleshooting can save you from costly mistakes later.
Upgrading Audio Components
Upgrading the audio components in an old car brings life to your music. It changes how sound feels inside the vehicle. New parts often fit better with modern stereos. The result is clearer, richer sound. Each upgrade step improves your listening experience.
Adding Speakers
Old car speakers may not handle new stereo power. Choose speakers that match your stereo’s output. Look for speakers with good sensitivity and frequency range.
- Check speaker size and fit for your car doors or dash.
- Replace old speakers with new ones for better clarity.
- Use speaker adapters if needed for secure mounting.
Better speakers deliver more detail and louder sound without distortion.
Installing Amplifiers
An amplifier boosts audio signals for stronger sound. It helps speakers perform at their best. Choose an amplifier that matches your speakers and stereo system.
- Find a spot to mount the amplifier safely and away from heat.
- Connect power, ground, and signal wires carefully.
- Adjust gain controls to avoid speaker damage and distortion.
Amplifiers provide power for deep bass and clear highs.
Enhancing Sound Quality
Sound quality depends on more than just parts. Proper wiring and soundproofing improve results. Use quality cables for clean signal paths.
- Seal door panels to reduce outside noise.
- Add foam or mats to absorb vibrations.
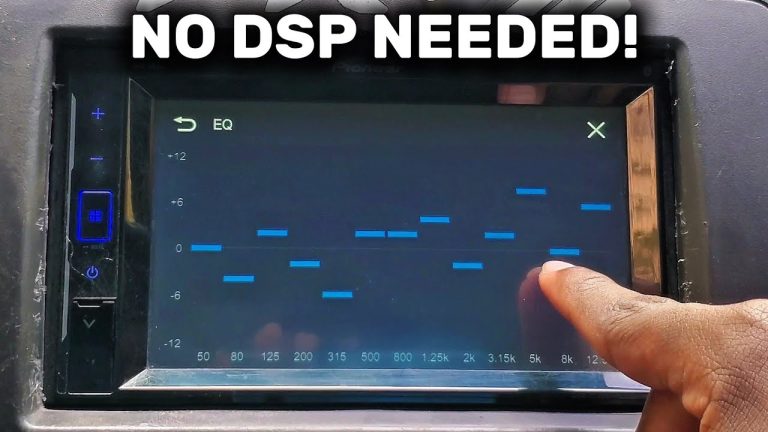
- Adjust stereo equalizer for balanced sound.
Small changes make music sound richer and more enjoyable.
Frequently Asked Questions
How Do I Choose A Stereo For An Old Car?
Select a stereo compatible with your car’s wiring and dashboard size. Look for modern features like Bluetooth and USB. Ensure it fits your budget and meets your audio preferences.
What Tools Are Needed To Install A New Car Stereo?
You typically need screwdrivers, wire strippers, electrical tape, and a wiring harness adapter. A panel removal tool helps prevent damage to the dashboard. Always disconnect the battery before starting.
How To Connect The Wiring For A New Car Stereo?
Match the stereo wires to your car’s wiring harness using a wiring diagram. Use connectors or solder wires securely. Insulate connections with electrical tape to avoid shorts and ensure stable performance.
Can I Install A Stereo Myself Without Professional Help?
Yes, if you have basic tools and follow instructions carefully. Watch tutorial videos and use a wiring harness adapter for easier installation. However, professional help ensures a safer, more reliable job.
Conclusion
Installing a new stereo in your old car can be simple. Just follow the steps carefully. Gather the right tools before starting. Disconnect the car battery for safety. Remove the old stereo with care. Fit the new stereo in place securely.
Connect the wires correctly. Check everything twice to avoid mistakes. Turn on the car to test the stereo. Enjoy the new sound experience. With patience and attention, anyone can do it. A little effort makes a big difference in your driving pleasure.
Now, your old car feels fresh again with better sound.