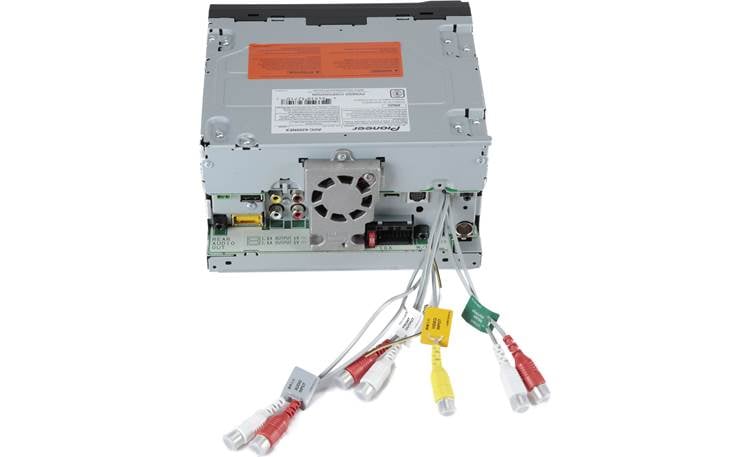
How to Add an Amplifier to Factory Car Stereo: Easy Step-by-Step Guide
Are you tired of your factory car stereo sounding flat and weak? You’re not alone.
Many people want to boost their car’s audio without replacing the entire system. Adding an amplifier is the perfect solution to get louder, clearer sound from your existing setup. But how do you do it without messing up your car’s wiring or spending a fortune?
This guide will walk you through simple steps to connect an amplifier to your factory stereo, so you can enjoy powerful sound every time you drive. Keep reading—you’re closer than you think to transforming your car’s audio experience.
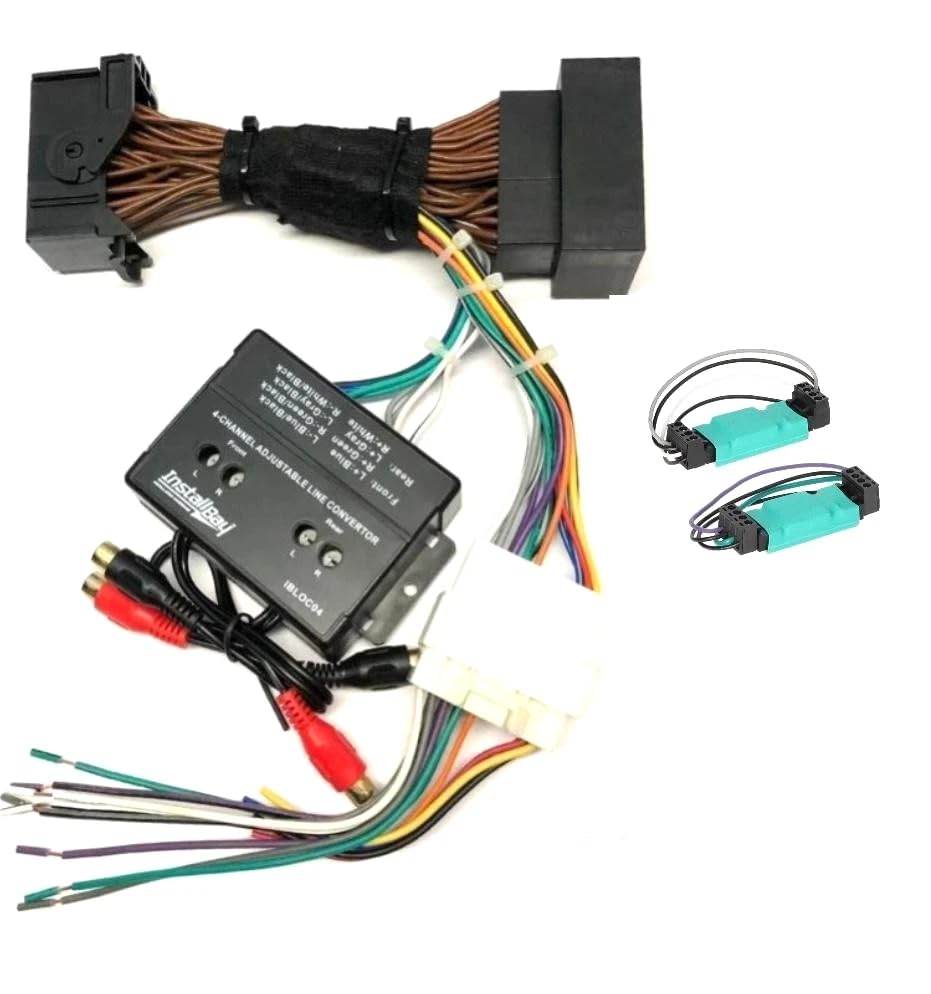
Credit: www.amazon.com
Choosing The Right Amplifier
Choosing the right amplifier is crucial when upgrading your factory car stereo. The amplifier you select directly affects sound quality, volume, and overall system performance. Knowing what type fits your needs and matches your existing setup will save you time and money.
Types Of Amplifiers
Amplifiers come in several types, each designed for different audio needs. A mono amplifierpowers a single subwoofer, delivering deep bass. A 2-channel amplifiercan drive two speakers or one subwoofer with stereo sound. Meanwhile, a 4-channel amplifiersupports four speakers, perfect for full car audio upgrades.
Think about your audio goals—are you after booming bass or balanced sound across all speakers? Your choice depends on which part of your system you want to boost.
Matching Amplifier To Speaker Setup
Matching your amplifier to your speaker setup is vital for clear, distortion-free sound. Check how many speakers you have and their impedance (measured in ohms). An amplifier must support the impedance load to avoid damage.
If you have two 4-ohm speakers, a 2-channel amp rated for 4 ohms works well. Adding a subwoofer? You might need a dedicated mono amp for the sub plus a multi-channel amp for your speakers. Have you measured your speakers’ specs yet?
Power Ratings And Compatibility
Power ratings tell you how much wattage an amplifier can deliver continuously (RMS) and at peak moments. Match your amplifier’s RMS power to your speakers’ RMS rating for safe and optimal performance.
| Amplifier RMS Power | Speaker RMS Rating | Result |
|---|---|---|
| 100W | 100W | Ideal match, balanced sound |
| 150W | 100W | Risk of speaker damage if volume too high |
| 80W | 100W | May sound weak, underpowered |
Check your factory stereo’s output and wiring. Some factory systems have limited power outputs, so an amplifier that’s too powerful might not integrate smoothly. Are you ready to match power without risking your equipment?

Credit: www.amazon.com
Gathering Necessary Tools And Materials
Before installing an amplifier to your factory car stereo, gather all tools and materials. This step saves time and avoids interruption during installation. Having the right items ensures a smooth and safe setup.
Prepare a clean workspace in or near your vehicle for easy access. Check each tool and accessory for quality and compatibility with your car’s audio system. Proper preparation leads to better results and less frustration.
Essential Tools For Installation
- Wire stripper and cutter for clean wire ends
- Crimping tool to secure wire connectors
- Screwdrivers (flathead and Phillips) for panel removal
- Socket wrench set for bolts and screws
- Multimeter to test electrical connections
- Panel removal tools to avoid damaging trim
- Electrical tape to insulate wire connections
- Zip ties for organizing wires
Required Wiring And Accessories
- Amplifier wiring kit including power and ground cables
- RCA cables to connect the stereo to the amplifier
- Remote turn-on wire for amplifier activation
- Inline fuse holder and fuse for safety
- Speaker wire to connect the amplifier to speakers or subwoofer
- Distribution block if splitting power to multiple devices
Preparing Your Car Stereo System
Preparing your car stereo system is the first step in adding an amplifier. It ensures a smooth installation and better sound quality. Start by understanding your car’s stereo layout and wiring. This process helps avoid mistakes and damage. Careful preparation saves time and effort.
Accessing The Factory Stereo
Locate the factory stereo in your car’s dashboard. Usually, it sits behind the front panel. Use the right tools like screwdrivers or trim removal tools. Gently remove the dashboard panel to avoid breaking clips or wires. Once the panel is off, you can pull out the stereo unit. Keep all screws and parts safe for reassembly.
Identifying Wiring Connections
After accessing the stereo, find the wiring harnesses connected to it. These wires carry power, sound signals, and control data. Use a wiring diagram for your car model to identify each wire. Label wires with tape and a marker for easy reference. Look for the speaker wires and power wires. This step helps connect the amplifier correctly without errors.
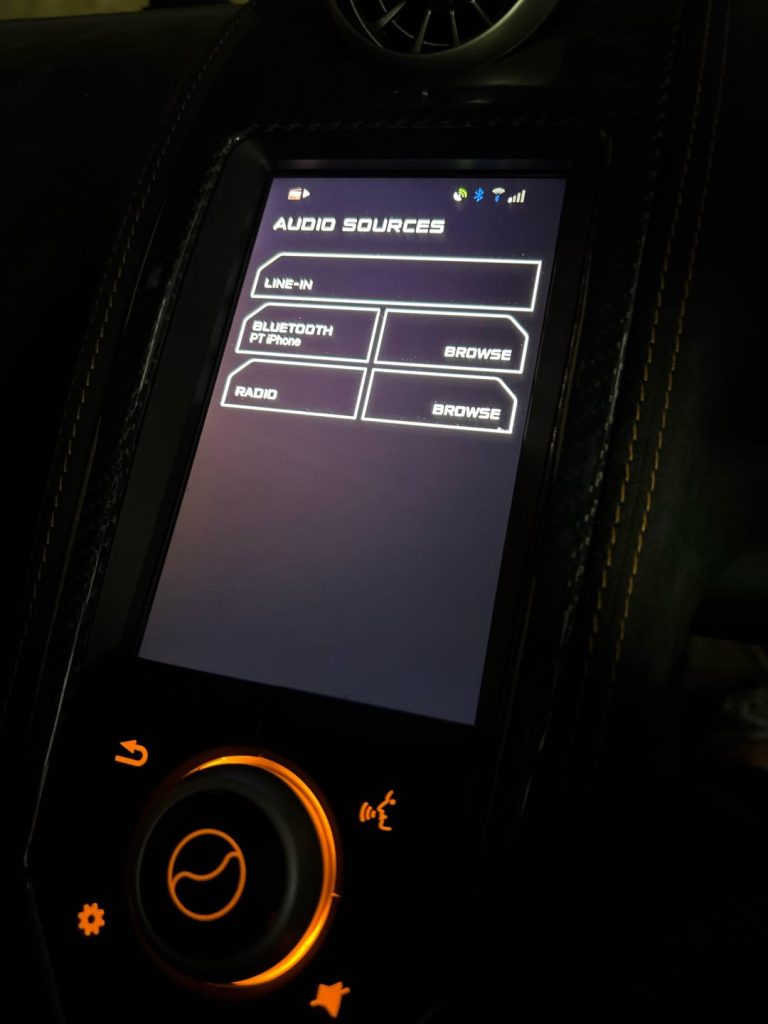
Credit: www.crzforum.com
Running Power And Ground Wires
Running power and ground wires is essential for connecting an amplifier to a factory car stereo. These wires supply the amplifier with the electricity it needs to work. Proper wiring ensures safety and good sound quality. This section covers how to find the right power source and make a solid ground connection.
Locating A Power Source
Find a power source that provides 12 volts directly from the car battery. Using the battery’s positive terminal is the safest choice. Avoid power sources that turn off with the ignition. This ensures the amplifier gets power even when the car is off.
Use a fuse holder near the battery to protect the wiring. The fuse should match the amplifier’s current rating. Run the power wire through the car’s firewall using a rubber grommet. This prevents wire damage and short circuits.
Establishing A Secure Ground Connection
A good ground connection is as important as the power wire. Find a clean metal surface close to the amplifier. Remove any paint or rust to expose bare metal. Use a ring terminal on the ground wire for a strong hold.
Attach the ground wire to the metal surface with a screw or bolt. Make sure the connection is tight and secure. The ground wire should be as short as possible to reduce resistance. This helps the amplifier work efficiently and avoids noise issues.
Connecting The Rca And Speaker Wires
Connecting the RCA and speaker wires is a crucial part of adding an amplifier to your factory car stereo. This step ensures your amplifier receives the correct audio signals and powers your speakers efficiently. Understanding the process will help you avoid common mistakes and get the best sound quality from your upgrade.
Installing A Line Output Converter
A factory stereo usually doesn’t have RCA outputs, so you need a line output converter (LOC) to create them. The LOC taps into your stereo’s speaker wires and converts the signal to RCA outputs for the amplifier.
When installing the LOC, identify the speaker wires behind the stereo. Connect the input wires of the LOC to these speaker wires, matching positive to positive and negative to negative.
Make sure you secure the LOC in a dry, accessible spot, so you can troubleshoot or upgrade later. Have you checked if your LOC supports your stereo’s impedance to avoid signal loss?
Routing Rca Cables
RCA cables carry the audio signal from the LOC to the amplifier. Route these cables carefully to avoid interference from power wires or moving parts.
- Use the car’s existing wire channels or run the cables along the edges of the interior panels.
- Keep RCA cables separate from power cables to reduce noise.
- Secure the cables with zip ties to prevent rattling or damage over time.
Think about the length of the RCA cables; too short limits placement options, too long can degrade the signal. Planning your route before starting will save time and frustration.
Connecting Speaker Wires To Amplifier
Once your RCA cables are in place, connect the speaker wires from the amplifier to your car’s speakers. Use quality gauge wire to handle the amplifier’s power output.
Match the positive and negative terminals carefully to maintain proper speaker polarity. Incorrect wiring can result in poor sound or even damage to your equipment.
Test the connections by playing audio at a low volume before finalizing the installation. Have you double-checked that all connections are tight and insulated to avoid shorts?
Mounting The Amplifier
Mounting the amplifier is a crucial step that affects both the performance and safety of your audio setup. A poorly mounted amplifier can lead to overheating, vibrations, or even damage to your car’s interior. Paying attention to where and how you mount the amp ensures a clean installation and long-lasting sound quality.
Choosing The Best Location
Think about airflow and accessibility first. Amplifiers generate heat, so pick a spot with good ventilation to avoid overheating. Common places include under a seat, in the trunk, or behind a panel.
Consider how easy it will be to run wires from your stereo and battery to the amp. You don’t want cables stretched across awkward angles that risk damage or interference. Also, avoid areas that might expose the amp to moisture or dirt.
Ask yourself: Can you reach the amp easily if you need to adjust settings or troubleshoot? Being able to access it without removing major parts of your car saves time and hassle later.
Securing The Amplifier Safely
Use mounting brackets or a sturdy platform to hold the amplifier firmly in place. Loose amps can vibrate and cause noise or even disconnect while driving. Screwing the amp into a solid surface is usually the best way to secure it.
Double-check the screws or bolts you use. They should be tight but not so much that they damage the mounting points or the amplifier casing. Rubber grommets or pads can help reduce vibrations and protect your amp from shocks.
Remember to keep the amplifier away from any moving parts like seat rails or vents. A secure mount means your amp stays safe no matter how bumpy the ride gets.
Adjusting Amplifier Settings
Adjusting amplifier settings is key to getting clear, powerful sound from your car stereo. Proper settings help balance volume and protect your speakers from damage. Small tweaks can make a big difference in audio quality. Take your time to set the controls carefully.
Setting Gain And Crossover
Start by adjusting the gain control. Gain sets how much the amplifier boosts the signal from your stereo. Too high can cause distortion. Too low means weak sound. Turn the gain up slowly until the sound is loud but clear.
Next, set the crossover frequency. This controls which sounds go to your subwoofer or speakers. Use a low-pass filter for the subwoofer, usually between 80 and 120 Hz. This sends bass sounds to the subwoofer only. For full-range speakers, use a high-pass filter to block low bass.
Use your car stereo’s manual or online guides to find the best crossover settings for your system.
Testing Sound Quality
Play music with strong bass and clear vocals to test sound quality. Listen for distortion or rattling sounds. If you hear distortion, lower the gain slightly. If the bass is weak, raise the gain or adjust the crossover lower.
Drive around and listen at different volumes. Check if the sound stays clear and balanced. Make small adjustments as needed for the best results.
Remember, good sound is about balance, not just loudness. Adjust settings to enjoy clean, rich audio in your car.
Troubleshooting Common Issues
Troubleshooting common issues helps keep your amplifier and factory car stereo running smoothly. Problems often arise during or after installation. Identifying the cause quickly saves time and frustration.
Some issues come from wiring mistakes. Others relate to power or signal interference. Knowing how to spot and fix these problems ensures better sound quality and system reliability.
No Power Or Sound
- Check the fuse on the amplifier and in the car’s fuse box.
- Ensure the power wire is securely connected to the battery.
- Verify the ground wire has a solid connection to the car’s metal frame.
- Confirm the remote turn-on wire is connected properly to the stereo.
- Test speaker wires for any breaks or loose connections.
Interference And Noise Problems
- Keep power and audio cables separated to reduce noise.
- Use shielded RCA cables for signal connections.
- Check for grounding issues causing a humming sound.
- Inspect for damaged or frayed wires that may cause static.
- Try rerouting cables away from engine components and power lines.
Overheating And Protection Mode
- Make sure the amplifier has enough ventilation space around it.
- Check if speaker impedance matches the amplifier’s specifications.
- Reduce volume or bass boost if the amp overheats frequently.
- Inspect wiring for shorts that could trigger protection mode.
- Allow the amplifier to cool down before restarting if it shuts off.
Frequently Asked Questions
How Do I Connect An Amplifier To A Factory Stereo?
To connect an amplifier, you’ll need a line output converter. This device converts speaker signals into RCA signals. First, identify your stereo’s output wires, then connect them to the converter. Finally, connect the RCA cables from the converter to your amplifier’s inputs for enhanced sound.
Can You Add An Amp To A Stock Stereo?
Yes, you can add an amp to a stock stereo. Use a line output converter to adapt the factory stereo’s signal. Connect the converter to the stereo’s speaker wires. Then, link the converter’s RCA outputs to the amplifier. This setup boosts sound quality without changing the stereo.
What Tools Are Needed To Install An Amplifier?
You will need several tools for installation, including wire strippers, crimpers, and a screwdriver. A multimeter can help verify connections. Additionally, use a panel removal tool to access wiring areas. Ensure you have the necessary cables, connectors, and fuses before starting the installation process.
Is It Difficult To Add An Amplifier?
Adding an amplifier isn’t overly difficult but requires some technical knowledge. Understanding wiring diagrams and the car’s electrical system is crucial. With the right tools and instructions, many people can successfully complete the installation. However, if unsure, seeking professional help is recommended to avoid damage.
Conclusion
Adding an amplifier to your factory car stereo boosts sound quality and volume. It is a simple upgrade that makes a big difference. Follow the steps carefully to avoid mistakes. Use the right tools and take your time. A better sound system brings more enjoyment to every drive.
Try it yourself and enjoy clearer, richer music on the road.