How to Repair Sony Car Stereo: Easy Steps for Quick Fixes
Is your Sony car stereo acting up and leaving you frustrated? You rely on your stereo for great sound during every drive, so when it stops working, it can really throw you off.
But don’t worry—you don’t have to be an expert to fix it. In this guide, you’ll discover simple, step-by-step ways to repair your Sony car stereo and get back to enjoying your favorite music without spending a fortune. Keep reading, and you’ll learn easy tricks that save you time and money while bringing your stereo back to life.
Common Sony Car Stereo Issues
Sony car stereos are popular for their sound quality and features. Despite their reliability, certain issues can arise over time. Knowing common problems helps to fix them quickly. This section highlights typical issues found in Sony car stereos. Understanding these problems aids in effective troubleshooting and repair.
Power Problems
Power issues are frequent in car stereos. Sometimes the stereo does not turn on at all. This can happen due to blown fuses or loose wiring. Battery problems might also cause power failure. Checking the power connections and fuses is a good first step. Ensuring the car’s electrical system is stable helps prevent these problems.
No Sound Or Distorted Audio
No sound or bad audio quality frustrates many users. This issue can stem from speaker problems or wiring faults. Another cause is incorrect audio settings or damaged internal components. Dirt or moisture inside the stereo might also distort sound. Testing speakers and adjusting settings often fix this problem.
Display Malfunctions
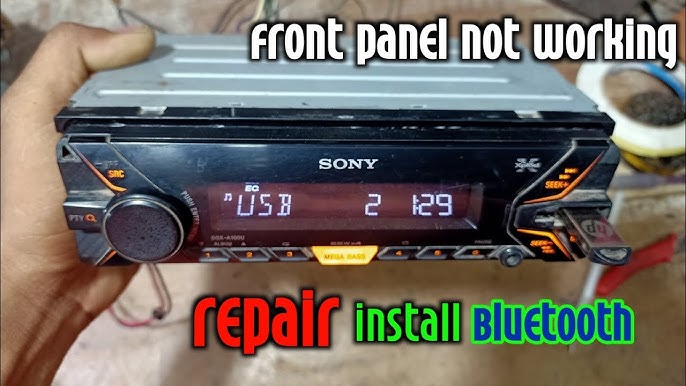
The display shows important information and controls. Sometimes the screen is blank or flickers. This can happen due to faulty backlighting or loose connections. Screen damage from impact or moisture also causes malfunctions. Cleaning the display and checking cables often restore normal function.
Connectivity Failures
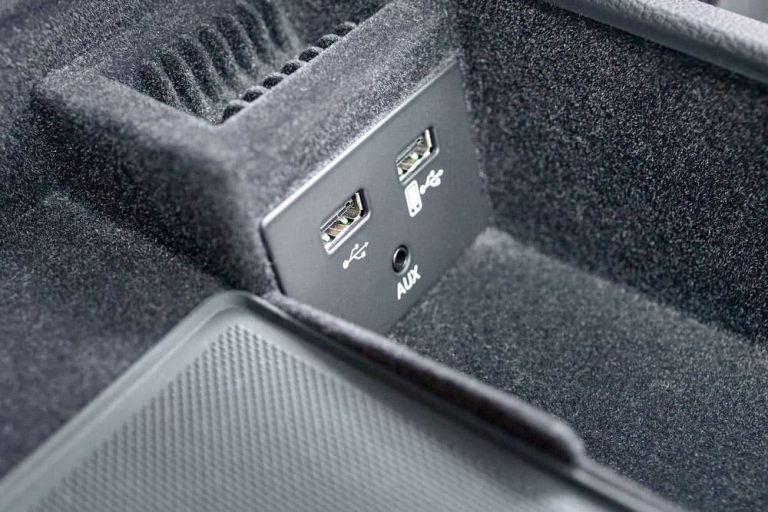
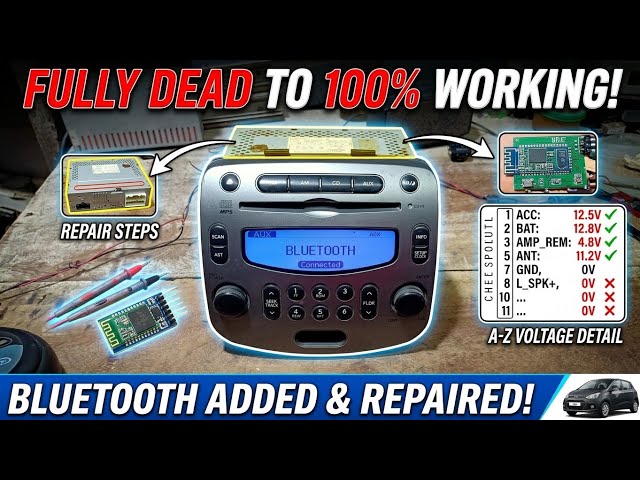
Modern Sony stereos connect with phones and devices. Connectivity issues include Bluetooth or AUX failures. These problems occur from outdated software or signal interference. Loose or damaged ports may also block connections. Restarting devices and updating firmware usually solve these failures.
Credit: www.youtube.com
Tools Needed For Repairs
Before you start fixing your Sony car stereo, gather the right tools. Having the proper equipment not only makes the job easier but also prevents accidental damage. Are you ready to see what you’ll need on your repair journey?
Basic Hand Tools
Start with essential hand tools like screwdrivers and pliers. A set of Phillips and flathead screwdrivers will help you remove panels and screws safely. Needle-nose pliers come in handy for gripping small parts or connectors in tight spaces.
Don’t forget a plastic pry tool or panel remover to avoid scratching your car’s interior. A small flashlight or headlamp can improve visibility in dark areas behind the dashboard. These simple tools form the backbone of most stereo repairs.
Multimeter And Testing Devices
A multimeter is crucial for checking electrical connections and diagnosing faults. It helps you measure voltage, resistance, and continuity without guesswork. If your stereo isn’t powering on, a multimeter can pinpoint where the problem lies.
Consider adding a test light or circuit tester for quick checks of fuses and wiring. These devices provide fast feedback when you need to confirm if power is reaching the stereo. Having reliable testing tools saves you from unnecessary part replacements.
Replacement Parts
Identify the exact parts that need replacement before ordering. Common items include fuses, wiring harnesses, or specific circuit boards unique to Sony models. Using genuine or high-quality compatible parts ensures your stereo works like new again.
Keep small components like screws and connectors organized to avoid losing them during repair. Have a clean workspace ready, so you can easily spot tiny pieces. What’s the one part you think often causes issues in car stereos?
Safety Precautions Before Repair
Before you dive into fixing your Sony car stereo, taking safety precautions can save you from costly mistakes and potential harm. Many overlook these steps, but a simple misstep could damage your stereo or even cause injury. Are you ready to protect both yourself and your equipment?
Disconnecting The Battery
Always disconnect your car battery before starting any repair. This cuts off power and prevents short circuits or electric shocks. I once skipped this step and ended up blowing a fuse—an expensive and avoidable mistake.
To disconnect, use a wrench to loosen the negative terminal first, then the positive. Remember to keep the terminals from touching any metal parts. This small action keeps you and your stereo safe.
Avoiding Static Damage
Static electricity can fry delicate electronic parts inside your Sony stereo. Before handling any components, ground yourself by touching a metal part of your car’s frame. This simple touch discharges static buildup in your body.
Using an anti-static wrist strap is even better if you have one. If not, avoid working on carpets or dry surfaces where static builds up easily. Protecting your stereo from static damage ensures your repair efforts don’t backfire.
Work Area Setup
Set up a clean, well-lit workspace before starting the repair. Clutter and poor lighting can cause you to lose small screws or misplace tools, slowing down the process. I recommend laying down a soft cloth to keep parts from rolling away and getting scratched.
Have all your tools within reach to avoid unnecessary distractions or mistakes. A tidy work area helps you focus and makes the repair smoother and safer. How organized is your workspace right now?
Step-by-step Repair Process
Repairing your Sony car stereo might seem tricky, but breaking it down into clear steps makes the process manageable. Each part of the stereo plays a role, so focusing on one area at a time helps you identify and fix the exact issue. Let’s walk through the repair process carefully, so you can get your stereo back to perfect sound and function.
Removing The Stereo Unit
Start by turning off your car and disconnecting the battery to avoid electrical shocks. Use the appropriate tools to carefully remove the trim around the stereo. Once exposed, gently pull the stereo unit out, taking care not to damage any clips or surrounding panels.
Keep track of all screws and connectors as you remove them. If you’ve never done this before, taking photos can help you remember where each piece goes. Have you noticed how many different connectors these units have? It’s crucial to handle them with care.
Inspecting Wiring And Connections
Check every wire and connector for signs of wear, corrosion, or looseness. A loose wire can cause the stereo to lose power or sound. Use a multimeter to test continuity and make sure power flows where it should.
Look closely at the wiring harness; sometimes, rodents can chew on wires, causing unexpected problems. If you spot damaged wires, strip and reconnect them with electrical tape or connectors. Are your wires clean and secure, or do they need some attention?
Fixing Power Issues
If your stereo doesn’t turn on, the power supply might be the culprit. Check the fuse box for any blown fuses related to the stereo. Replace any faulty fuses with the exact rating to avoid further damage.
Test the voltage at the stereo’s power connector. If no power is reaching the unit, trace the wiring back to the fuse and battery. Sometimes, a bad ground connection can also cause power problems—make sure the ground wire is tightly secured.
Addressing Audio Problems
Sound issues like distortion or no audio at all often come from speaker wiring or internal amplifier problems. Inspect speaker wires for breaks or loose connections. Swap speaker wires between channels to see if the problem moves, helping you pinpoint if it’s the wiring or the stereo’s amplifier.
Cleaning the volume knob and buttons with contact cleaner can fix scratchy or unresponsive controls. Ever had your stereo suddenly go mute? It might be a simple button or wiring fault you can solve yourself.
Repairing Display Components
If the display is blank or flickering, the problem might be with the backlight or display connectors. Open the unit carefully to access the display board. Check for loose ribbon cables or cracked solder joints.
Replacing a backlight bulb or re-soldering connections can bring your display back to life. Be cautious with the delicate LCD screen—it’s easy to damage. Have you checked your display cables lately? Sometimes the fix is as simple as reconnecting a loose cable.
Resetting Sony Car Stereo
Resetting your Sony car stereo can fix many common issues. It clears temporary bugs and restores basic functions. Two main reset types exist: soft reset and factory reset. Each has a different effect and use case.
A soft reset reboots the system without deleting settings. A factory reset erases all data and returns the stereo to original settings. Knowing how to reset helps keep your stereo running smoothly.
Soft Reset Procedures
- Turn off the car engine and stereo.
- Press and hold the power button on the stereo.
- Hold the button for about 10 seconds.
- The stereo will restart automatically.
- Check if the issue is resolved.
Factory Reset Steps
- Turn on the stereo.
- Access the settings menu using the control panel.
- Find the “System” or “Setup” option.
- Select “Factory Reset” or “Initialize.”
- Confirm the reset when prompted.
- The stereo will erase all data and restart.
- Reconfigure your settings after reset.

Credit: www.ebay.ca
When To Seek Professional Help
Knowing when to seek professional help is key to fixing your Sony car stereo safely. Some problems need expert skills and tools. Trying to fix these issues alone can cause more damage.
Use this guide to understand situations that require a technician’s attention. This helps protect your stereo and car’s electrical system.
Complex Electrical Faults
Electrical issues can be tricky and dangerous. Faulty wiring, short circuits, or blown fuses may hide deeper problems. Professionals have special tools to diagnose these faults correctly.
Incorrect handling may cause shocks or damage other car parts. Let experts handle complex electrical repairs for safety and accuracy.
Damaged Internal Components
Internal parts like the circuit board or display need delicate care. Damage to these components usually requires special replacement parts. Opening the stereo without proper tools can void warranties.
Technicians have the right knowledge to replace or repair internal parts safely. This ensures the stereo works well and lasts longer.
Maintaining Your Sony Car Stereo
Maintaining your Sony car stereo is key to keeping it in top shape and avoiding costly repairs. Simple daily care and attention can extend the life of your device and ensure it performs well every time you drive. Let’s look at some practical ways you can keep your stereo system running smoothly.
Regular Cleaning Tips
Dust and dirt can easily accumulate on and inside your stereo, affecting its performance. Use a soft, dry cloth to wipe the exterior regularly. Avoid using harsh chemicals as they can damage the surface.
For the buttons and display, try a microfiber cloth lightly dampened with water. You can also use compressed air to blow out dust from tight spots like the CD slot or around the knobs. Have you noticed your stereo getting sluggish after a dusty road trip? Cleaning it might just bring it back to life.
Updating Firmware
Firmware updates often fix bugs and improve functionality. Check Sony’s official website or your stereo’s menu for update options. These updates can enhance sound quality, fix glitches, and add new features.
Make sure your car is parked and the engine is running during updates to avoid interruptions. If you’ve never updated your stereo, it’s worth trying—it’s like giving your device a fresh boost. When was the last time you checked if your stereo needs an update?
Proper Usage Guidelines
Using your car stereo correctly prevents premature wear and tear. Avoid pressing buttons too hard or inserting damaged discs. Be gentle when adjusting settings or changing modes.
Also, don’t leave your stereo on standby for long periods without the engine running to prevent battery drain. Keeping volume at moderate levels reduces strain on speakers and the amplifier. How often do you catch yourself blasting music at full volume? Lowering it just a bit can protect your stereo over time.
Credit: picclick.co.uk
Frequently Asked Questions
How To Reset My Sony Car Stereo?
To reset your Sony car stereo, locate the reset button, often hidden behind the faceplate. Press and hold the reset button using a pointed tool. This will clear any settings or errors, restoring the stereo to its factory settings. Always consult your manual for specific instructions.
Why Is My Sony Stereo Not Turning On?
If your Sony stereo won’t turn on, check the fuse and wiring connections first. Ensure the car battery is charged. If these are fine, the issue might be internal. Consider professional help if you’re unsure about handling electronics.
How To Fix Sony Stereo Sound Issues?
Start by checking speaker connections and balance settings. Ensure the volume is not muted or set too low. Test using a different audio source. If problems persist, the internal amplifier or speaker might need repair or replacement.
Can I Update My Sony Stereo Firmware?
Yes, you can update Sony stereo firmware for improved performance. Visit Sony’s official website for the latest firmware updates. Follow the provided instructions carefully to avoid any installation issues. Regular updates can fix bugs and improve functionality.
Conclusion
Repairing your Sony car stereo can save money and time. Start with basic checks like power and connections. Use simple tools and follow clear steps. Small fixes often solve common problems quickly. Stay patient and work carefully to avoid damage.
If issues persist, seek expert help to prevent risks. Enjoy clear sound and better driving once fixed. Keeping your stereo in good shape boosts your car experience. Try these tips to keep your music playing well.