How to Install Car Amplifier And Speakers: Step-by-Step Guide
Are you ready to take your car’s sound system to the next level? Installing a car amplifier and speakers can completely transform your driving experience with richer, clearer sound.
But if you’ve never done it before, the process might seem tricky. Don’t worry—you’re in the right place. In this guide, you’ll find simple, step-by-step instructions that make installing your new audio gear easy and stress-free. Keep reading, and you’ll be blasting your favorite tunes with powerful sound in no time.
Choosing The Right Amplifier And Speakers
Choosing the right amplifier and speakers sets the foundation for a powerful and clear car audio system. Picking mismatched components can lead to poor sound quality or even damage your gear. Understanding how amplifiers and speakers work together helps you make smart choices that fit your car and listening style.
Matching Amplifier Power With Speakers
Amplifier power should align closely with your speakers’ power handling. If your amp delivers more power than your speakers can handle, you risk blowing the speakers. Too little power, and your sound will be weak and distorted at higher volumes.
Look for the RMS (continuous power) rating on both the amplifier and speaker specifications. Aim for an amplifier with a power output within 80-100% of your speakers’ RMS rating. This balance ensures your system performs well without damage or distortion.
Types Of Car Amplifiers
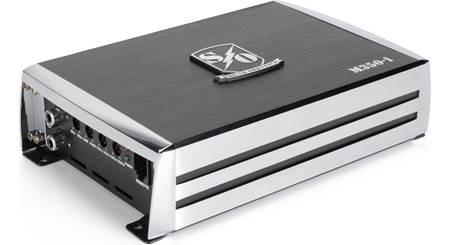
Car amplifiers come in three main types: Class A/B, Class D, and Monoblock amps. Class A/B amps deliver clean sound but tend to be larger and less efficient. Class D amps are compact and energy-efficient, making them great for limited space.
Monoblock amplifiers focus on powering subwoofers and offer high power output from a single channel. Think about where you want your sound emphasis—full-range or bass-heavy—and pick an amp type that matches your goals.
Speaker Sizes And Types
Speakers come in various sizes, typically ranging from 3.5 inches to 6×9 inches for car audio. Larger speakers usually produce better bass, while smaller speakers handle mid and high frequencies more clearly.
Consider the location in your car where speakers will fit. Common types include coaxial speakers, which combine tweeters and woofers in one unit, and component speakers, which separate the drivers for better sound quality. What size fits your car’s doors or dash without modifications?
Gathering Necessary Tools And Materials
Before installing a car amplifier and speakers, gather all tools and materials. This helps avoid interruptions during the process. Prepare everything carefully for a smooth installation.
Essential Installation Tools
- Screwdrivers (flathead and Phillips)
- Wire stripper and cutter
- Crimping tool
- Multimeter for testing voltage
- Socket wrench set
- Electrical tape
- Panel removal tool
- Drill with bits (if drilling is needed)
Wiring And Connectors Needed
- Power cable (usually 8-gauge or thicker)
- Ground wire (same gauge as power cable)
- Remote turn-on wire
- RCA cables for audio signals
- Speaker wires
- Fuse holder and fuse
- Ring terminals and butt connectors
- Heat shrink tubing
Having these tools and materials ready makes the installation faster and safer. Check each item before starting the work.
Preparing Your Car For Installation
Preparing your car for amplifier and speaker installation is a key step. This process ensures safety and smooth work. It helps avoid damage to your car’s electrical system and audio parts. Proper preparation saves time and effort during installation.
Start by making sure the car is parked on a flat surface. Turn off the ignition and remove the keys. Keep tools and parts organized for easy access during the job.
Disconnecting The Battery
Always disconnect the battery before starting any electrical work. This prevents short circuits and electrical shocks. Use a wrench to loosen the negative terminal first. Remove the cable and keep it away from the battery. Then, loosen and remove the positive terminal cable. This step stops power flow to the car’s audio system and protects you and the vehicle.
Removing Existing Audio Components
Next, remove the current audio components carefully. This includes factory speakers and the head unit if needed. Use panel removal tools to avoid damaging trim or clips. Unscrew mounting brackets and unplug wiring connectors gently. Label wires to remember their connections later. Clear out old speakers and wires to make space for new equipment. Clean the area to remove dust and debris before installation.
Mounting The Amplifier
Mounting the amplifier is a key step in installing your car audio system. Proper mounting keeps the amplifier safe and cool. It also helps the system work better and last longer. Choose a good spot and fix the amplifier firmly to avoid noise and damage.
Selecting A Location
Pick a dry, ventilated spot inside your car. Avoid places near heat sources like the engine or exhaust. The amplifier needs air to cool down. Choose a place with enough space around it for airflow.
Common locations include under seats, in the trunk, or behind panels. Make sure the location allows easy access to wiring. Avoid spots where the amplifier might get wet or hit by objects.
Securing The Amplifier
Use screws or brackets to fix the amplifier firmly. The amplifier should not move during driving. Secure mounting prevents loose connections and damage.
Check that the amplifier sits flat and stable. Use a drill and proper tools for a strong hold. Avoid over-tightening screws to protect the amplifier case.
Wiring The Amplifier
Wiring the amplifier is a crucial part of your car audio installation. It ensures that power flows correctly and your sound system performs at its best. Taking your time and following clear steps can prevent common mistakes that cause poor sound or even damage.
Running The Power Cable
Start by choosing a power cable thick enough to handle your amplifier’s current draw—usually 4 or 8 gauge. Run the cable from your car’s battery to the amplifier location, avoiding sharp edges or hot engine parts that could damage the wire.
Use a fuse holder within 18 inches of the battery connection to protect your system. This small safety step can save you from electrical fires or costly repairs. Think about the cable’s path: is there a cleaner way to hide it while keeping it safe?
Connecting The Ground Wire
The ground wire is as important as the power cable. Connect it to a clean, bare metal spot on your car’s chassis near the amplifier. Avoid painted or rusty areas to ensure a solid connection and reduce electrical noise in your system.
Keep the ground wire short and use the same gauge as your power cable. A poor ground connection can cause rattling sounds or intermittent audio issues—have you checked your connections thoroughly?
Installing The Remote Turn-on Wire
This thin wire signals your amplifier to turn on with the car stereo. Connect it from the amplifier’s remote terminal to the head unit’s remote turn-on lead, usually blue or blue with a white stripe. If your head unit doesn’t have a remote lead, you can tap into the accessory power source.
Secure the wire along the same path as your power cable to keep things neat. Without this connection, your amplifier won’t power up when you want it to—have you confirmed this wire’s connection before finalizing the setup?
Connecting Rca And Speaker Wires
RCA cables carry the audio signal from your head unit to the amplifier. Connect these cables firmly to the amplifier’s input jacks, matching left and right channels correctly. Keep RCA cables away from power cables to prevent interference and humming noises.
Speaker wires run from the amplifier’s output terminals to your speakers. Use wires of proper gauge and maintain solid, clean connections at both ends. Double-check polarity to avoid phase issues that can distort sound—have you tested the sound output before closing everything up?
Installing The Speakers
Installing new speakers in your car can dramatically improve your audio experience. It’s not just about swapping old parts; it’s about making sure each speaker is securely mounted and correctly wired for the best sound quality. Let’s dive into the key steps that will help you install your speakers efficiently and effectively.
Removing Old Speakers
Start by disconnecting your car battery to avoid any electrical issues. Then, carefully remove the door panels or speaker covers where your old speakers are housed. Use a screwdriver or trim removal tool to avoid damaging the panels.
Once exposed, unplug the wiring harness connected to the speakers. Unscrew the mounting screws holding the speakers in place, and gently pull the speakers out. Keep the screws; you might need them for the new speakers.
Mounting New Speakers
Check if your new speakers fit the existing speaker openings. If they don’t, you might need an adapter or some modification. Place the new speaker into the mounting hole and align it properly.
- Use the screws you saved or the ones provided with your new speakers to secure them.
- Make sure the speakers sit flush against the mounting surface to avoid vibrations.
- Double-check that the speaker grills or covers fit back properly once mounted.
Wiring The Speakers
Identify the positive and negative terminals on both your speakers and the wiring harness. Usually, the positive wire is marked with a stripe or a different color. Connect these wires carefully to avoid phase issues that can affect sound quality.
Use crimp connectors or solder the connections for a secure fit. Wrap the connections with electrical tape or heat shrink tubing to prevent shorts. Finally, test the speakers by reconnecting your battery and playing some music to ensure everything works perfectly.
Testing The System
Testing your car amplifier and speakers is a crucial step to ensure everything works perfectly. It confirms that your installation is safe and that the sound quality meets your expectations. Skipping this step can lead to potential damage or poor audio performance.
Reconnecting The Battery
Before testing, reconnect your car battery carefully. Make sure the terminals are clean and tightly secured to prevent any electrical issues.
Once reconnected, turn on your car’s ignition but avoid starting the engine immediately. This helps avoid any power surges that might harm your new equipment.
Checking All Connections
Double-check every wire and connector you installed. Loose connections can cause static, no sound, or even damage the amplifier.
- Ensure speaker wires are firmly attached with no frayed ends.
- Confirm the amplifier’s power, ground, and remote turn-on wires are solidly connected.
- Look for any exposed wires that might cause shorts.
Have you ever experienced a crackling sound that ruined a perfect song? It’s often a sign of poor connections.
Adjusting Amplifier Settings
Start with the amplifier’s gain control set low to avoid blasting your speakers suddenly. Gradually increase the gain while playing music to find a balanced volume.
Adjust the bass boost and crossover settings based on your speaker type. For instance, if you have subwoofers, set the crossover to filter out higher frequencies for cleaner bass.
Take your time tuning these settings. Your ears will guide you better than any default configuration.
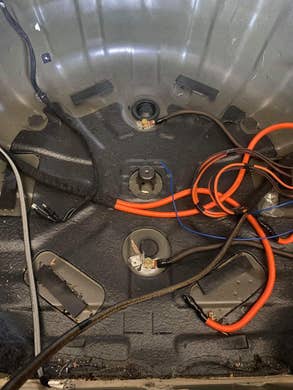
Credit: www.4c-forums.com
Troubleshooting Common Issues
Installing a car amplifier and speakers can transform your driving experience, but sometimes things don’t go as planned. Troubleshooting common issues will save you time and frustration. Let’s dive into some of the problems you might face and how to fix them effectively.
No Sound Or Distorted Audio
No sound or distorted audio is one of the most frequent issues after installation. First, check all your wiring connections. Loose or reversed wires often cause this problem.
Make sure the amplifier is turned on and the gain settings are adjusted properly. Overly high gain can lead to distortion, while too low might result in weak sound.
Have you verified that the speaker wires are connected to the correct terminals? Swapping positive and negative connections can cause phase issues, leading to poor sound quality.
Overheating Amplifier
If your amplifier feels hot to touch or shuts off unexpectedly, overheating could be the culprit. Ensure the amp is mounted in a well-ventilated spot away from direct sunlight or heat sources.
Check the wiring gauge; thin wires increase resistance and cause the amp to work harder. Using the proper gauge wire recommended by the manufacturer can prevent this.
Have you inspected the amplifier’s internal fuses? Blown fuses might indicate an overload or short circuit, which can contribute to overheating.
Interference And Noise Problems
Hearing buzzing, humming, or static noise can spoil your listening pleasure. These sounds often stem from grounding issues or interference from other electrical components.
Make sure the amplifier and head unit share a common ground point. Using separate ground locations can create ground loops, which cause noise.
Try rerouting speaker wires away from power cables and other electronics. Shielded cables can also help reduce interference.
Have you checked if the noise disappears when you disconnect a specific component? This can help identify the source quickly.
Maintaining Your Car Audio System
Maintaining your car audio system is key to keeping your music crisp and your drives enjoyable. A well-kept system not only sounds better but lasts longer, saving you money and hassle. Simple habits can prevent most common issues and keep your amplifier and speakers performing at their best.
Regular Cleaning Tips
Dust and dirt can silently damage your audio components over time. Clean your speakers and amplifier regularly using a soft, dry cloth to remove dust buildup. Avoid using harsh chemicals or water, which can harm sensitive parts.
Pay special attention to speaker grilles and amplifier vents, as clogged vents can cause overheating. A quick vacuum with a brush attachment can help clear debris without causing damage.
Inspecting Wiring And Connections
Loose or corroded connections can disrupt sound quality or even cause your system to fail. Check all wiring and connections every few months to ensure they’re tight and free of corrosion.
Look for frayed wires or exposed copper, which can lead to shorts or electrical issues. If you spot any damage, replace the wiring immediately to avoid bigger problems.
Have you ever experienced crackling sounds or sudden dropouts? These often point to connection issues that you can fix yourself with a little inspection and tightening.
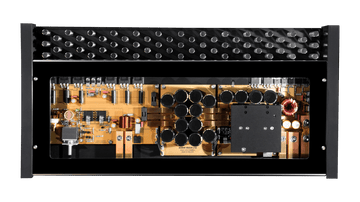
Credit: www.optimaforums.com
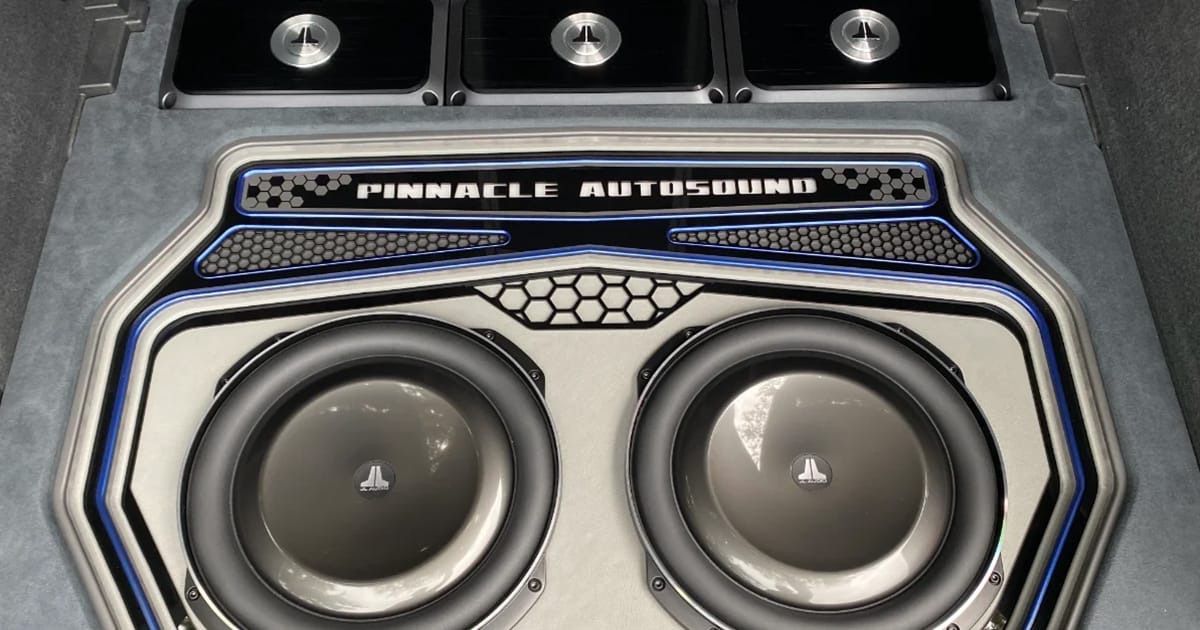
Credit: www.bestcaraudio.com
Frequently Asked Questions
How Do I Connect Car Amplifier Wires?
To connect car amplifier wires, first disconnect your car battery. Then, run power and ground wires to the amp. Connect the remote turn-on wire to the head unit. Finally, connect speaker wires from the amp to the speakers. Ensure all connections are secure for optimal performance.
What Tools Are Needed For Installation?
For installation, you’ll need a wire stripper, crimping tool, screwdrivers, and a multimeter. Additionally, RCA cables, speaker wires, and power cables are essential. Ensure you have an amplifier kit with appropriate fuses. Proper tools ensure a smooth and efficient installation process.
Can I Install An Amplifier Myself?
Yes, you can install an amplifier yourself with basic tools and knowledge. Follow the manufacturer’s instructions carefully. It’s crucial to understand your car’s wiring system. For complex setups, consulting a professional is recommended. DIY installation can save costs, but ensure you’re confident in your abilities.
How Do I Choose The Right Amplifier?
Choose an amplifier based on your speaker’s power requirements and impedance. Ensure it matches your car’s electrical system. Consider the number of channels needed for your setup. Research brands for reliability and warranty. A well-matched amplifier enhances sound quality and overall performance.
Conclusion
Installing a car amplifier and speakers can improve your sound experience. Follow each step carefully for best results. Use the right tools and check all connections twice. Take your time and stay safe during installation. Enjoy clear, powerful music on every drive.
This simple upgrade makes your car rides more fun. Give your car sound system a fresh boost today.