How to Replace Factory Car Speakers: Easy Steps for Superior Sound
Master Automotive Systems Engineer & Performance Vehicle Specialist at CarSpeedNest Automotive Testing Lab · ASE Certified Master Technician, Mobile Electronics Certified Professional (MECP Master), Certified Dyno Diagnostic Specialist · 14+ years in dyno testing, electronic sensor calibration, automotive wiring harnesses, and precision drivetrain maintenance
Are you tired of your car’s dull, lifeless sound? Replacing your factory car speakers can transform your driving experience, bringing your favorite music to life with clear, powerful sound.
But if you’ve never done it before, the idea of swapping out those speakers might seem tricky. Don’t worry—you can do this yourself, step by step, without needing a mechanic. In this guide, you’ll learn exactly how to replace your factory car speakers quickly and easily.
By the end, you’ll know how to upgrade your sound system and enjoy every drive like never before. Ready to get started?
Credit: www.tsxclub.com
Tools And Materials Needed
Replacing factory car speakers is a task that becomes much smoother when you have the right tools and materials at hand. Without proper preparation, you might find yourself stuck halfway or risking damage to your vehicle’s interior. Gathering everything you need beforehand saves time and reduces frustration.
Essential Tools
To start, make sure you have these basic tools ready:
- Screwdrivers:Both Phillips and flathead screwdrivers are necessary for removing panels and screws.
- Panel removal tool:This plastic tool helps pry off door panels without scratching or breaking clips.
- Wire strippers and crimpers:Essential for handling speaker wiring and making secure connections.
- Socket wrench set:Some speakers or mounts require bolts that need a socket wrench for removal.
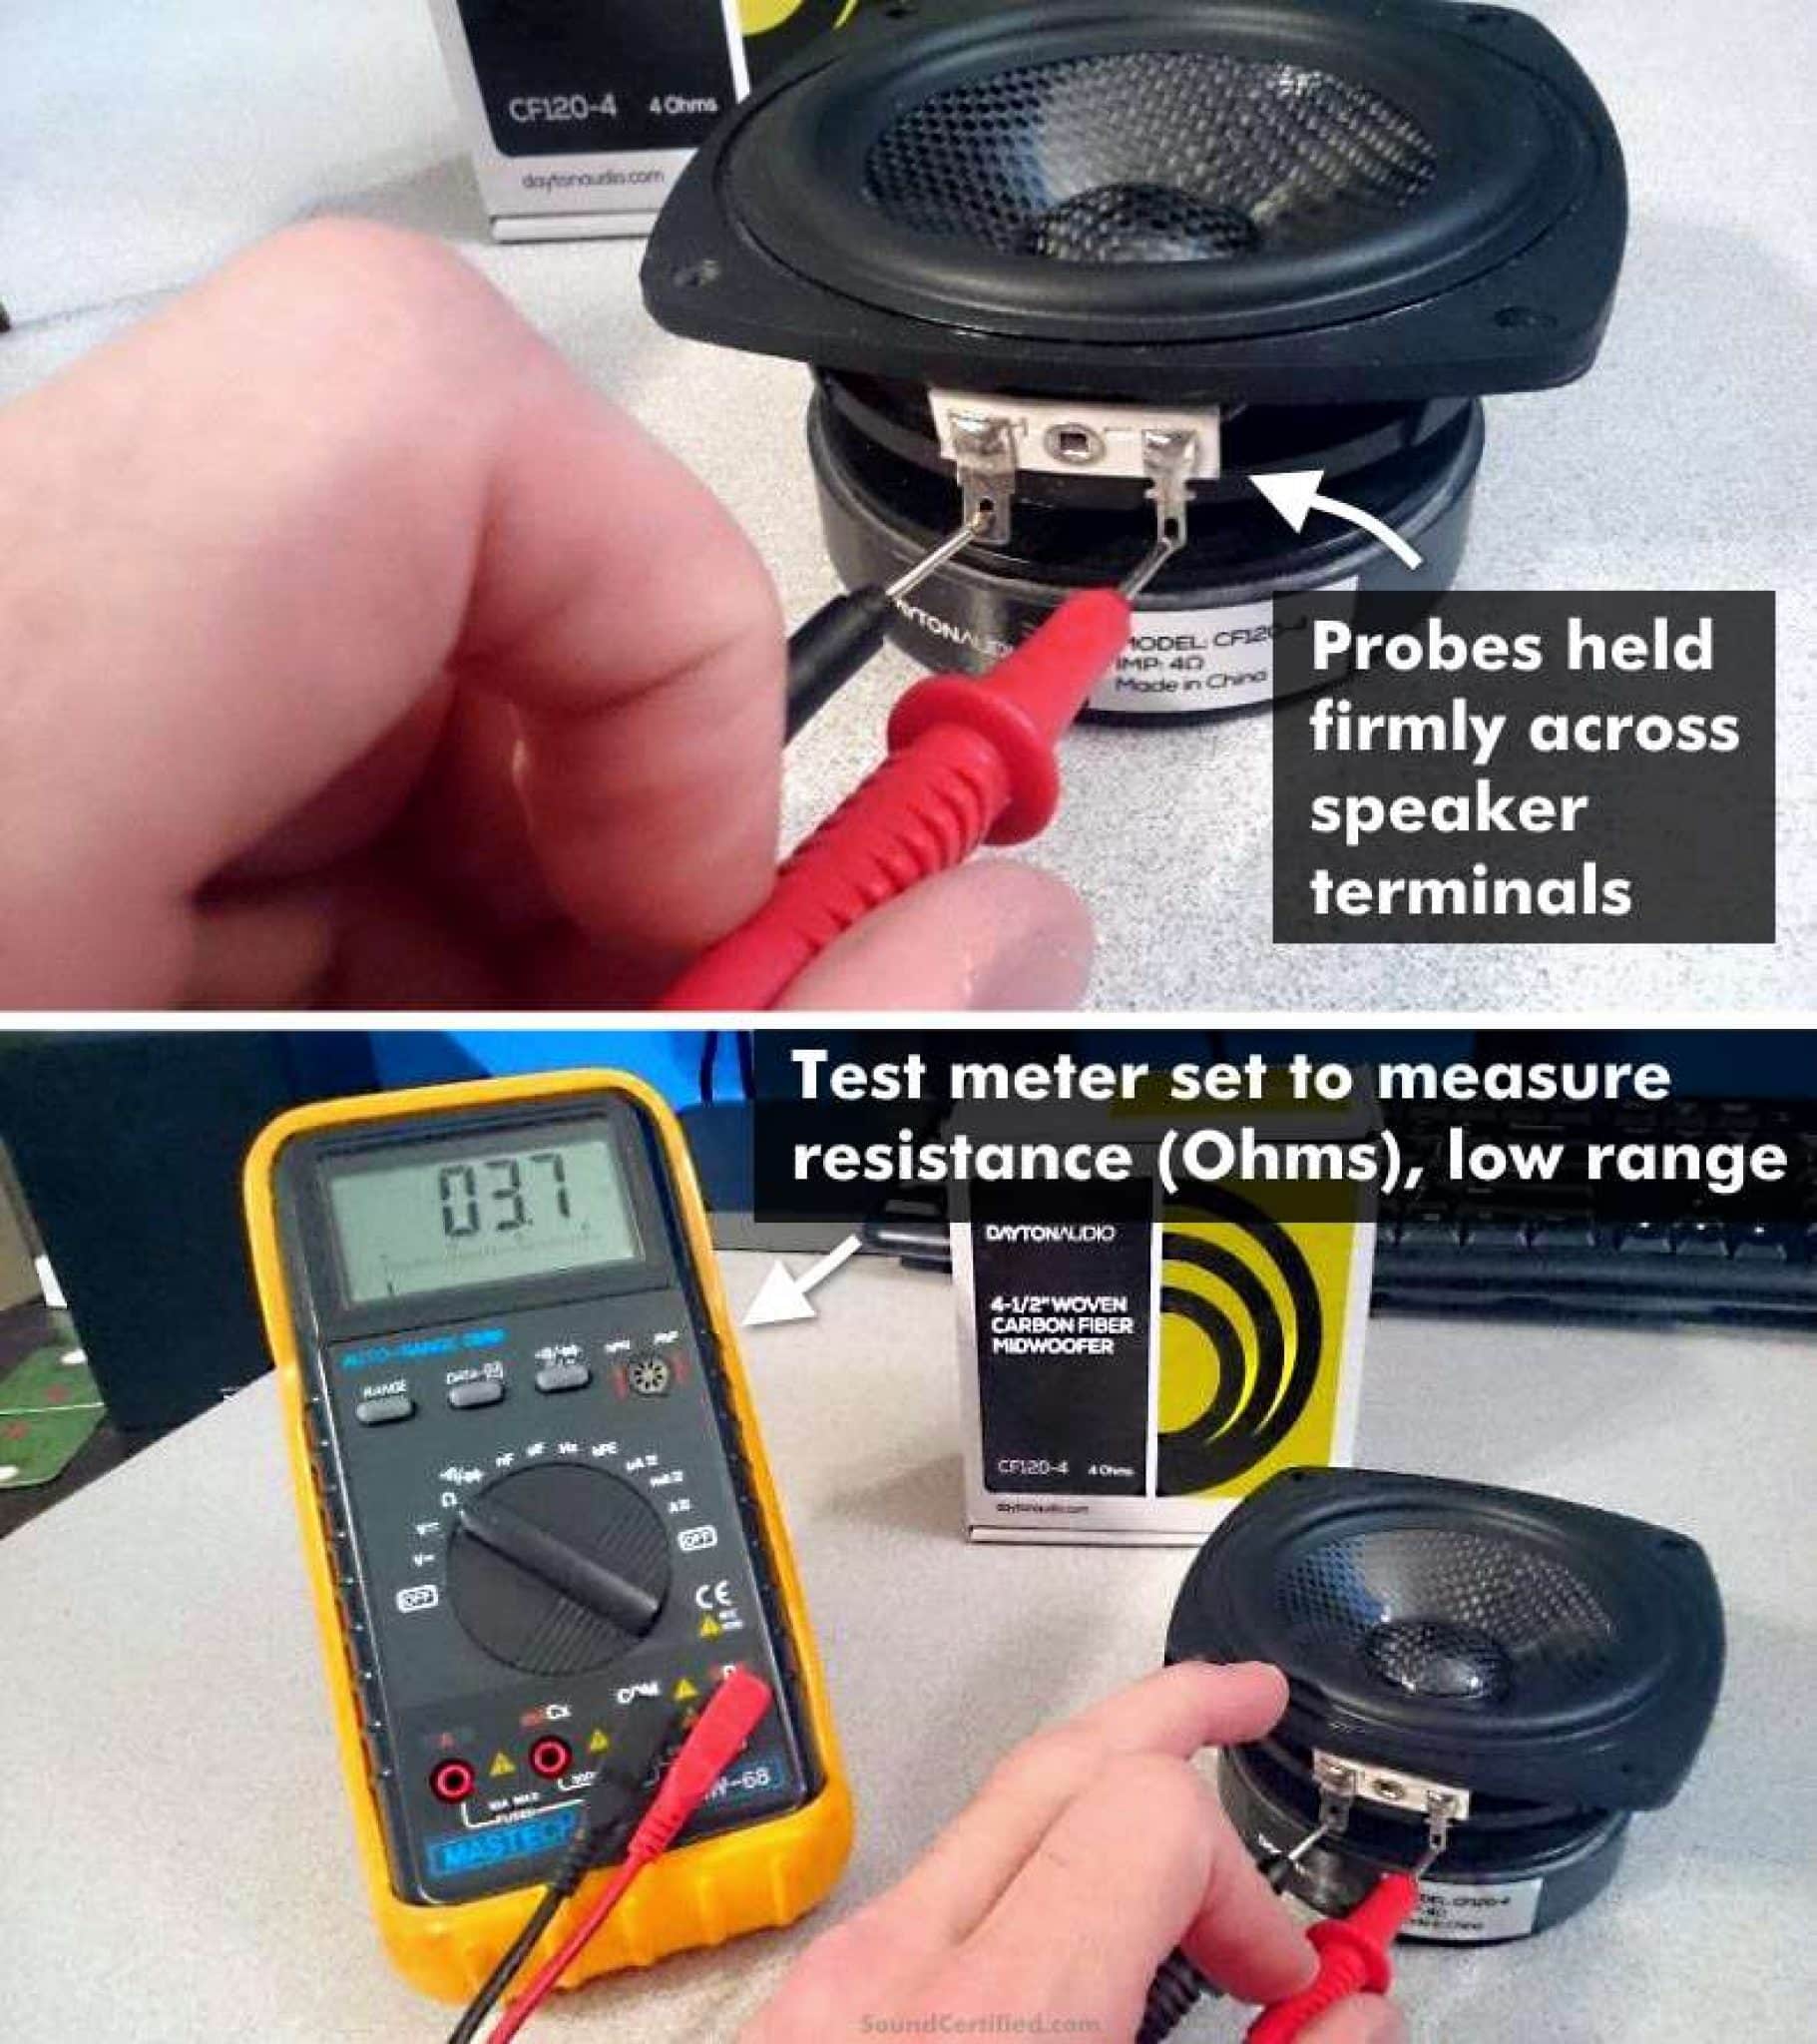
- Multimeter:Useful for testing speaker wires and ensuring correct polarity.
- Electrical tape or heat shrink tubing:For insulating wire connections safely.
Missing just one of these can slow you down. Have you ever tried pulling off a door panel without a proper removal tool? It’s frustrating and can lead to costly damage.
Choosing Replacement Speakers
Not all speakers fit perfectly in every car. Before buying, check your vehicle’s manual or measure the factory speakers yourself. Common sizes include 6.5 inches and 6×9 inches, but your car might have different dimensions.
Consider the speaker’s power handling and sensitivity to match your car stereo system. A speaker that’s too weak won’t sound good, while one that’s too powerful might get damaged easily.
Think about the type of sound you want. Do you prefer deep bass or clear highs? Component speakers offer better sound separation but cost more, while coaxial speakers are easier to install and more affordable.
Preparing Your Vehicle
Preparing your vehicle before replacing factory car speakers is a crucial step that sets the foundation for a smooth and safe installation. Taking time to properly prepare can save you from potential damage and frustration later on. Let’s focus on two key tasks that make this preparation effective and straightforward.
Disconnecting The Battery
Start by disconnecting your car’s battery to avoid any electrical shorts or shocks while working on the speakers. Use a wrench to loosen the negative terminal first, then remove it completely. This simple safety step can prevent damage to your car’s electrical system and protect you from accidental sparks.
Have you ever experienced a sudden spark or blown fuse during a DIY project? Disconnecting the battery stops that from happening and keeps everything safe.
Removing Door Panels
Removing door panels might seem intimidating, but it’s easier when you know what to expect. Begin by locating and removing all screws around the panel, often hidden behind handles or covers. Use a trim removal tool or a flat plastic piece to gently pry the panel away without damaging clips or paint.
Make sure to disconnect any electrical connectors carefully before fully removing the panel. This step gives you clear access to the factory speakers and wiring, allowing for a cleaner, more efficient replacement process.
Removing Factory Speakers
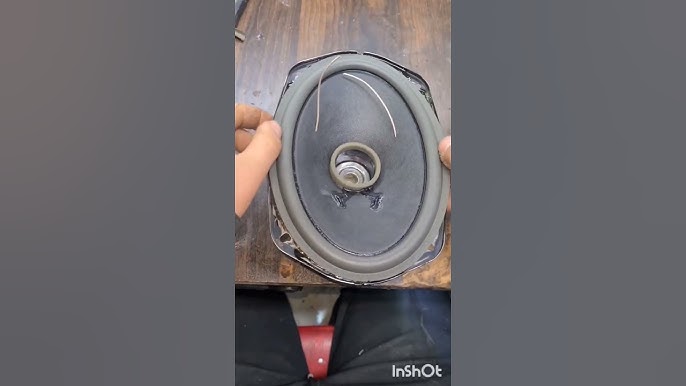
Removing factory speakers is the first task in upgrading your car’s audio system. It requires careful handling to avoid damage to the car’s interior. The process involves accessing the speakers, unscrewing them, and then disconnecting the wiring. Proper tools and patience make this job easier and safer.
Unscrewing The Old Speakers
Locate the screws holding the speaker in place. Use a screwdriver that fits the screws to prevent stripping. Turn the screws counterclockwise to remove them. Keep the screws in a safe place for later use or disposal. Gently pull the speaker out once it is loose. Avoid forcing it to prevent damage.
Disconnecting Wiring Harness
Find the wiring harness connected to the back of the speaker. Press the release tab or gently pull the connector apart. Do not yank the wires to avoid breaking them. Make sure the wires are free and clear before fully removing the speaker. Keep the wiring connectors intact for the new speaker installation.

Credit: www.youtube.com
Installing New Speakers
Installing new speakers can dramatically improve your car’s audio experience. It’s not just about placing the speakers in the right spot; how you connect and mount them affects sound quality and durability. Let’s focus on the key parts of this process to help you get the best results.
Connecting The Wiring
Before you connect anything, check that the car’s power is off to avoid any shocks or shorts. Identify the positive and negative wires coming from your car’s audio system—these usually match the speaker wires by color or label.
Use a wiring harness adapter if possible. It makes connecting easier and keeps your car’s wiring intact. If you don’t have an adapter, twist the wires together securely and cover the connections with electrical tape or heat shrink tubing.
Double-check your connections by gently tugging on the wires. Loose connections cause static or loss of sound. Think about how a shaky connection ruined my first install—don’t let that happen to you.
Mounting The Speakers Securely
Proper mounting prevents vibrations that can distort sound. Use the screws provided with your new speakers or ones that fit the factory holes perfectly.
Make sure the speaker sits flush against the mounting surface. If there are gaps, use foam or rubber gaskets to seal the space. This small step can make a noticeable difference in sound clarity.
Finally, tighten the screws evenly but avoid over-tightening, which might crack the speaker frame. Have you ever noticed how a loose speaker sounds hollow? Secure mounting eliminates that problem and keeps your music crisp.
Testing And Adjusting Sound
Once your new car speakers are installed, the real test begins: making sure the sound quality matches your expectations. Testing and adjusting sound is crucial to get the most out of your upgrade. Small tweaks can transform your listening experience from flat and dull to rich and vibrant.
Reconnecting The Battery
Before you start testing the speakers, reconnect your car’s battery. This step powers up the audio system, allowing you to hear the new speakers in action. Be careful when reconnecting to avoid any electrical shorts or sparks.
Once connected, turn on your car stereo and play a variety of music genres. This helps you evaluate the speaker response across different frequencies. Listen closely for any rattles or distortions that might indicate a loose connection or an installation issue.
Fine-tuning Audio Settings
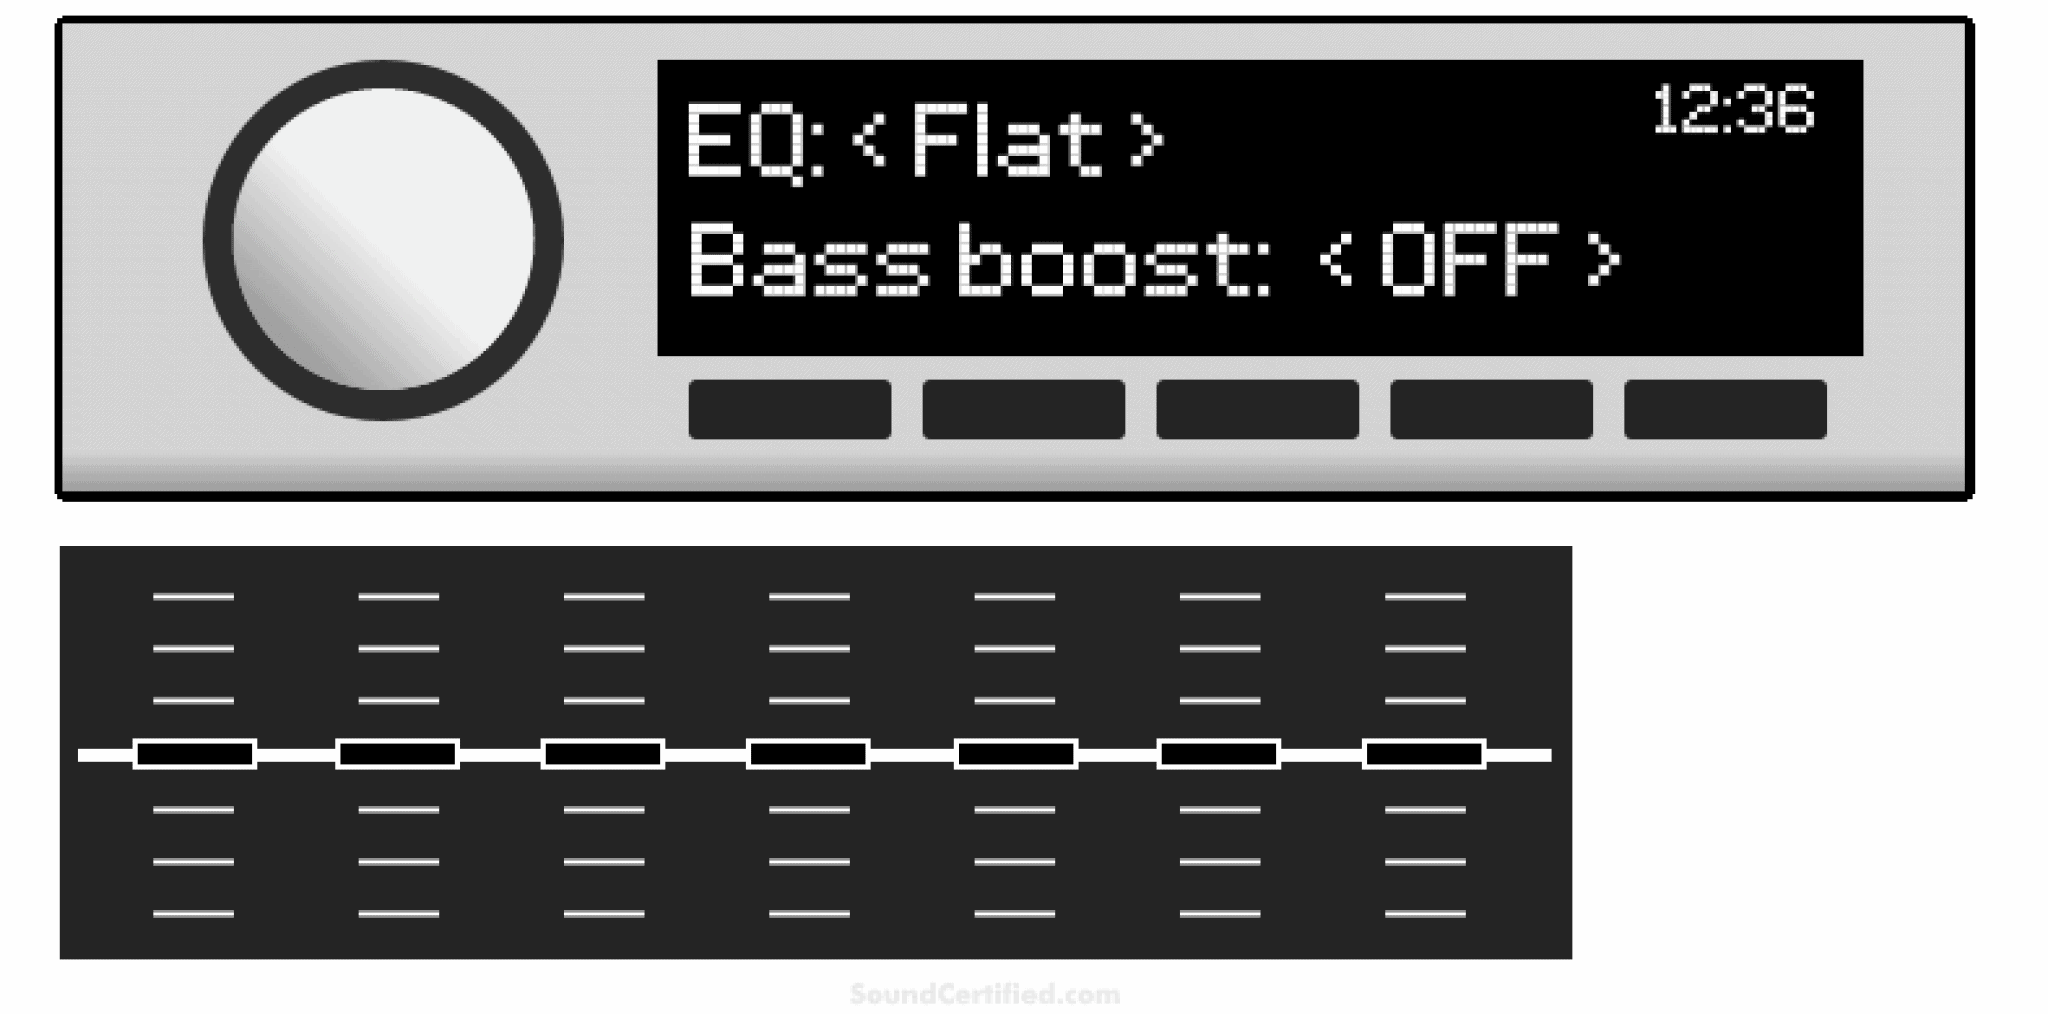
Your car stereo likely has built-in equalizer and balance controls. Adjust these settings to match your personal taste and the acoustics of your vehicle. Don’t hesitate to experiment with bass, treble, and midrange levels until the sound feels right to you.
- Start with a flat equalizer setting and gradually increase bass or treble.
- Adjust the balance and fade controls to center the sound within the cabin.
- Test different volume levels to check for clarity and absence of distortion.
Remember, the acoustics inside a car are unique. Ask yourself: does the music sound balanced from both driver and passenger seats? If not, keep adjusting until you find a sweet spot. Your ears are your best guide here, so trust what you hear rather than default presets.

Credit: www.reddit.com
Tips For Better Sound Quality
Improving sound quality after replacing factory car speakers enhances every drive. Small changes make a big difference in how music sounds inside your vehicle. Simple upgrades bring clearer highs, richer mids, and deeper bass.
Focus on reducing vibrations and boosting power for better audio performance. These tips help achieve cleaner sound and a more enjoyable listening experience.
Adding Sound Deadening Material
Sound deadening material stops unwanted noise and vibrations. It reduces road and engine sounds that interfere with music. Install it inside door panels and speaker enclosures for best results.
- Use foam or butyl-based mats to block vibrations.
- Cover large surfaces around speakers for clearer sound.
- Seal gaps and holes to prevent sound leakage.
Adding this material creates a quiet space for speakers to perform better. It improves bass response and overall sound clarity.
Upgrading Amplifiers
Factory car speakers often lack enough power for full sound potential. An upgraded amplifier provides clean power and controls volume without distortion. It helps speakers deliver clearer and louder audio.
- Choose an amplifier that matches your speaker’s power needs.
- Look for amps with built-in crossovers for better sound tuning.
- Install the amplifier close to the speakers to reduce signal loss.
Amplifiers improve dynamic range and audio detail. They allow your new speakers to perform at their best without strain.
Frequently Asked Questions
How To Remove Factory Car Speakers?
To remove factory car speakers, first disconnect the battery. Carefully remove the door panel using a trim tool. Unscrew and detach the old speakers. Be cautious with wires and connectors to avoid damage. Consult your car’s manual for specific instructions.
What Tools Are Needed To Replace Car Speakers?
Replacing car speakers requires basic tools like a screwdriver, trim removal tool, and wire cutters. A multimeter can be useful for testing connections. You may also need a soldering iron for wire connections. Having the right tools ensures a smooth installation process.
Can I Replace Car Speakers Myself?
Yes, you can replace car speakers yourself with some basic tools and instructions. Follow a step-by-step guide, and ensure you have the right replacement speakers. Take your time during the process to avoid damaging any car components.
Are Aftermarket Speakers Better Than Factory Ones?
Aftermarket speakers often provide better sound quality than factory-installed ones. They offer improved materials and designs for enhanced audio performance. However, the improvement depends on the brand and model you choose. Research and reviews can help you select the best aftermarket speakers.
Conclusion
Replacing factory car speakers can improve your music experience greatly. It takes some care but anyone can do it. Follow the steps carefully and use the right tools. Test the sound after installation to ensure it works well. Enjoy clearer, louder, and better quality sound on every drive.
A small effort brings big changes to your car’s audio. Ready to hear your favorite songs like never before?

Similar Posts