How to Test If Car Speakers Work: Easy Steps for Perfect Sound
Master Automotive Systems Engineer & Performance Vehicle Specialist at CarSpeedNest Automotive Testing Lab · ASE Certified Master Technician, Mobile Electronics Certified Professional (MECP Master), Certified Dyno Diagnostic Specialist · 14+ years in dyno testing, electronic sensor calibration, automotive wiring harnesses, and precision drivetrain maintenance
Have you ever turned on your car stereo, only to wonder if your speakers are really working? It’s frustrating when the sound feels off or completely silent.
But how do you know for sure if your car speakers are the problem or if something else is wrong? You’re about to discover simple, effective ways to test your car speakers yourself. By the end of this article, you’ll have the confidence to pinpoint any issues and enjoy clear, powerful sound on every drive.
Keep reading to learn exactly what steps you need to take right now.
Credit: www.carparts.com
Use A Test Tone
Using a test tone is a straightforward way to check if your car speakers are working correctly. Test tones produce consistent sounds at specific frequencies, making it easier to identify issues like distortion or dead spots. This method gives you clear feedback on each speaker’s performance without needing complicated equipment.
Select A Test Tone Source
You can find test tone files online or use apps designed for audio testing. Many free websites offer downloadable test tones at different frequencies, from low bass to high treble. If you prefer, some car stereo systems include built-in test tones—check your user manual for details.
Pick a source that allows you to play tones individually or in sequence. This way, you can isolate each speaker and spot any problems quickly. Remember, using a phone or USB drive connected to your car stereo usually works best for ease and clarity.
Play And Listen For Output
Play the test tone at a moderate volume—too loud can damage your speakers, too soft might mask issues. Listen carefully for any crackling, buzzing, or no sound at all. If a speaker isn’t producing sound, it might be disconnected or broken.
Try moving your head closer to each speaker to catch subtle differences. Does one speaker sound muffled or quieter than the others? These clues help you decide if you need repairs or replacements.
Swap Speaker Channels
Swapping speaker channels is a simple yet effective way to check if your car speakers are working properly. This method helps you pinpoint whether the problem lies with the speaker itself or with the audio system’s channel output. By switching the left and right speakers, you can quickly identify channel-specific issues without needing extra tools.
Switch Left And Right Speakers
Start by carefully disconnecting the left and right speakers from their respective wires. Swap their positions by connecting the left speaker to the right channel and the right speaker to the left channel. Play some music or a test tone that has clear stereo separation to notice any differences.
If the sound moves to the opposite side, it means both speakers are working fine, but the issue might be with the original channel wiring or the head unit’s output. If the problem stays on the same side, your speaker on that side could be faulty.
Identify Channel Issues
After swapping, listen closely to each speaker’s sound quality and volume. Pay attention to crackling, distortion, or complete silence on either side. These signs suggest a problem with the speaker or wiring in that channel.
Sometimes the issue is as simple as a loose connection or damaged wire. Check the wiring harness and connectors for any visible wear or corrosion. Would you expect a small wire to cause such big sound problems? Often, fixing these simple issues can save you from replacing expensive components.
Try A Multimeter Test
Trying a multimeter test is a simple way to check if car speakers work. This tool measures electrical resistance, helping find speaker issues fast. It shows if the speaker coil is intact or damaged.
Using a multimeter needs no special skills. It gives clear, quick results. This test saves time and avoids guesswork in speaker troubleshooting.
Measure Speaker Resistance
First, set the multimeter to the ohms (Ω) setting. Touch the meter’s probes to the speaker terminals carefully. The meter will show the resistance value in ohms.
Normal car speakers usually have resistance between 3 and 8 ohms. Write down the reading. If the number is very high or infinite, the speaker coil may be broken.
Interpret Multimeter Readings
A reading close to zero means a short circuit in the speaker. A very high number or no reading means an open circuit. Both conditions indicate speaker damage.
Resistance within the normal range means the speaker coil is likely fine. This test does not check sound quality but confirms electrical health.
Check Head Unit Settings
Before blaming your car speakers for poor sound quality or no sound at all, it’s crucial to check your head unit settings. The head unit controls how audio is distributed and adjusted inside your vehicle. Sometimes, speakers seem faulty simply because the settings are off.
Adjust Balance And Fade
Start by adjusting the balance and fade controls on your head unit. These settings manage the sound distribution between left and right speakers (balance) and front and rear speakers (fade).
If the balance is set fully to one side, you might think the opposite speakers aren’t working. Similarly, if the fade is pushed completely to the front, the rear speakers may seem silent.
Try setting both balance and fade to the center position. This ensures sound plays equally through all speakers, helping you determine if each speaker is functioning correctly.
Confirm Audio Settings
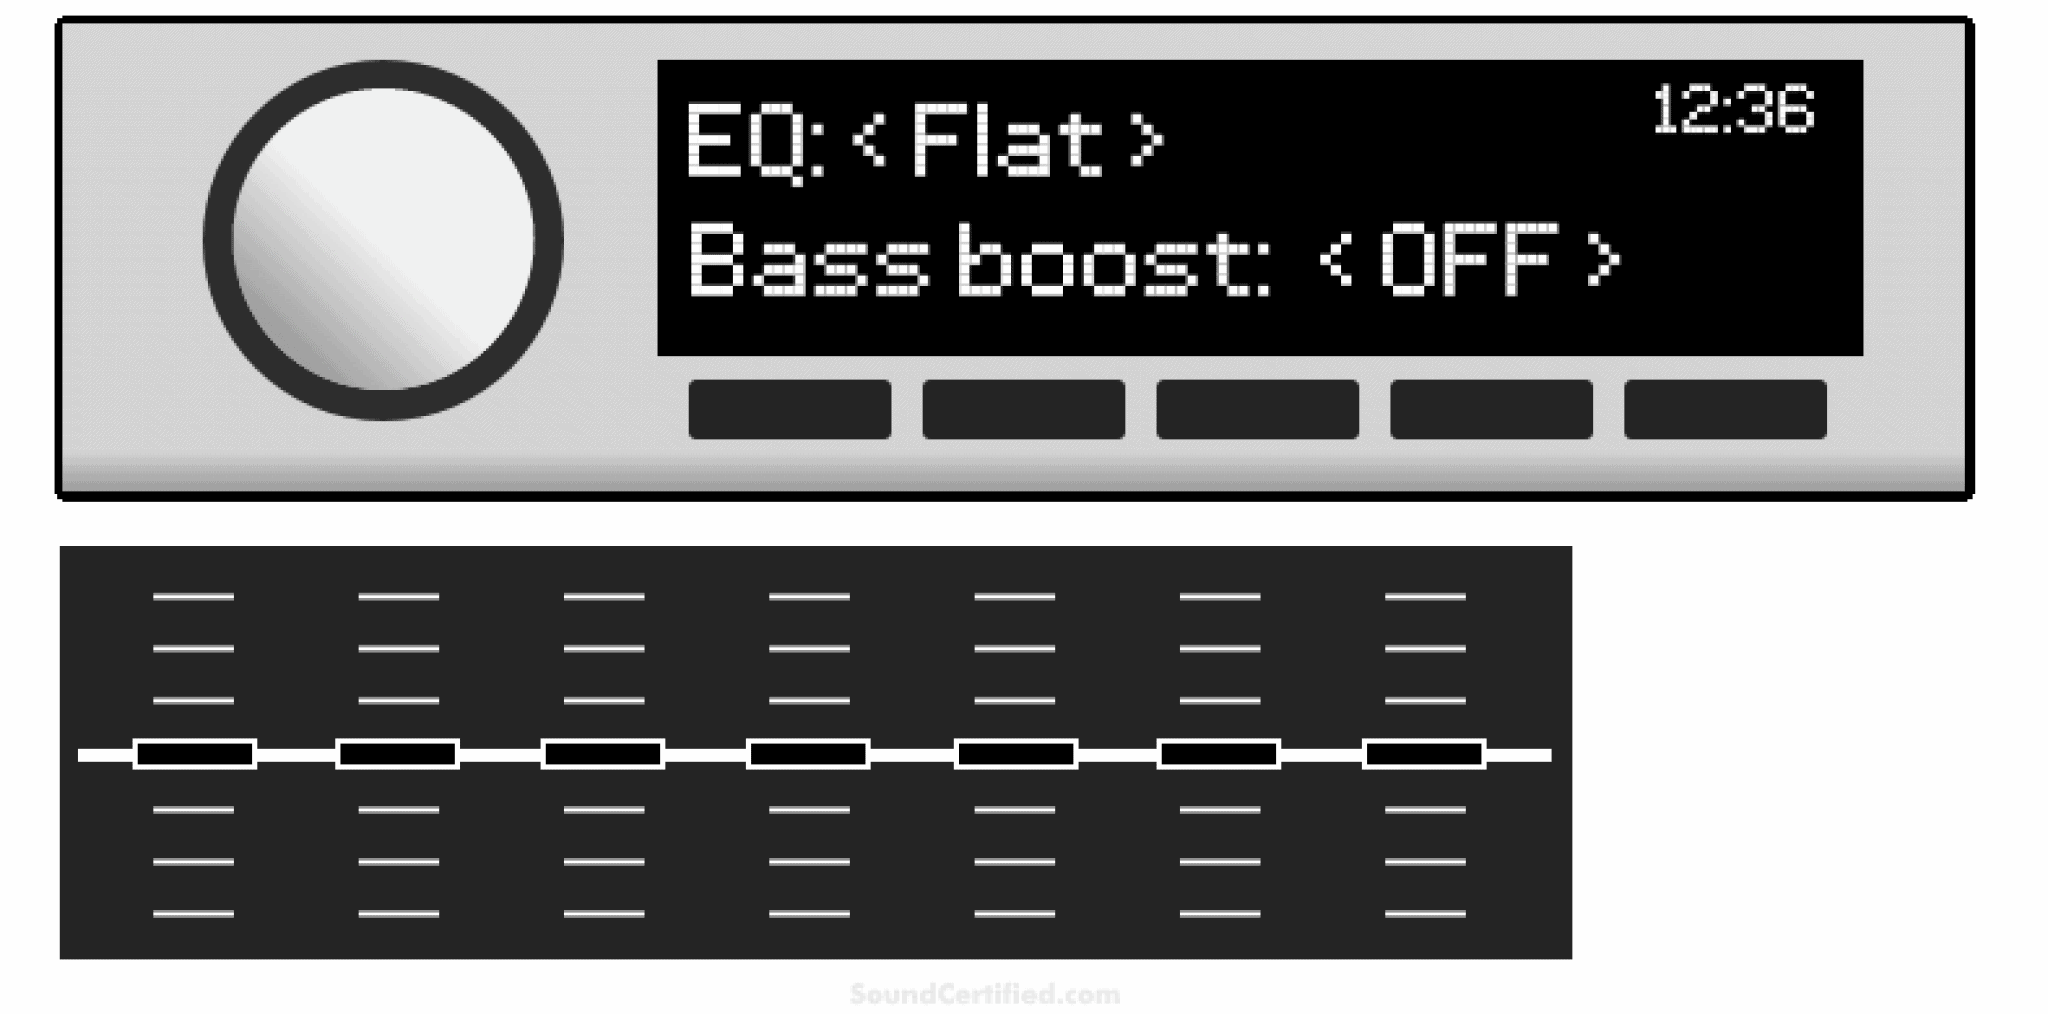
Next, review the audio settings for any enhancements or limitations that affect speaker output. Check if the equalizer settings or sound effects are turned on, as these can sometimes mute certain frequency ranges or speakers.
Some head units have a “mute” feature for specific speakers or channels. It’s worth verifying that none of these are activated by mistake.
Also, ensure the volume level is high enough to hear clearly but not so loud that it distorts the sound. Low volume or muted channels can easily be mistaken for dead speakers.
Test With Different Audio Sources
Testing your car speakers with different audio sources gives you a clear picture of their performance and reliability. Each source type sends audio signals differently, so switching between them helps identify any weaknesses or issues in your speaker setup. It’s a practical approach that reveals how well your speakers handle various sound inputs in real driving conditions.
Use Radio, Cd, Or Bluetooth
Start by playing music through your car’s radio. Radio signals can sometimes introduce static or interference. Listen carefully for any crackling or distortion, which might signal speaker problems.
Next, try a CD if your car has a player. CDs deliver consistent, high-quality sound. If the audio sounds clearer or different than the radio, your speakers are likely working fine, and any issues might come from the radio signal itself.
Finally, test Bluetooth streaming from your phone. Bluetooth can sometimes compress audio, affecting sound quality. If you notice a drop in quality or interruptions, it could be due to the connection rather than the speakers. Testing these three sources lets you isolate the problem more efficiently.
Compare Sound Quality
Pay attention to volume levels, clarity, and bass response across each source. Are vocals crisp and clear? Does the bass thump as expected without distortion? Differences in sound can reveal specific speaker weaknesses.
Try playing the same song on all sources to make a direct comparison. If one source sounds muffled or unbalanced, the issue might be with the input rather than the speakers. Have you ever noticed how one song sounds amazing on your phone but flat on your car stereo? This could be a clue.
By comparing sound quality from different inputs, you get a detailed understanding of your speakers’ health. It’s like giving your car’s audio system a thorough check-up before you hit the road.
Inspect For Physical Damage
Inspecting your car speakers for physical damage is a crucial step in testing if they work properly. Damage to the speaker components can cause distorted sound or complete failure. Taking a close look at the speakers helps you identify visible problems before checking the electrical parts.
Look For Tears Or Holes
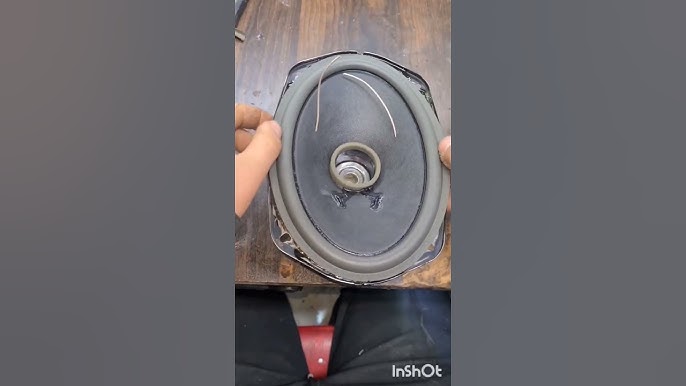
Start by carefully examining the speaker cones for any tears or holes. Even small punctures can affect sound quality by letting air escape and causing unwanted vibrations. Have you ever noticed crackling or buzzing sounds? That often points to damage in this area.
Use a flashlight to get a better view inside the speaker grill. If you spot any rips, you might be able to fix minor tears with special speaker repair kits. Larger holes usually mean the speaker needs replacement.
Check Speaker Cones And Surrounds
The speaker cone is the part that moves air to create sound, while the surround is the flexible ring connecting the cone to the frame. Inspect both closely for cracks, stiffness, or signs of wear. Surrounds that are cracked or hardened can restrict movement and reduce sound quality.
Press lightly around the cone edges to feel if the surround still moves smoothly. Does it spring back or feel rigid? A damaged surround can cause buzzing or rattling noises when playing music.
Remember, physical damage is often easy to spot but sometimes subtle. Take your time and be thorough—your ears will thank you when the sound is clear and strong.
Evaluate Speaker Performance
Evaluating your car speakers’ performance helps ensure clear and enjoyable sound. This process reveals issues like sound distortion or imbalanced volume. A careful listen can detect problems early before they worsen. Check each speaker individually to understand its condition well.
Listen For Distortion Or Crackling
Play a variety of music genres at moderate volume. Pay attention to any unusual noises like crackling or buzzing. Distortion often sounds like static or fuzzy audio. Clear sound means the speaker cone and wiring are in good shape. If you hear popping or crackling, the speaker might be damaged or loose.
Assess Volume Levels
Test the speakers at different volumes, from low to high. Notice if the sound stays balanced and clear. Low volume should still be audible without cutting out. High volume should not cause any rattling or harsh noise. Uneven volume among speakers can indicate wiring issues or speaker wear.

Credit: www.youtube.com
Frequently Asked Questions
How Can I Check Car Speaker Sound Quality?
To test car speaker sound quality, play various music genres at different volumes. Listen for clarity, distortion, and bass response. Ensure the sound is balanced across all speakers. Use audio test tracks for specific frequencies. Evaluate the sound both inside and outside the car for consistency.
What Tools Do I Need To Test Speakers?
You need a multimeter, audio test tracks, and a smartphone. A screwdriver is useful for accessing speakers. A multimeter helps check speaker resistance. Audio test tracks test different frequencies and sound quality. A smartphone can play music and test tracks.
These tools ensure accurate testing.
Can I Test Car Speakers Without Removing Them?
Yes, you can test speakers without removing them. Play music and listen for clarity and distortion. Use a smartphone or audio device to play sound. Walk around the car to ensure balanced sound. If issues persist, consider accessing the speakers for a closer inspection.
Why Is My Car Speaker Not Working?
A car speaker may not work due to loose connections, blown fuses, or damaged wiring. Check the speaker wires and connections. Inspect the fuse box for any blown fuses. If the problem persists, consider consulting a professional to diagnose and repair the issue.
Conclusion
Testing your car speakers ensures clear, quality sound on every drive. Simple steps help find issues fast. Use a phone or radio to check each speaker. Listen for crackling, silence, or distortion. Fix small problems early to avoid costly repairs later.
Regular checks keep your music experience enjoyable and safe. Trust your ears and stay alert to changes in sound. Good sound means a better ride every time.

Similar Posts