How to Install Stereo Speakers in Car: Easy Step-by-Step Guide
Master Automotive Systems Engineer & Performance Vehicle Specialist at CarSpeedNest Automotive Testing Lab · ASE Certified Master Technician, Mobile Electronics Certified Professional (MECP Master), Certified Dyno Diagnostic Specialist · 14+ years in dyno testing, electronic sensor calibration, automotive wiring harnesses, and precision drivetrain maintenance
Are you ready to transform your car rides with powerful, crystal-clear sound? Installing stereo speakers in your car might seem tricky, but it’s easier than you think.
Imagine driving with music that feels alive, making every trip more enjoyable. In this guide, you’ll learn simple, step-by-step instructions to upgrade your car’s audio system yourself. By the end, you’ll have the confidence to install your speakers like a pro and enjoy sound quality that turns heads.
Keep reading to discover how to bring your favorite tunes to life inside your car!
Prepare Your Tools
Preparing your tools is the foundation of a smooth and successful car stereo speaker installation. Without the right equipment and the proper speaker choice, you risk wasting time and possibly damaging your vehicle’s audio system. Taking a moment to get everything ready ensures you’ll work efficiently and confidently.
Gather Necessary Equipment
Before you start, make sure you have all the tools and materials handy. Basic tools include:
- Screwdrivers (both flathead and Phillips)
- Wire strippers and cutters
- Electrical tape or heat shrink tubing
- Crimp connectors or soldering kit
- Panel removal tools to avoid scratching your car’s interior
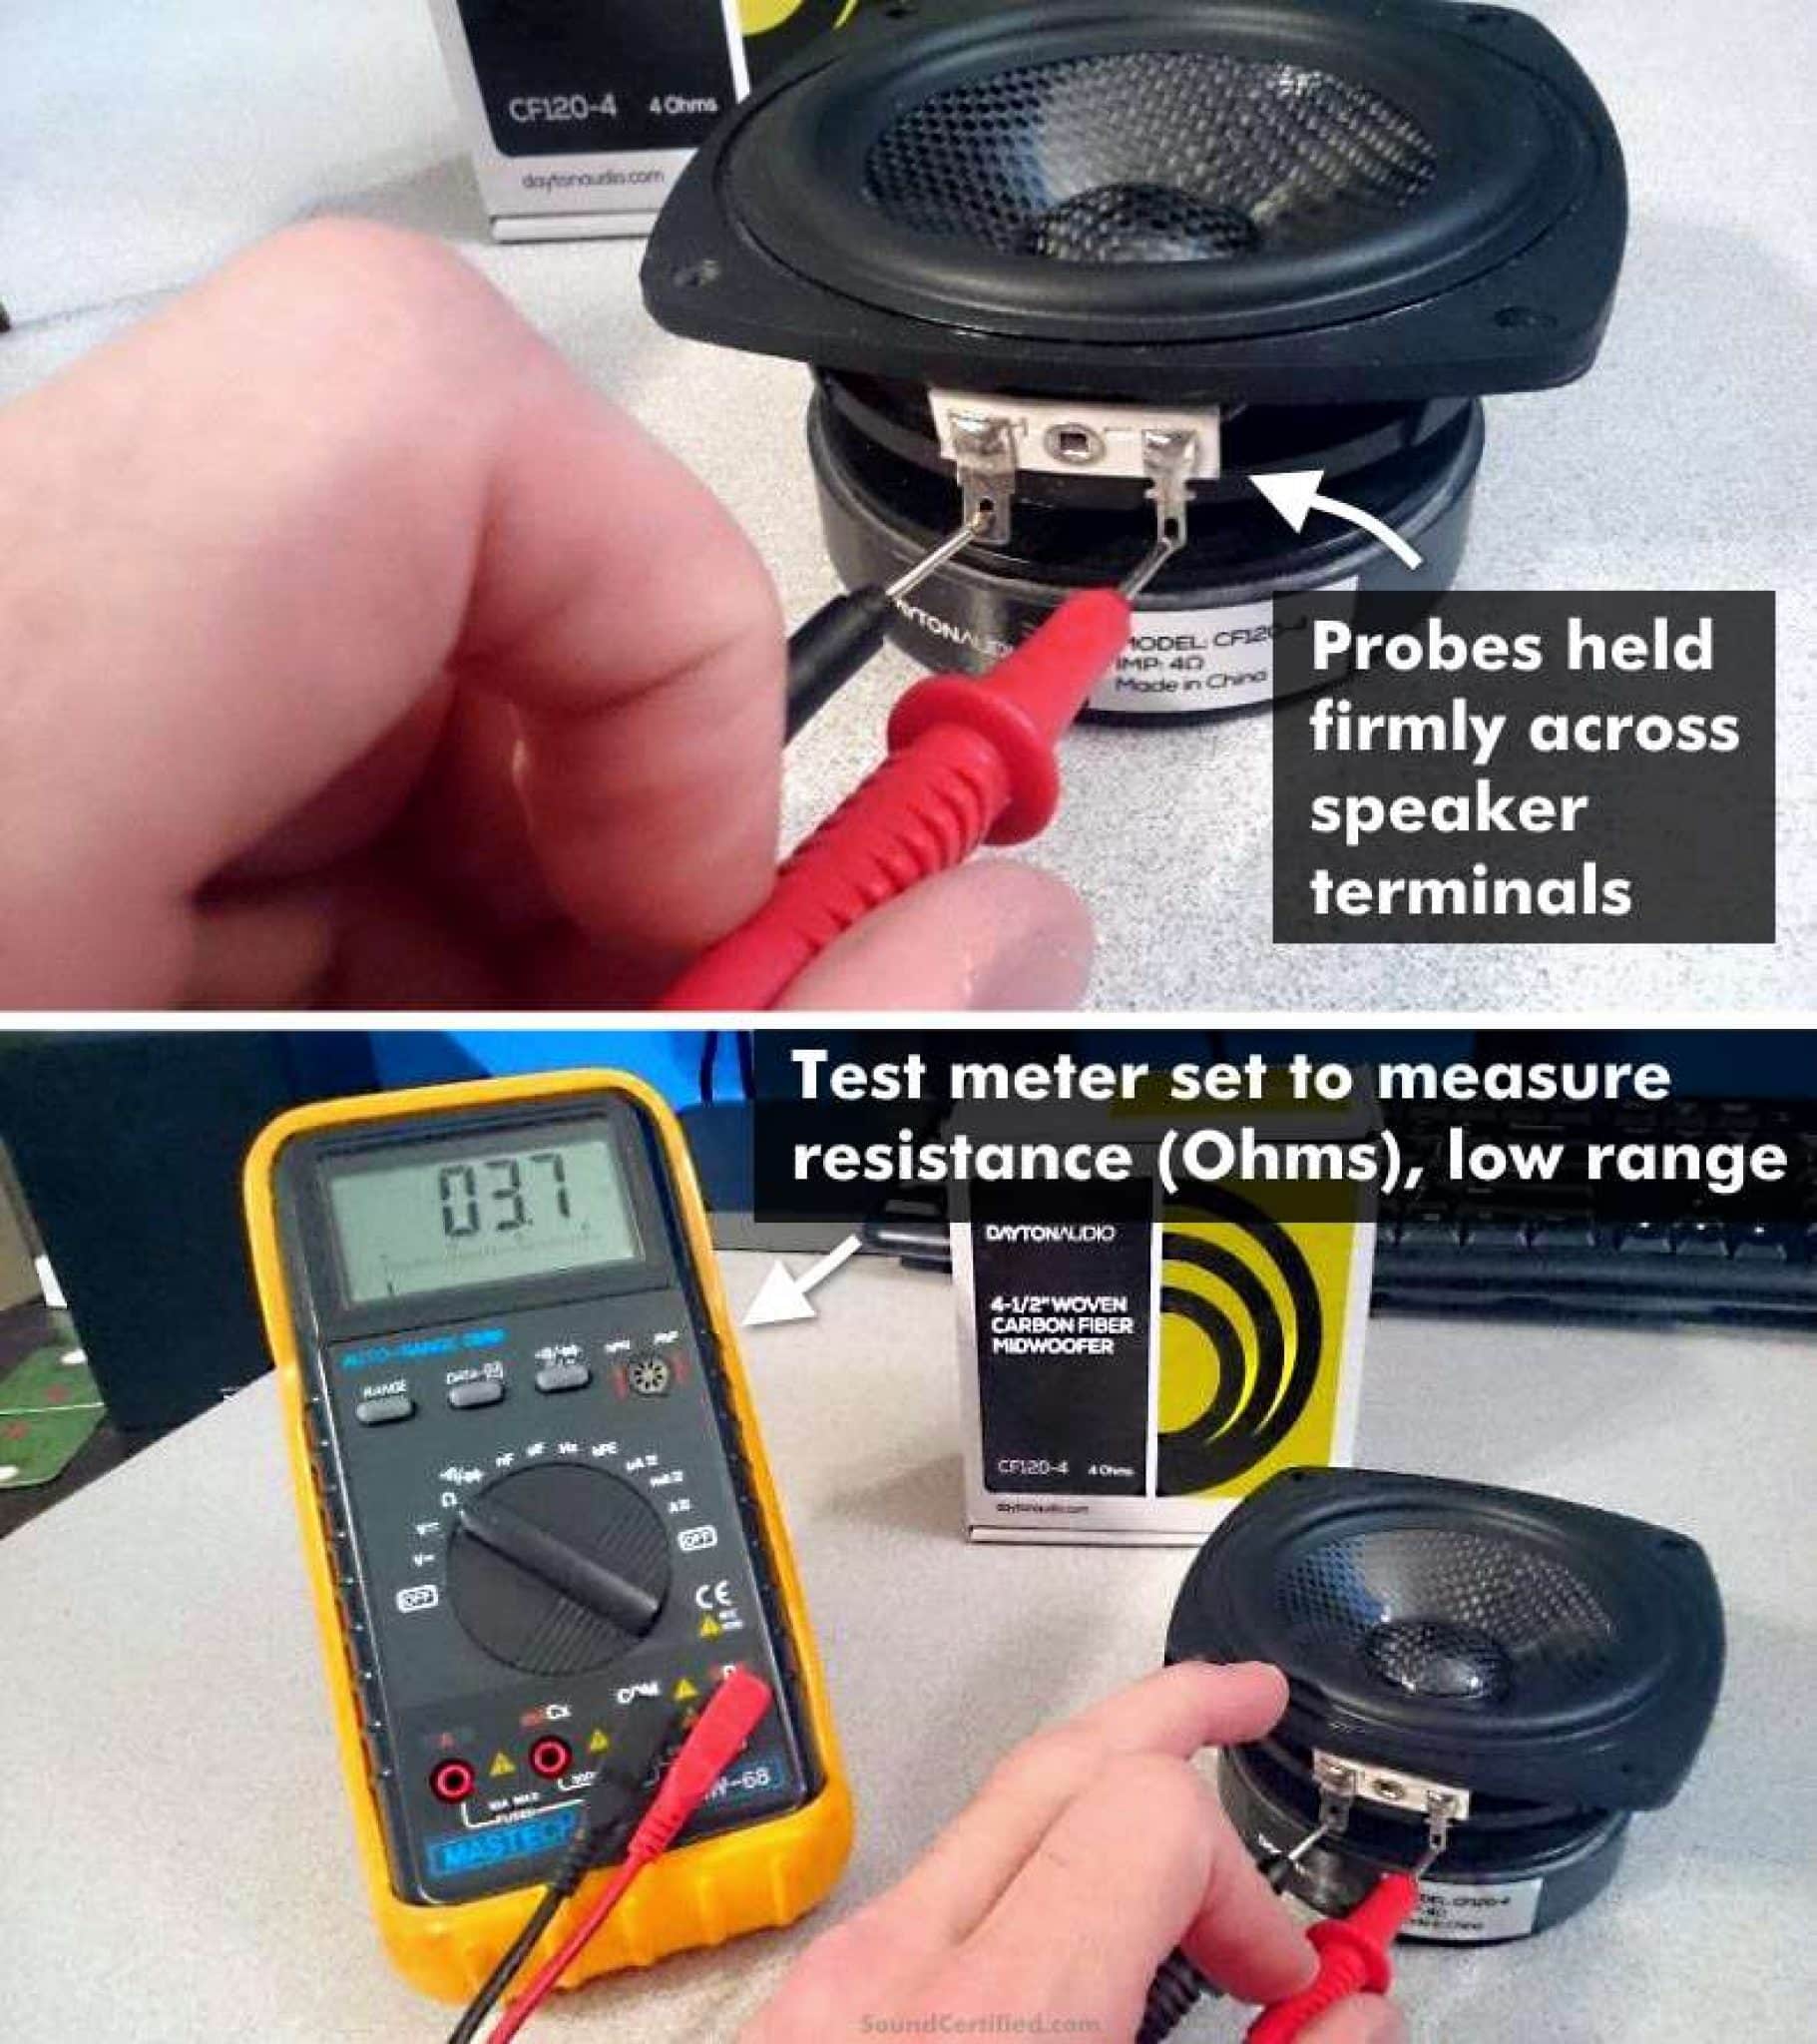
- A multimeter to test connections
Missing even one tool can slow you down or cause frustration. Have you ever started a project only to realize you’re missing a crucial tool halfway through? Avoid that by laying everything out beforehand.
Choose The Right Speakers
Selecting the correct speakers for your car is more important than most people think. Consider the size, power handling, and sensitivity of the speakers to match your car’s audio system and your listening preferences.
Pay attention to the speaker’s mounting depth and diameter to ensure they fit your car’s existing spaces. If you want richer bass, look for speakers with larger woofers or consider adding a subwoofer later.
Have you thought about how the speakers will handle road noise or your typical driving environment? Choosing speakers designed to deliver clear sound even at high volumes can make your daily drive much more enjoyable.
Credit: www.tsxclub.com
Disconnect The Battery
Before you begin installing stereo speakers in your car, it’s crucial to disconnect the battery. This simple step protects both you and your vehicle’s electrical system from accidental shorts or shocks.
Many people overlook this, but I once skipped disconnecting the battery and ended up blowing a fuse. It caused delays and extra costs that could have been avoided with just a quick safety check.
Why Disconnecting The Battery Matters
Disconnecting the battery cuts off all power to your car’s electrical system. This prevents any risk of electric shock and stops your car’s electronics from short-circuiting while you work.
Think about it: you’re handling wires and connections that carry current. Even a small slip can cause sparks or damage if the battery remains connected.
How To Safely Disconnect Your Car Battery
- Locate the battery:Usually under the hood, but some cars have it in the trunk or under a seat.
- Use the right tools:A wrench or socket set to loosen the terminal clamps.
- Remove the negative terminal first:This is typically marked with a minus (-) sign or black cover.
- Secure the cable away:Make sure the cable doesn’t touch the battery terminal again during your work.
- Optional:For extra safety, you can also disconnect the positive terminal.
Common Mistakes To Avoid When Disconnecting The Battery
- Not removing the negative terminal first, which can cause sparks.
- Touching metal parts with tools while loosening terminals, risking a short circuit.
- Forgetting to secure loose cables, which may accidentally reconnect.
Have you ever thought about how something as simple as disconnecting the battery could save you from a costly repair? Taking this step seriously ensures your installation goes smoothly without unexpected interruptions.
Remove Old Speakers
Removing old speakers is a key part of installing new stereo speakers in your car. This process makes space for fresh, better sound equipment. It requires careful handling to avoid damage to your car’s interior.
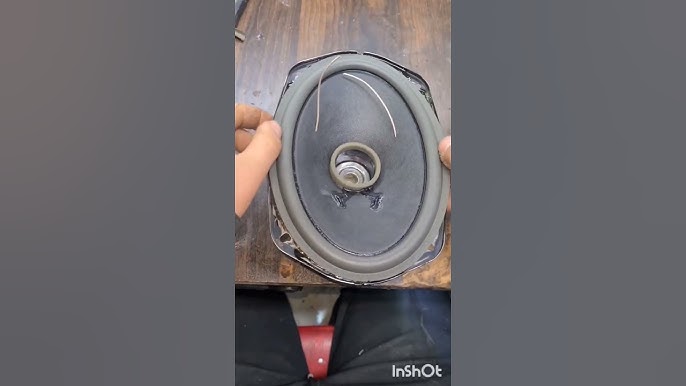
Start by locating and removing the panels that cover the speakers. These panels protect the speakers and keep them in place. After removing the panels, unscrew the speakers and detach them from their mounts. Keep track of screws and wires for easy installation of new speakers.
Access Speaker Panels
Find the speaker panels on your car doors or dashboard. Use a flat tool like a plastic pry tool to gently lift the edges. Avoid using metal tools to prevent scratches. Slowly work around the edges until the panel pops off. Some panels may have screws; remove them first.
Unscrew And Detach Speakers
Once panels are off, you can see the speaker screws. Use a screwdriver to carefully remove all screws holding the speaker. Keep the screws safe for later use. Gently pull the speaker out, watching for connected wires. Disconnect wires by pressing the clips or gently pulling the connectors.
Check Wiring
Checking the wiring is a crucial step before installing stereo speakers in your car. Proper wiring ensures clear sound and prevents damage to the system. It also helps avoid electrical problems that might occur later. Take time to inspect and prepare the wires carefully.
Identify Speaker Wires
Locate the speaker wires in your car’s wiring harness. These wires usually run from the stereo head unit to each speaker location. Speaker wires often have two different colors or markings to show positive and negative connections.
Use a wiring diagram for your car model if available. It helps to know which wire goes where. Mark each wire with tape or labels to avoid confusion during installation.
Test Wire Connections
Test each wire to confirm it works properly. Use a multimeter set to measure resistance or continuity. Touch the probes to the ends of each wire.
- A good wire will show low resistance or a beep sound from the meter.
- If the wire shows infinite resistance, it is broken or disconnected.
Also, check for any corrosion, frayed wires, or loose connections. Fix or replace damaged wires before connecting the new speakers. This step helps ensure a clean and reliable sound from your new stereo system.
Connect New Speakers
Connecting new speakers in your car is a key step for clear sound. This process requires attention to detail to ensure the best audio quality. Proper connections avoid sound issues and speaker damage.
Start by understanding the wires and how they fit with your new speakers. Secure connections are important to keep the system working smoothly during drives.
Match Wire Polarity
Check the speaker wires carefully. Each wire has a positive and a negative side. The positive wire usually has a mark or a red color. The negative wire is often black or unmarked.
Connect the positive wire to the speaker’s positive terminal. Match the negative wire to the speaker’s negative terminal. This keeps the sound balanced and clear. Wrong polarity can cause poor sound and distortion.
Secure Connections
Use proper connectors to join wires firmly. Loose connections cause sound dropouts or buzzing noises. Crimp connectors or solder wires for a strong bond.
Wrap connections with electrical tape to prevent short circuits. Tuck the wires neatly to avoid interference with moving parts. Double-check all connections before closing the speaker panel.

Credit: www.youtube.com
Mount New Speakers
Mounting new speakers in your car is an important step for clear and powerful sound. Properly placing the speakers ensures they fit securely and perform well. This process helps avoid vibrations and rattles that can spoil audio quality. Take time to position each speaker carefully before securing it. A solid mount keeps the speaker stable and enhances sound output.
Fit Speakers Into Place
Align the new speaker with the mounting hole. Check that the wires connect easily without strain. Make sure the speaker sits flush against the door or panel surface. Avoid gaps between the speaker and mount to prevent sound leaks. Test the fit by gently pressing the speaker into place. Adjust if the speaker feels loose or too tight.
Tighten Screws
Use a screwdriver to secure the speaker with screws. Tighten each screw evenly to keep the speaker balanced. Do not overtighten; this can damage the speaker or mount. Stop once the speaker is firmly held without movement. Check all screws after installation to ensure none are loose. Proper tightening reduces vibration and improves sound clarity.
Test The System
Testing the stereo system after installation ensures everything works properly. This step confirms the connections are secure and the sound quality meets expectations. It helps catch any issues early before finalizing the setup.
Reconnect Battery
First, reconnect the car battery to restore power. Make sure the battery terminals are clean and tight. This step powers up the stereo system for testing.
Play Audio And Adjust
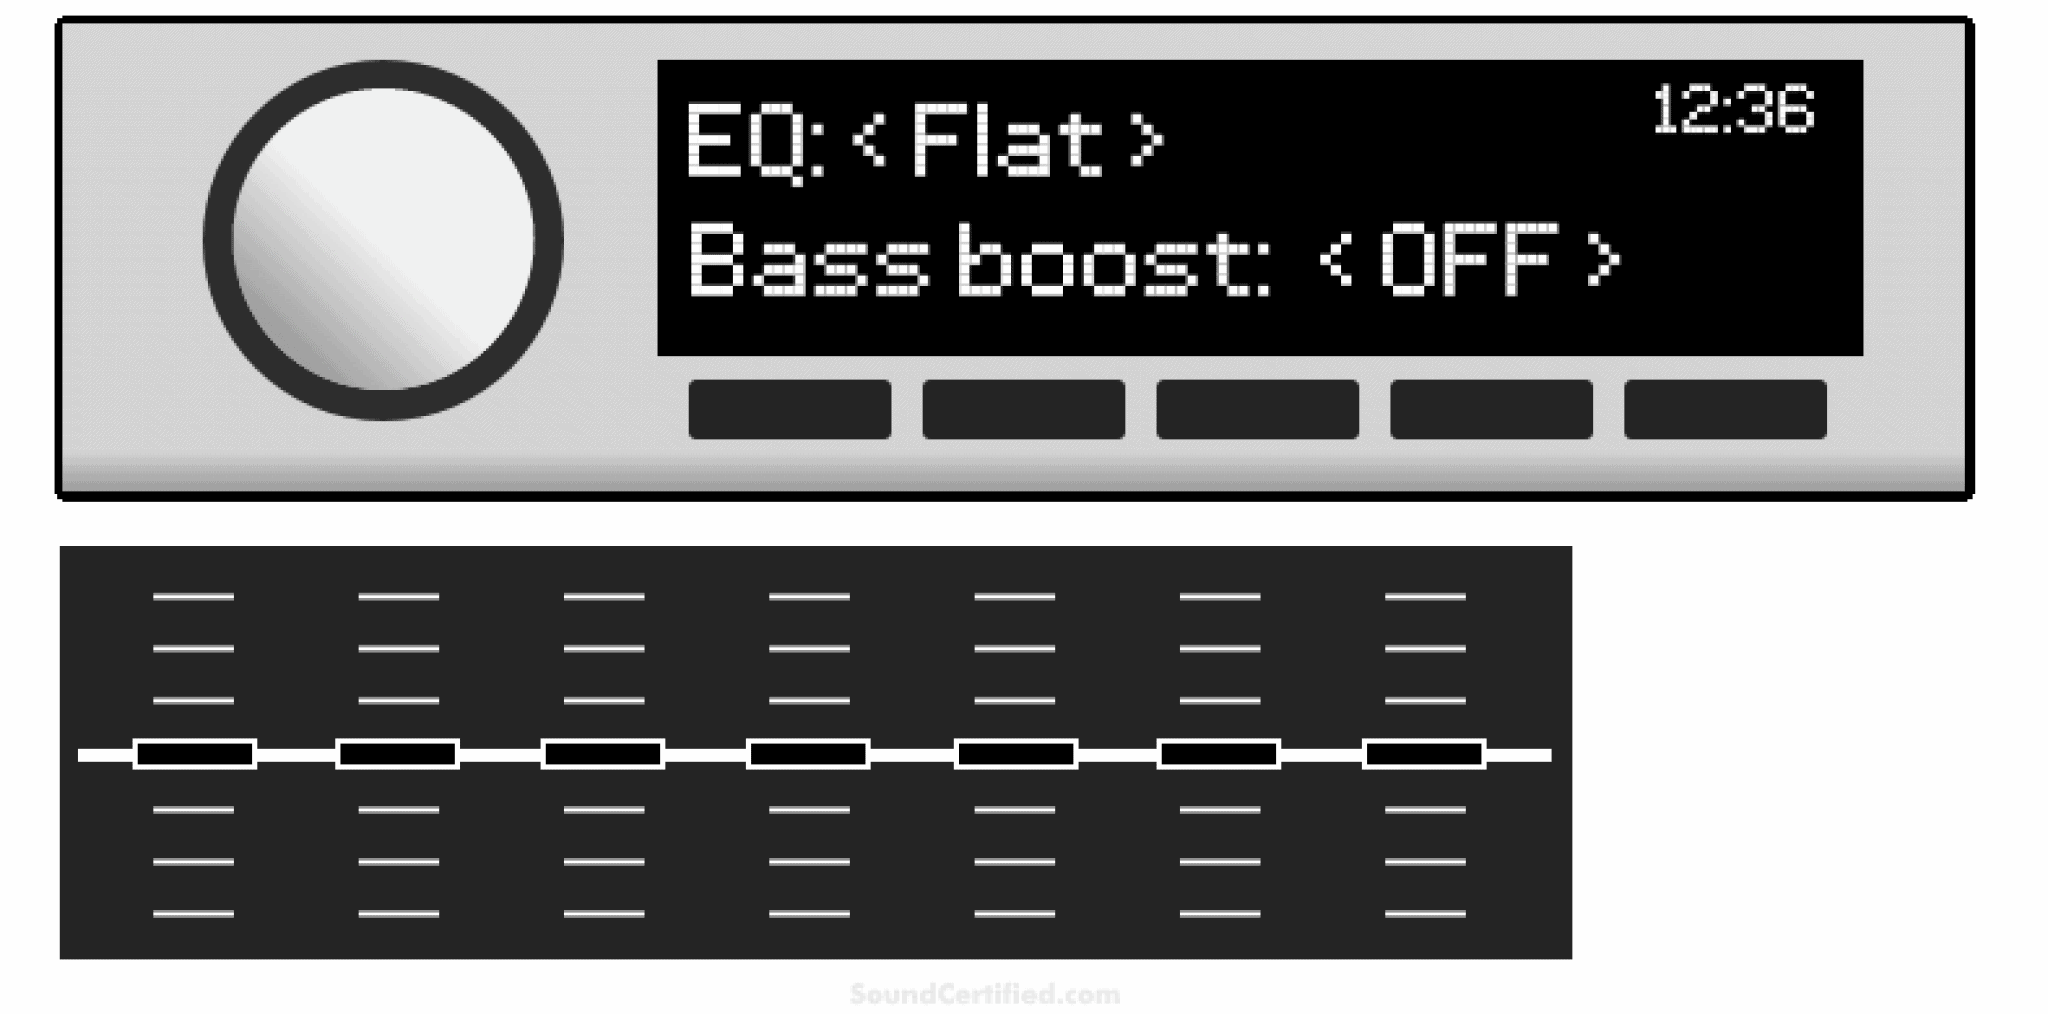
Play different audio tracks to check speaker output and clarity. Listen for distortions, crackling, or weak sound in any speaker. Adjust balance and fade controls to position sound evenly.
- Increase volume gradually to avoid damage.
- Test bass, midrange, and treble frequencies.
- Fine-tune equalizer settings for best sound.
Testing multiple audio types helps identify problems quickly. Make adjustments until the sound feels balanced and clear throughout the car.
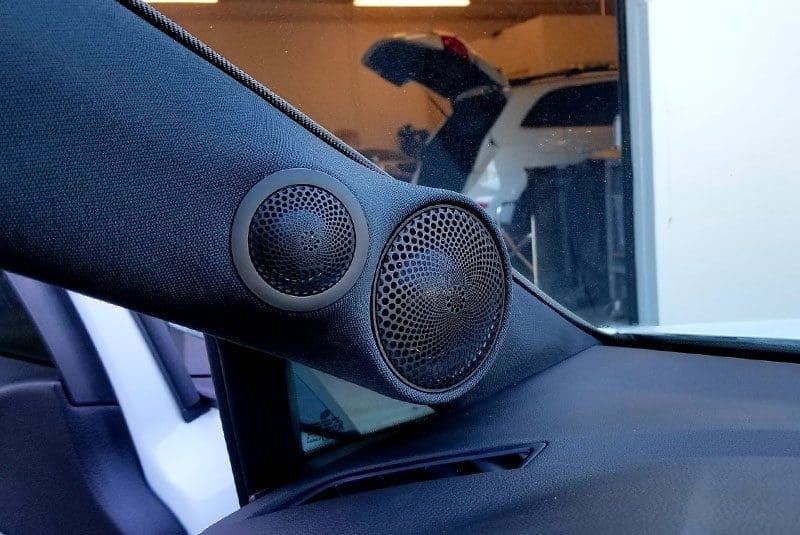
Credit: www.bestcaraudio.com
Reassemble Panels
Reassembling the car panels is the final step in installing stereo speakers. It restores the car’s interior to its original look. Proper reassembly ensures panels fit tightly and securely.
Take your time to avoid damaging clips or screws. A careful approach protects the new speaker setup and the car’s aesthetic.
Align Panels Correctly
Start by positioning each panel where it belongs. Check all edges and holes for screws or clips. Make sure wires are not pinched or trapped behind the panels.
Secure Clips And Screws
Push clips gently until they snap into place. Use the original screws to tighten the panels. Do not overtighten; it may crack the plastic parts.
Test Panel Stability
- Press each panel lightly to check for movement.
- Listen for any rattling sounds during a gentle shake.
- Fix loose spots by re-securing clips or screws.
Reconnect Electrical Components
If your panels have electrical parts, such as window controls or lights, reconnect them carefully. Test these functions before finalizing the assembly.
Clean The Area
Remove fingerprints and dust from the panels. Use a soft cloth to keep the interior clean. A neat finish enhances your car’s look and feel.
Troubleshoot Common Issues
Troubleshooting is a key part of installing stereo speakers in your car. Problems can arise even after careful setup. Knowing common issues helps fix them quickly and enjoy clear sound.
Many issues are simple to resolve with a few checks. This section covers two common problems: no sound and distorted audio. Follow the tips below to identify and solve these problems effectively.
No Sound Problems
Start by checking the power connection to the stereo system. Loose or disconnected wires often cause no sound. Ensure the car’s ignition is on, as some systems need power only when the car runs.
- Check speaker wires for secure connections.
- Verify the fuse related to the stereo is not blown.
- Test the stereo with headphones or another speaker.
- Ensure volume is turned up and not muted.
Sometimes, the issue lies in the head unit settings. Reset settings to factory default to clear any misconfigurations. If the problem persists, inspect the speakers themselves for damage or wiring errors.
Distorted Audio Fixes
Distorted sound often comes from poor wiring or incorrect speaker impedance. Check all speaker wires for frays or loose connections. Replace any damaged wires immediately.
- Match the speaker impedance with the stereo amplifier specifications.
- Avoid overdriving the speakers by lowering volume if distortion occurs.
- Use a quality audio source to prevent poor signal input.
- Inspect the speaker cones for physical damage.
Adjust the equalizer settings to reduce harsh sounds. Sometimes, reducing bass or treble can clear distortion. Test after each change to find the best sound quality.
Frequently Asked Questions
How Do I Choose The Right Stereo Speakers For My Car?
Choosing the right stereo speakers involves checking your car’s specifications and your audio preferences. Consider the speaker size, power handling, and sensitivity. Ensure compatibility with your car’s audio system and your music taste. Consulting with an audio specialist can also help in making the right choice.
What Tools Are Needed For Installing Car Speakers?
To install car speakers, you’ll need a screwdriver, wire stripper, and crimping tool. A panel removal tool can help with accessing the speaker area without damage. Having a multimeter is useful for checking connections. Always ensure you have the right tools to avoid any installation issues.
How Long Does It Take To Install Car Speakers?
The time required to install car speakers depends on your experience level. For beginners, it might take around two to three hours. Experienced individuals can complete the installation within one to two hours. Preparation and having the right tools can significantly reduce the installation time.
Can I Install Car Speakers Myself?
Yes, you can install car speakers yourself with the right tools and instructions. Many resources, like guides and videos, are available online to help. However, if you’re unsure, consulting a professional might be beneficial to avoid damaging your car’s audio system.
Conclusion
Installing stereo speakers in your car can boost your music experience. Follow the steps carefully for a safe setup. Use the right tools and double-check connections. Take your time to avoid mistakes or damage. Enjoy clearer sound and better bass on every drive.
A little effort brings big rewards in sound quality. Now, your car rides will feel more fun and lively. Simple upgrades like this make a difference every day.

Similar Posts