How to Install a Car Stereo And Speakers: Step-by-Step Guide
Are you ready to upgrade your car’s sound system but don’t know where to start? Installing a new car stereo and speakers can seem tricky, but with the right steps, you can do it yourself and save money.
Imagine enjoying crisp, clear music every time you drive, all from a system you installed with your own hands. In this guide, you’ll find simple, step-by-step instructions that make the process easy and stress-free. Keep reading to discover how to transform your car’s audio experience quickly and confidently.
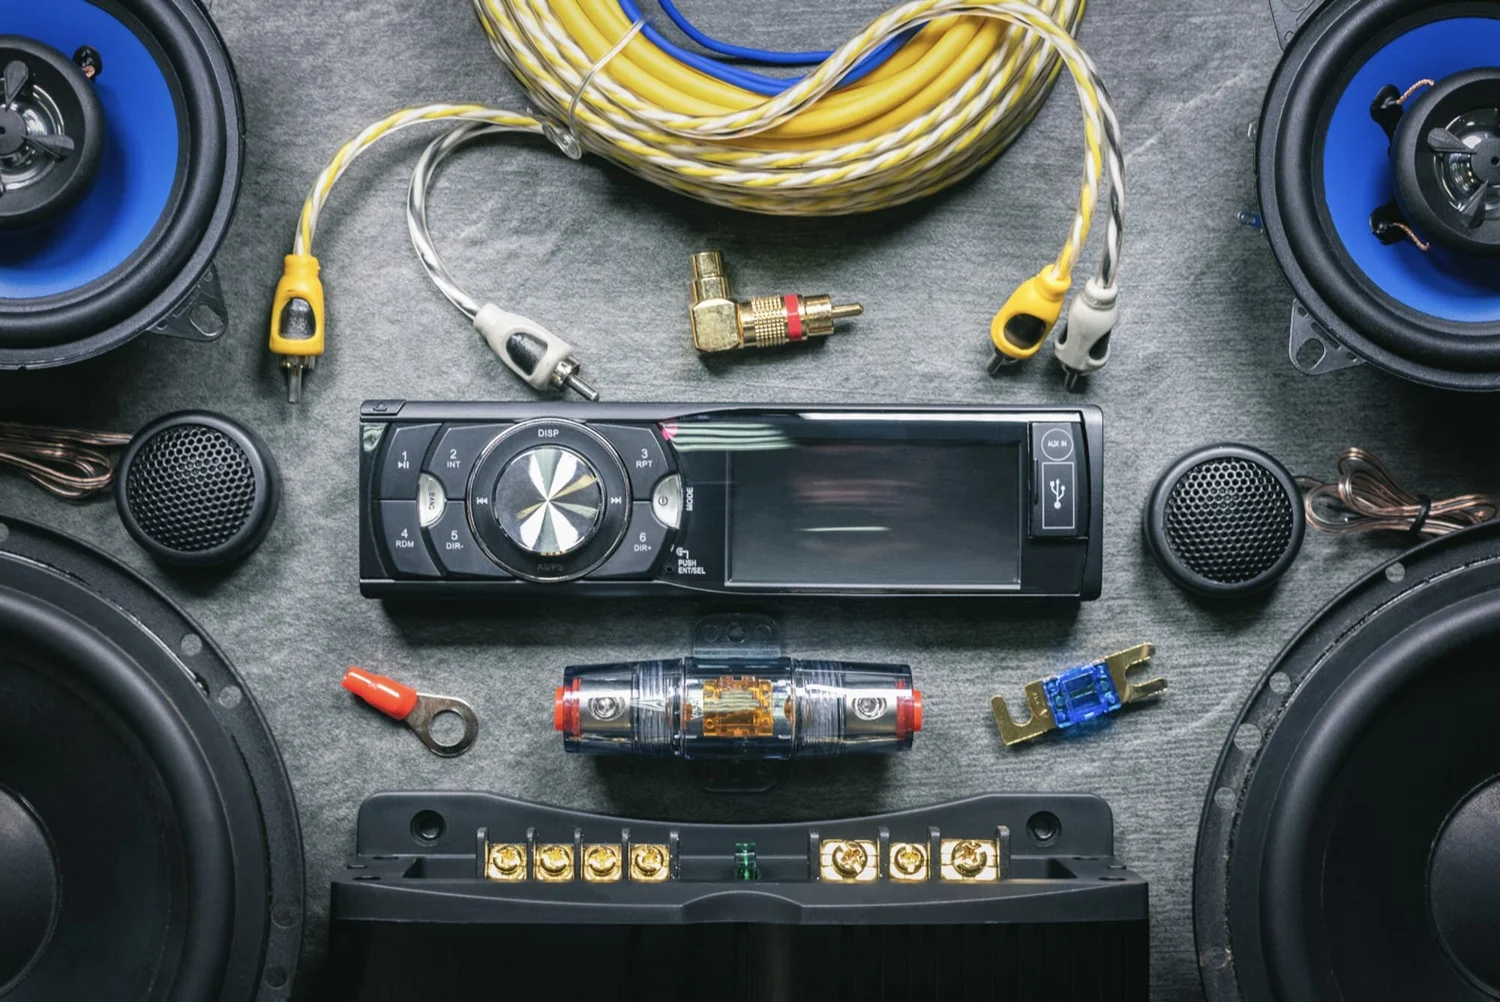
Tools And Materials Needed
Preparing the right tools and materials makes installing a car stereo and speakers easier. Having everything ready saves time and avoids frustration. Knowing what you need helps the project go smoothly.
Essential Tools
- Screwdrivers (Phillips and flathead) for removing panels
- Wire strippers to prepare speaker wires
- Crimping tool or soldering kit for secure wire connections
- Electrical tape or heat shrink tubing for insulation
- Panel removal tool to avoid damaging trim
- Multimeter to check electrical connections
- Socket wrench set for bolts and screws
- Wire connectors or butt connectors to join wires
Choosing The Right Stereo And Speakers
Pick a stereo that fits your car’s dashboard size. Look for models with features you want like Bluetooth or USB ports. Check the power output to match your car’s electrical system.
Choose speakers based on size and sound quality. Match the speaker impedance with the stereo output. Consider speaker placement for the best sound inside your car.
Preparing Your Vehicle
Preparing your vehicle before installing a new car stereo and speakers is crucial. It ensures safety and makes the process smoother. Start by creating a clean workspace inside your car. Remove any items that may block your access to the stereo area. Gather all necessary tools such as screwdrivers, panel removers, and wire cutters. This preparation helps prevent damage to your vehicle and speeds up the installation.
Disconnecting The Battery
Always disconnect the car battery before working on the stereo. This step prevents electrical shocks and short circuits. Locate the negative terminal of the battery. Use a wrench to loosen the nut and remove the cable. Keep the cable away from the battery to avoid accidental contact. This simple action protects both you and your vehicle’s electrical system.
Removing The Old Stereo
Start by removing any trim panels around the stereo. Use a panel remover tool or a flathead screwdriver wrapped in cloth. Unscrew the mounting screws holding the stereo in place. Carefully pull the stereo out without damaging wires. Disconnect the wiring harness and antenna cable from the back of the stereo. Set the old stereo aside safely. This step clears the way for your new audio system installation.
Wiring And Connections
Wiring and connections form the backbone of your car stereo and speaker installation. Without correct wiring, even the best equipment will fail to deliver quality sound. Paying close attention to these details ensures your system runs smoothly and safely.
Identifying Wiring Harnesses
Wiring harnesses bundle all the necessary wires for your stereo system into one neat package. Each wire has a specific color code that corresponds to its function, such as power, ground, or speaker connections.
Before connecting anything, match the wires on your new stereo’s harness to those in your car’s factory harness. Use a wiring diagram if available—it’s like a map that prevents guesswork. Never assume colors match across different car brands or stereo models.
Have you ever tried to connect wires only to realize they don’t align? That’s why labeling wires with masking tape and a pen can save you a lot of trouble later.
Connecting Wires Safely
Secure and safe wire connections are crucial to avoid shorts and signal loss. Use crimp connectors or soldering for strong joins instead of just twisting wires together.
Wrap connections with electrical tape or heat shrink tubing for insulation. This prevents wires from touching metal parts and causing shorts that could blow fuses or damage your stereo.
Keep power wires separate from speaker wires to minimize interference. Also, connect the ground wire to a clean, bare metal surface on your car’s chassis for a reliable connection.
Do you have a multimeter? It’s worth using to check your connections before powering everything up. Testing saves you from surprises and protects your gear.

Credit: www.reddit.com
Installing The New Stereo
Installing the new stereo in your car is an exciting part of upgrading your audio system. It’s where all the preparation pays off and you start to see your hard work come alive. Getting the stereo properly mounted and secured ensures it functions well and stays put during every drive.
Mounting The Stereo
First, check the mounting bracket that came with your stereo. It should fit snugly into the dashboard opening. If the bracket doesn’t line up perfectly, you might need an adapter plate designed for your car model.
Slide the stereo into the bracket carefully. You want to avoid forcing it, which can damage the unit or dash. Does the stereo feel firmly in place, or is there any wiggle? If it’s loose, double-check that the bracket is installed correctly.
Some stereos have mounting tabs or clips that click into position. Make sure you hear or feel these engage. A properly mounted stereo won’t move when you gently push on it from different angles.
Securing The Unit
Once mounted, secure the stereo using screws or bolts provided. This step is critical to prevent vibrations and rattling sounds when driving. Tighten the screws just enough to hold the stereo firmly—too tight can crack the plastic dash or stereo frame.
Don’t forget to connect the wiring harness securely before final tightening. Loose connections can cause the stereo to power off unexpectedly or skip audio. You might want to test the stereo’s functions now, with the dashboard partially reassembled, to avoid redoing everything.
Have you ever had a stereo rattle annoy you on the road? Securing the unit properly eliminates that distraction. Your music deserves a steady home.
Installing New Speakers
Installing new speakers improves your car’s sound quality significantly. It refreshes old, worn-out audio and adds clarity and volume. The process involves removing the old speakers carefully and fitting the new ones with proper wiring. This ensures the best performance and sound experience.
Removing Old Speakers
Start by disconnecting your car battery to avoid electrical shocks. Remove the door panel or speaker cover using a screwdriver or panel tool. Unscrew the old speaker from its mount. Gently pull the speaker out and disconnect the wiring harness. Keep screws and parts safe for later use.
Fitting And Wiring New Speakers
Match the new speaker size with the old speaker’s space. Connect the wiring harness to the new speaker. Ensure the positive and negative wires match the speaker terminals. Secure the speaker in place using the screws saved earlier. Test the speaker by reconnecting the battery and playing audio. Adjust the fit if needed for a snug, secure placement.
Testing The System
Testing the system is a crucial part of installing a car stereo and speakers. It ensures everything works properly before finalizing the setup. This step helps catch any wiring issues or sound problems early. Testing also allows fine-tuning for the best audio experience. A careful check prevents damage to the new equipment and guarantees clear sound inside your vehicle.
Powering On And Sound Check
Turn on the car’s ignition to power up the stereo. Listen for any unusual noises like static or buzzing. Play different types of music tracks to test the speakers’ response. Check each speaker individually by adjusting the balance settings. Make sure all speakers produce sound without distortion or cutouts. If the stereo does not power on, recheck all wiring connections. Confirm that the fuse is intact and the battery is charged.
Adjusting Settings For Best Performance
Use the stereo’s equalizer to balance bass, midrange, and treble levels. Set the volume at a moderate level to avoid speaker damage. Adjust the balance and fade controls to distribute sound evenly. Tune the subwoofer to avoid overpowering other speakers. Test the system with different music genres for a well-rounded sound. Fine adjustments improve clarity and overall listening pleasure. Save your preferred settings on the stereo for easy recall.
Troubleshooting Common Issues
Troubleshooting common issues can save time and frustration when installing a car stereo and speakers. Problems often arise from simple mistakes or overlooked details. Identifying the cause quickly helps restore sound and power efficiently.
Checking each element carefully avoids repeated errors. Basic fixes often solve the most frequent issues. Understanding these problems aids in a smoother installation experience.
No Power Or Sound
Start by verifying the car battery and ignition are on. Check the fuse for the stereo; a blown fuse stops power flow. Confirm all wiring connections are secure and correctly matched.
- Test the stereo’s power wires with a multimeter.
- Ensure the ground wire is properly connected to the car body.
- Inspect the wiring harness for damage or loose pins.
Sometimes, the stereo’s internal protection mode activates after a short circuit. Reset the unit by disconnecting the battery for a few minutes.
Distorted Audio
Distorted sound usually results from speaker issues or wiring mistakes. Check speaker polarity; reversed wires cause phase cancellation and poor sound.
- Inspect speaker wires for cuts or frays.
- Verify the speaker impedance matches the stereo’s output.
- Lower the volume and test different sound sources.
Distortion may also come from a damaged speaker cone. Tap gently on the speaker to listen for rattling or buzzing noises.
Loose Connections
Loose connections cause intermittent power or sound loss. Tug gently on each wire and connector to check for firmness.
- Use crimp connectors or solder wires for a solid connection.
- Secure wires with electrical tape or zip ties to avoid movement.
- Inspect connectors for corrosion or dirt; clean if needed.
Loose ground wires often cause buzzing or no sound. Double-check the ground point for tight contact with the metal surface.
Credit: www.diymobileaudio.com
Credit: www.diymobileaudio.com
Frequently Asked Questions
How Do I Prepare My Car For Stereo Installation?
First, disconnect the car battery to avoid electrical shock. Remove the old stereo carefully. Gather necessary tools and read the new stereo’s manual for specific instructions before starting installation.
What Tools Are Needed To Install Car Speakers?
You typically need screwdrivers, wire strippers, crimp connectors, electrical tape, and a panel removal tool. Having these tools ready makes the installation process smooth and efficient.
Can I Install A Car Stereo Without Professional Help?
Yes, you can install a car stereo yourself if you follow instructions carefully. Basic knowledge of car wiring and tools is necessary to avoid damage or incorrect setup.
How Do I Connect Speaker Wires Correctly?
Match the positive and negative wires from the stereo to the speakers. Use connectors or solder for secure connections. Proper wiring ensures optimal sound quality and prevents short circuits.
Conclusion
Installing a car stereo and speakers can improve your driving experience. Follow the steps carefully for a safe setup. Take your time to connect wires correctly and test the system. Use basic tools and read instructions before starting. Enjoy better sound and control in your car.
This simple upgrade brings great value without much hassle. Stay patient and double-check each connection. Soon, your music will sound clear and loud. You can do this with some effort and care.