How to Install Car Stereo And Speakers: Easy Step-by-Step Guide
Master Automotive Systems Engineer & Performance Vehicle Specialist at CarSpeedNest Automotive Testing Lab · ASE Certified Master Technician, Mobile Electronics Certified Professional (MECP Master), Certified Dyno Diagnostic Specialist · 14+ years in dyno testing, electronic sensor calibration, automotive wiring harnesses, and precision drivetrain maintenance
Looking to upgrade your car’s audio and get the perfect sound on every drive? Installing a new car stereo and speakers might seem tricky, but with the right steps, you can do it yourself and save money.
Imagine blasting your favorite tunes with crystal-clear sound, all from a system you set up on your own. This guide will walk you through the process, making it simple and stress-free. Ready to transform your car’s audio experience? Keep reading, and you’ll have your new stereo and speakers installed in no time.
Tools And Materials Needed
Installing a car stereo and speakers requires specific tools and materials. Preparing these items beforehand makes the job easier. Having the right tools ensures safe and smooth installation. Choosing proper stereo and speakers affects sound quality and fit.
Gather all necessary accessories to complete the setup. Organizing everything helps avoid interruptions during work. Below are the key tools and materials needed for the process.
Essential Tools
- Screwdrivers (Phillips and flathead)
- Wire strippers and cutters
- Crimping tool or soldering iron
- Panel removal tool
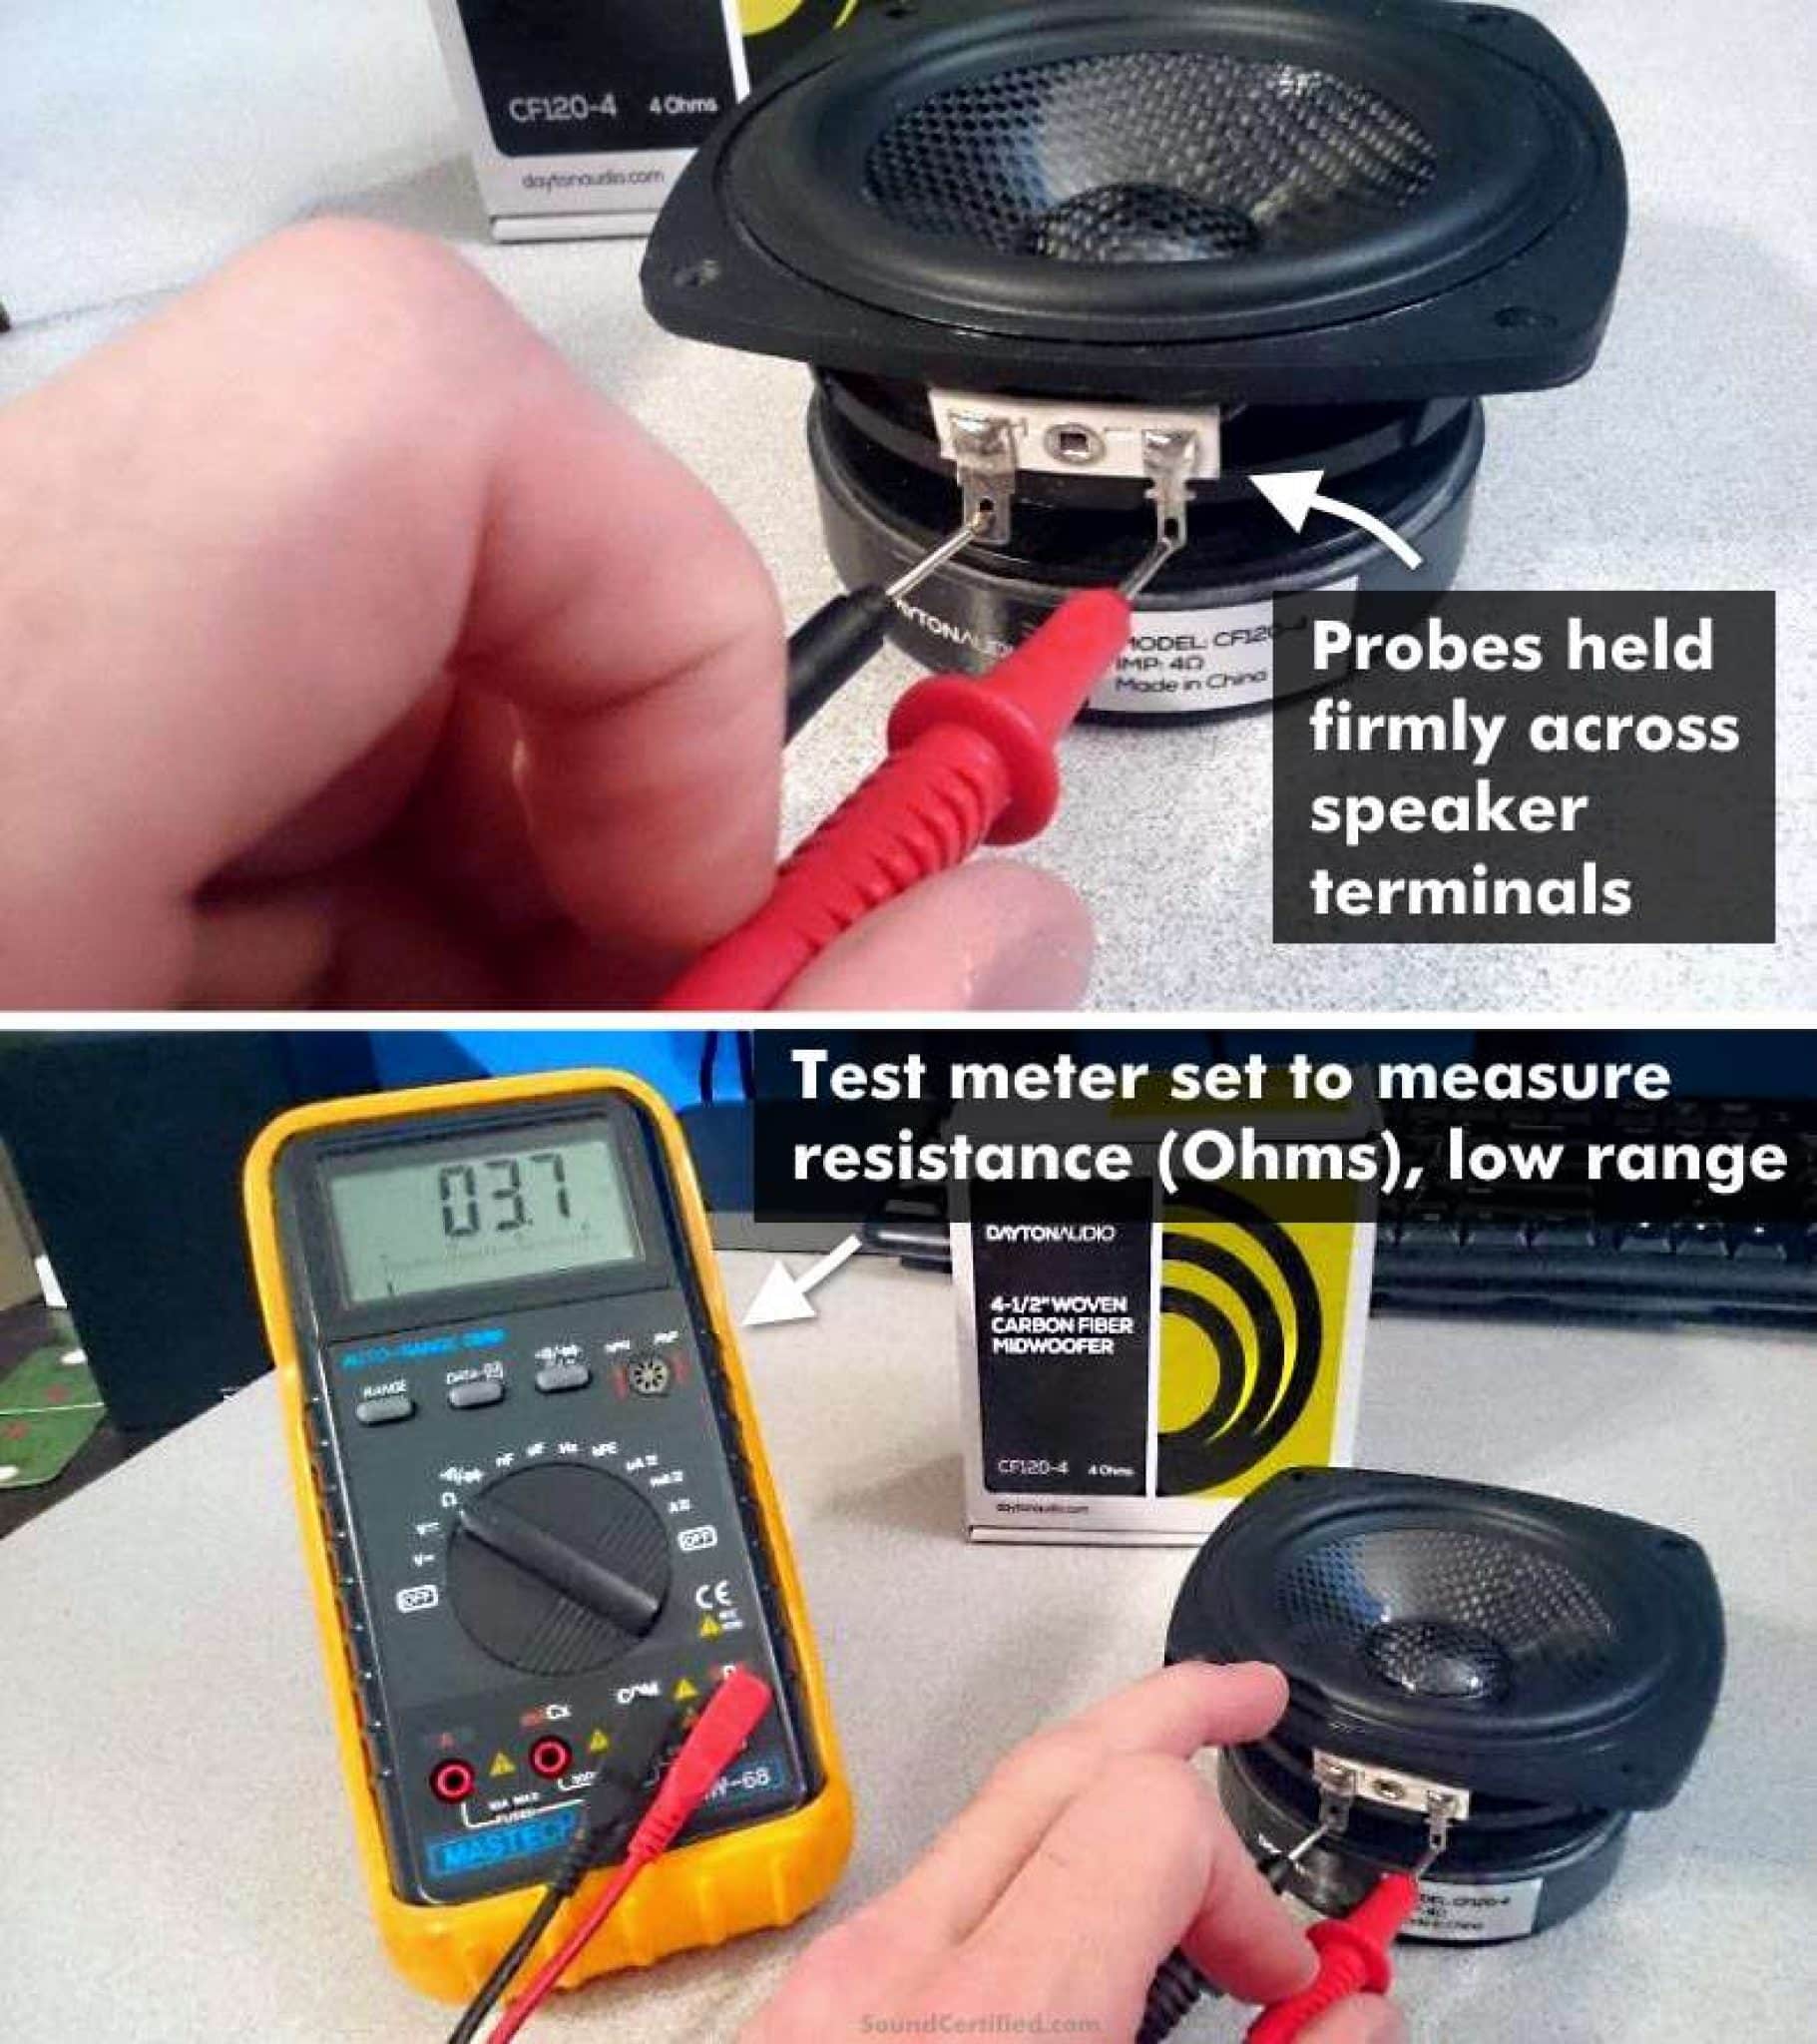
- Multimeter for electrical testing
- Electrical tape and zip ties
- Socket wrench set
- Heat shrink tubing
Choosing The Right Stereo And Speakers
- Match stereo size to car dashboard (single or double DIN)
- Pick speakers that fit your car’s speaker openings
- Check power ratings for compatibility
- Consider features like Bluetooth, USB, or touchscreen
- Choose speaker types: coaxial or component
Additional Accessories
- Wiring harness adapter for your car model
- Mounting brackets or dash kits
- Speaker wire of appropriate gauge
- Fuse holders and fuses
- Sound deadening material for better audio
- Connector terminals and plugs
Credit: www.diymobileaudio.com
Preparing Your Vehicle
Preparing your vehicle is a crucial first step before installing a new car stereo and speakers. It sets the stage for a smooth installation and helps avoid common mistakes. Taking time here can save you frustration and protect your car’s electrical system.
Disconnecting The Battery
Always disconnect your car’s battery before starting any electrical work. This prevents short circuits and protects you from electric shocks. Locate the negative terminal and use a wrench to loosen and remove the cable.
Have you ever faced unexpected sparks while working on your car? Disconnecting the battery eliminates that risk entirely. It might seem like a small step, but it’s essential for your safety and your vehicle’s electronics.
Removing The Old Stereo
Removing the old stereo requires patience and the right tools. Start by carefully prying off the trim panel around the stereo with a plastic tool to avoid damage. Then, unscrew and slide out the stereo unit, disconnecting all wires gently.
Remember, some stereos have security screws or clips that can be tricky. Take photos of the wiring before unplugging to help with the new installation. This little trick saved me hours during my first car audio upgrade.
Accessing Speaker Mounts
Accessing your vehicle’s speaker mounts means removing door panels or rear deck covers. Use a screwdriver to remove screws and gently pry the panels away, watching out for hidden clips. Once exposed, check if the speaker wires are intact or need replacement.
Inspect the mount condition carefully. Rust, broken clips, or damaged wiring can affect sound quality and installation ease. Would you rather fix these issues now or struggle with poor sound later?
Installing The Car Stereo
Installing the car stereo is a crucial part of upgrading your vehicle’s audio system. It’s where all the planning comes together, and you get to see (and hear) the results of your effort. Doing it yourself saves money and gives you a better understanding of your car’s wiring and components.
Connecting Wiring Harness
The wiring harness is the key link between your car’s electrical system and the new stereo. Before connecting, compare the harness pins with your stereo’s wiring diagram to ensure each wire matches the correct function.
You’ll typically find wires for power, ground, speakers, and antenna. Use wire connectors or crimping tools to secure the connections, avoiding loose or exposed wires that can cause shorts.
Have you checked if your car’s factory harness needs an adapter? Using one can save you from cutting factory wires and keeps the installation clean.
Mounting The Stereo Unit
Once the wiring is ready, position the stereo unit into the dash opening. If the stereo came with a mounting bracket or cage, insert it first and bend the tabs to hold it tightly in place.
Make sure the stereo fits snugly without forcing it. A loose fit can cause vibrations and damage over time.
Think about how easy it will be to access the stereo controls. Positioning it properly improves your driving experience by keeping controls within reach.
Securing The Stereo
After fitting the unit, secure it with screws or clips provided in the installation kit. These fasteners prevent movement and rattling while driving.
Double-check that all screws are tight but not over-tightened, which could crack the stereo’s frame or dash panel.
Before closing up, test the stereo to ensure it powers on, the speakers work, and all functions respond correctly. Isn’t it better to fix issues now rather than after you’ve reassembled everything?
Credit: www.diymobileaudio.com
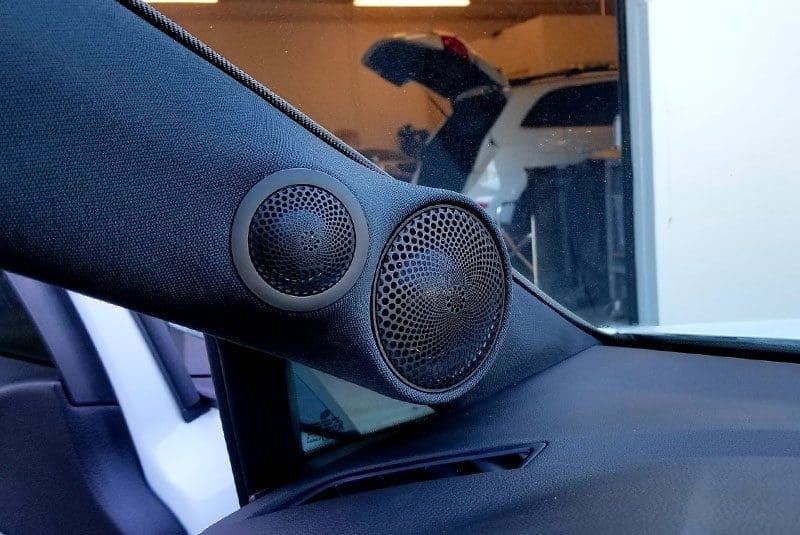
Installing The Speakers
Installing the speakers is a crucial part of upgrading your car audio system. It determines the quality of sound you will enjoy every time you hit the road. Taking your time with this step ensures a clean setup and prevents future issues like rattling or poor sound output.
Removing Old Speakers
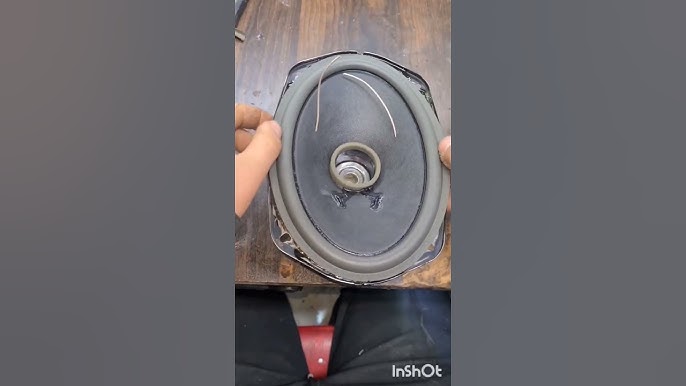
Start by carefully removing the door panels or speaker covers to access the old speakers. Use a screwdriver or panel removal tool to avoid damaging the clips or surrounding trim. Once exposed, disconnect the wiring harness gently to avoid pulling or breaking wires.
Old speakers can be stuck with screws or clips, so inspect them closely before trying to remove them. Have a small container ready to keep screws safe—you don’t want to lose these in your car. If the speaker is glued or sealed, take your time to loosen it without damaging the mounting surface.
Wiring The New Speakers
Check the polarity before connecting wires to your new speakers—connecting the positive and negative terminals correctly is essential for clear sound. Use a multimeter or look for markings on the speaker wires to identify polarity.
If your new speakers don’t come with connectors matching your car’s wiring, you might need to splice and solder the wires or use crimp connectors. Make sure connections are tight and insulated with electrical tape or heat shrink tubing to avoid shorts.
Test the wiring by temporarily connecting the speaker before mounting it. Hearing distortion or no sound at all? Double-check your wire connections and polarity.
Mounting And Securing Speakers
Fit the new speaker into the mounting hole and align it with the screw holes. Secure it firmly with screws but avoid overtightening, which can crack the speaker frame or deform the mounting surface.
Use foam gaskets or speaker mounting brackets if needed to reduce vibrations and improve sound quality. These small adjustments can make a big difference in how your audio system performs.
After mounting, gently press around the speaker edge to confirm it’s flush and secure. Loose speakers cause rattling sounds that ruin your listening experience. Have you checked how snug your speakers feel after installation?
Testing The System
Testing the system is a crucial step after installing your car stereo and speakers. It ensures everything works correctly and sounds great. Proper testing helps find any issues early. This saves time and avoids damage to your new setup.
Reconnecting The Battery
First, reconnect the car battery. Attach the negative terminal securely. Loose connections cause power problems. Make sure tools are away from the battery. Safety first to avoid sparks or shocks.
Powering On And Checking Sound Quality
Turn on the car and the stereo. Listen to different music styles. Check for clear sound from all speakers. Test bass, midrange, and treble tones. Adjust volume slowly to avoid sudden loud sounds. Ensure no crackling or distortion occurs.
Troubleshooting Common Issues
Low or no sound? Check wiring connections again. Look for loose or crossed wires. If the stereo won’t power on, verify the fuse. Replace it if blown. Distorted sound might mean speaker damage or wrong wiring. Recheck all settings and connections carefully.
Credit: www.bestcaraudio.com
Final Adjustments
Final adjustments are crucial to ensure your car stereo and speakers perform perfectly. These small steps improve sound quality and keep everything safe and neat. Spend time tuning, securing wires, and putting panels back in place.
Tuning Audio Settings
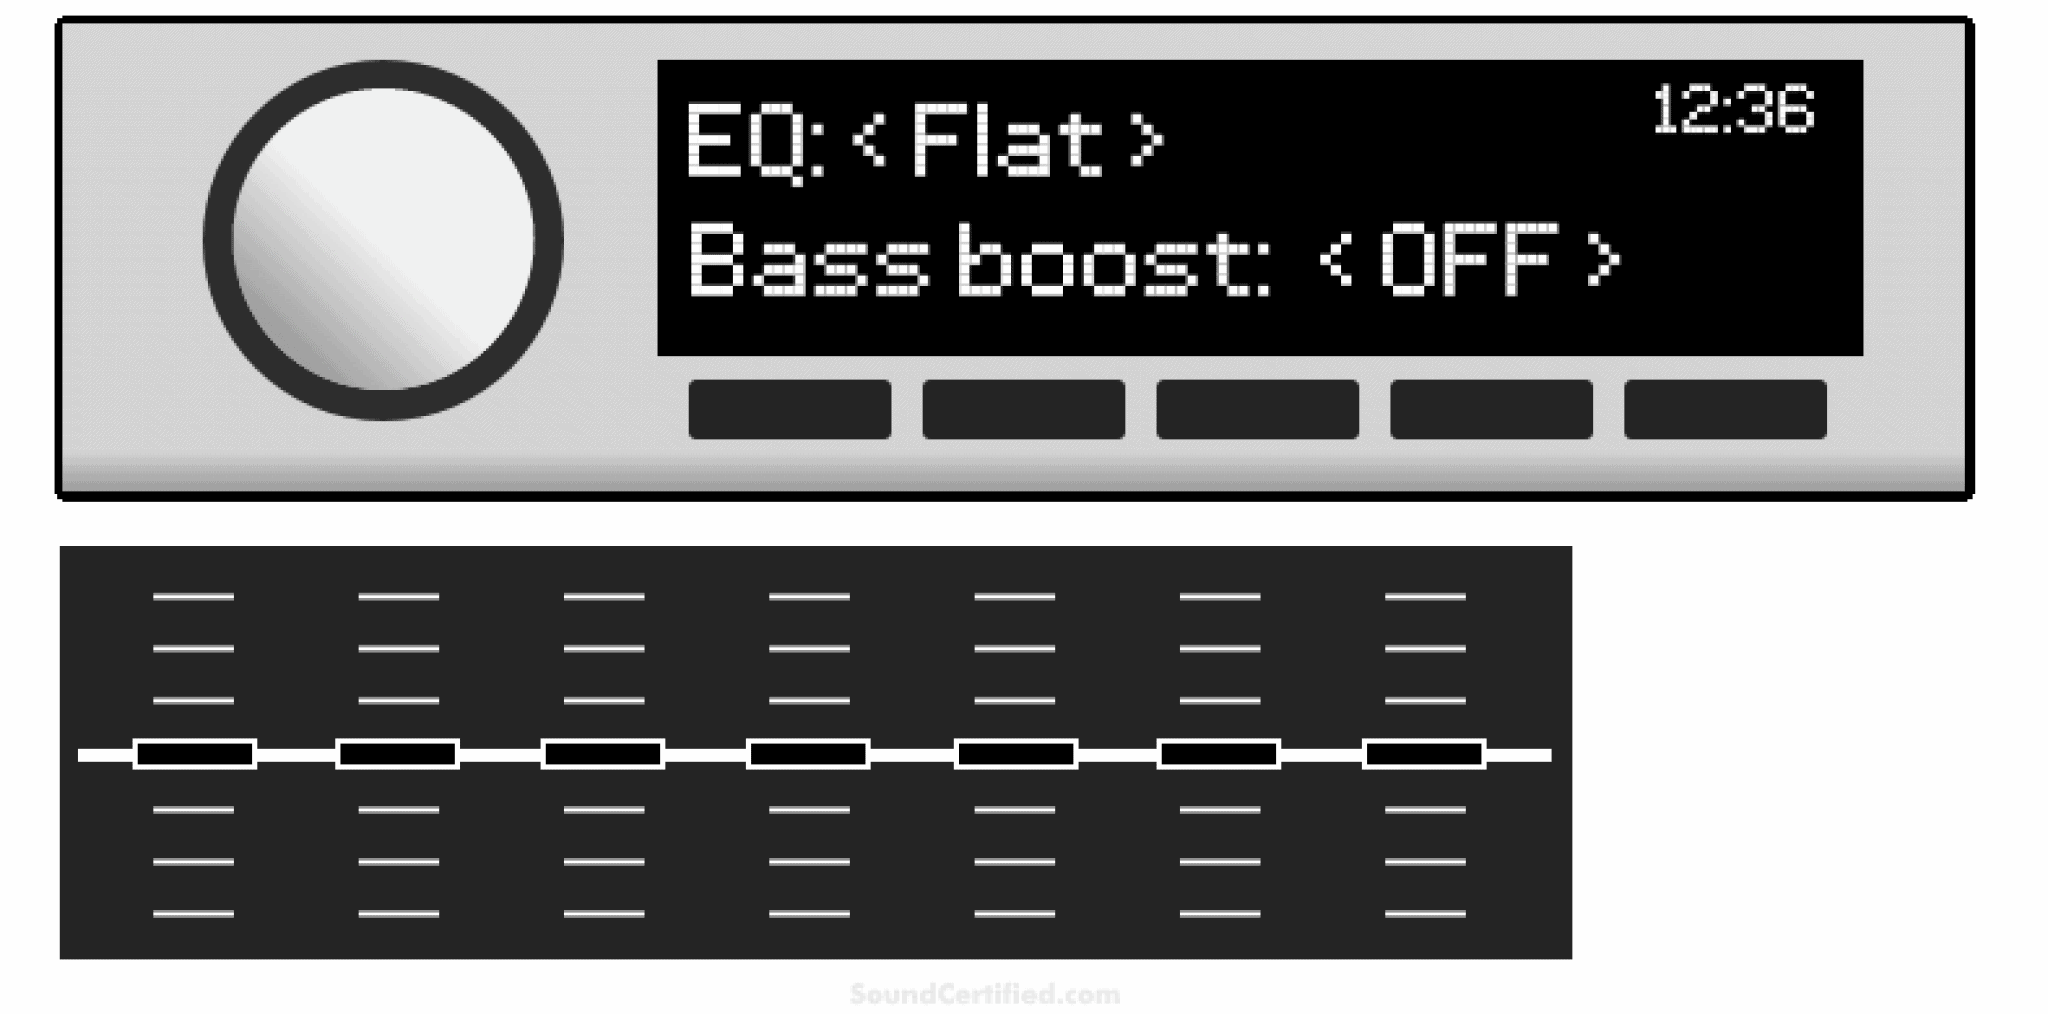
Adjust the bass, treble, and balance to fit your taste. Test different volumes and sound sources. Fine-tune equalizer settings for clearer sound and less distortion. Small tweaks make a big difference in listening experience.
Securing Loose Wires
Check all wires for tight connections and proper insulation. Use zip ties or clips to bundle cables neatly. Prevent wires from moving or getting pinched when driving. Proper wire management avoids shorts and sound issues.
Reassembling Panels
Carefully put back all dashboard panels and trims. Align clips and screws before pressing panels in place. Avoid forcing parts to prevent damage. A clean reassembly keeps your car interior looking good and safe.
Frequently Asked Questions
How Do I Remove The Old Car Stereo Safely?
To remove your old car stereo, first disconnect the car battery. Use appropriate tools to unscrew the mounting bolts. Gently pull out the unit and unplug all wiring connectors carefully to avoid damage.
What Tools Are Needed To Install Car Speakers?
You will need screwdrivers, wire strippers, electrical tape, panel removal tools, and possibly a socket wrench. These tools help remove panels, connect wires, and secure speakers properly.
How To Connect Car Stereo Wiring Correctly?
Match the stereo wires to your car’s wiring harness by color codes. Use wire connectors or soldering to ensure secure, clean connections. Double-check all connections before powering on.
Can I Install Car Speakers Without Professional Help?
Yes, installing car speakers yourself is possible with basic tools and instructions. Follow the manual carefully, disconnect the battery, and test the system before final assembly.
Conclusion
Installing a car stereo and speakers is a rewarding task. It enhances your driving experience with better sound quality. Follow the steps carefully. Double-check all connections before powering on. Use the right tools to avoid damage. Patience is key; take your time.
Enjoy learning and improving your skills. A well-installed system offers great satisfaction. Remember to consult the manual if unsure. With practice, it becomes easier. Your car now has better audio. Enjoy your favorite music on the road. Happy driving with your new setup!

Similar Posts