How to Build a Car Stereo System: Ultimate Guide for Epic Sound
Master Automotive Systems Engineer & Performance Vehicle Specialist at CarSpeedNest Automotive Testing Lab · ASE Certified Master Technician, Mobile Electronics Certified Professional (MECP Master), Certified Dyno Diagnostic Specialist · 14+ years in dyno testing, electronic sensor calibration, automotive wiring harnesses, and precision drivetrain maintenance
Want to transform your driving experience with crystal-clear sound and booming bass? Building your own car stereo system is easier than you think, and it gives you full control over every beat and note.
Imagine customizing your music just the way you like it, without paying for expensive installations or settling for factory sound systems. In this guide, you’ll discover simple steps to create a powerful car stereo system that fits your style and budget.
Ready to upgrade your ride and enjoy every drive like never before? Let’s dive in!
Choosing The Right Components
Choosing the right components is the foundation of building a car stereo system that sounds great and lasts long. Your choices will shape how your music feels inside your vehicle. It’s not just about picking the most expensive parts but selecting those that work well together and suit your listening style.
Selecting The Head Unit
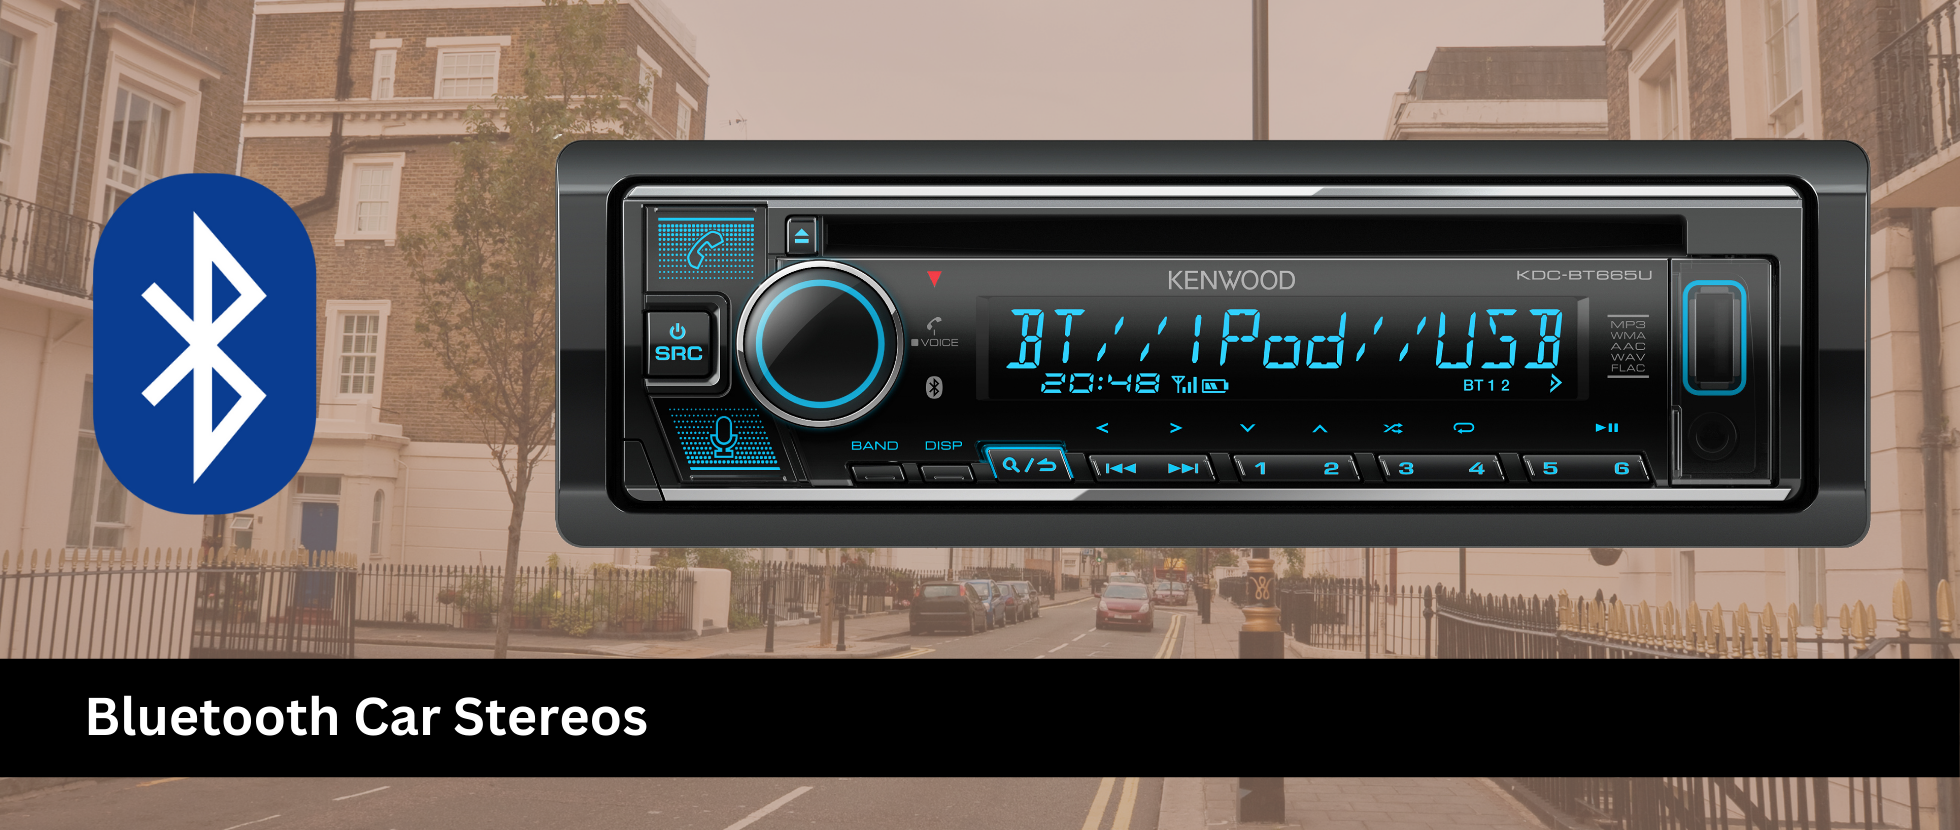
The head unit is the control center of your car audio system. It determines what sources you can play from, such as Bluetooth, USB, or radio. Look for one with clear sound output and easy-to-use controls that fit your dashboard space.
Consider features like touchscreen displays or support for smartphone integration if you want a modern setup. Also, check the number of preamp outputs—more outputs mean easier connection to multiple amplifiers and speakers.
Picking Amplifiers
Amplifiers boost the audio signal to drive your speakers and subwoofers. Matching the amplifier’s power output to your speakers’ power handling is crucial. Too little power causes distortion; too much can damage your speakers.
Think about the number of channels you need: a mono amp for a subwoofer, a 2-channel amp for front speakers, or a multi-channel amp to power all components. Efficiency and compact size matter if space is tight under your seats or in the trunk.
Choosing Speakers And Subwoofers
Speakers and subwoofers bring your music to life. Choose speakers that fit your car’s door panels or dash without forcing modifications. Component speakers separate tweeters and woofers for clearer sound, while coaxial speakers combine them for easy installation.
For bass lovers, a subwoofer adds depth and punch. Make sure your subwoofer enclosure fits your vehicle and matches your amplifier’s power. Don’t forget to balance your speaker sizes and placement to avoid sound muddiness.
Essential Wiring And Accessories
Good wiring is often overlooked but makes a huge difference in sound quality and system reliability. Use wires with proper gauge size—too thin wires can cause power loss or overheating. Invest in quality connectors, fuses, and distribution blocks to keep your system safe.
Think about accessories like sound deadening materials to reduce road noise and improve audio clarity. Also, consider remote controls or steering wheel adapters for safer operation while driving.

Credit: www.youtube.com
Planning Your System Layout
Planning your car stereo system layout is the foundation of a successful build. It shapes how your audio sounds and how neatly everything fits inside your vehicle. Taking time here saves you frustration and extra costs later.
Assessing Your Vehicle’s Space
Start by checking all available spots for your stereo components. Look under seats, inside doors, the dashboard, and trunk. Each area offers different space and mounting possibilities.
Measure the dimensions carefully. Is there room for larger speakers or a big amplifier? Knowing your limits early helps you pick gear that fits perfectly.
Think about future upgrades too. Will you want to add subwoofers or extra speakers later? Planning space for expansion avoids tearing apart your setup down the line.
Determining Speaker Placement
Speaker placement greatly affects sound quality. Position front speakers near ear level for clear vocals and instruments. Rear speakers should fill in background sounds without overpowering.
Consider the type of speakers you have—component speakers need separate tweeter and woofer locations, while coaxials combine both. Matching placement to speaker design enhances audio performance.
Try to avoid placing speakers too close to windows or doors that rattle easily. Have you noticed buzzing sounds in your car before? Correct placement reduces unwanted noise and vibration.
Mapping Power And Signal Paths
Plan how power cables and signal wires will run through your vehicle. Keep power lines away from signal cables to avoid interference. Use insulated routing paths along existing wiring channels.
Decide where your amplifier and head unit will sit. Shorter cable runs usually mean better sound quality and easier installation. Label each wire as you go to stay organized.
Think about how you’ll connect ground wires. A solid ground point prevents electrical noise. Have you checked for clean metal surfaces near your components? Proper grounding is key to a noise-free system.
Installing The Head Unit
Installing the head unit is a crucial part of building your car stereo system. This component controls your audio experience, so getting it right matters. You’ll want to carefully remove the old unit, connect all wires properly, and secure the new one firmly in place.
Removing The Factory Unit
Start by disconnecting your car’s battery to avoid any electrical shorts. Most factory units are held in place with screws or clips—check your car’s manual for exact locations.
Use a panel removal tool to gently pry around the edges. This prevents damage to your dashboard. Once free, unplug the wiring harness and antenna cable carefully to avoid tearing any connectors.
Wiring The Connections
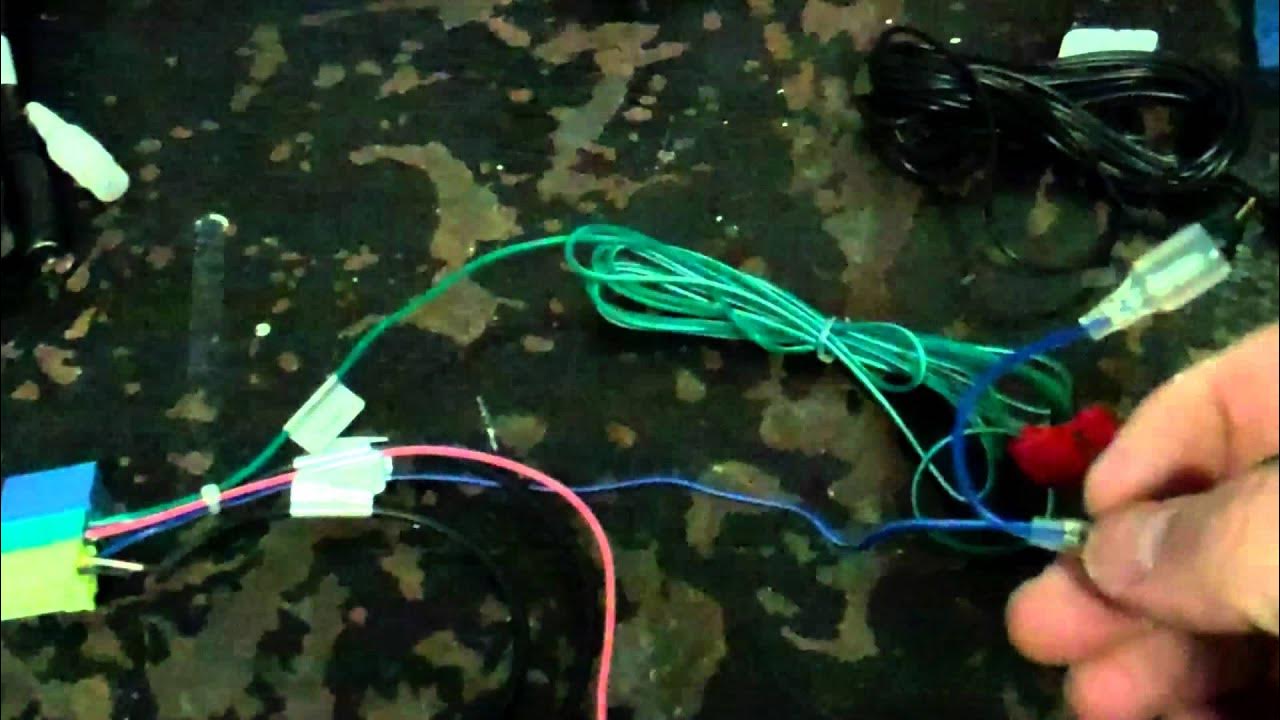
Now, match the wires from your new head unit to the car’s wiring harness. Most aftermarket units come with a wiring diagram—keep it close for reference.
Use wire connectors or solder the wires for a secure and lasting connection. Don’t forget to connect the ground wire to avoid static noise in your system.
- Check the power wire for constant 12V supply
- Connect the accessory wire to turn on the unit with your ignition
- Attach speaker wires according to their color codes
Have you ever ignored a single wire only to regret it later? Double-checking your wiring can save you hours of troubleshooting.
Securing The New Head Unit
Slide the new head unit into the mounting bracket carefully. It should fit snugly without forcing it in.
Use the screws or clips provided to secure the unit firmly. Loose installation can cause vibrations or damage over time.
Finally, reconnect your battery and test the unit. Make sure all functions work—radio, Bluetooth, and volume controls. A solid installation feels as good as it sounds.

Credit: www.youtube.com
Setting Up Amplifiers
Setting up amplifiers is essential for a powerful car stereo system. Amplifiers increase the audio signal strength. This makes the sound clearer and louder. Proper setup avoids damage and ensures the best sound quality.
Mounting The Amplifier
Choose a dry, secure spot for the amplifier. It should have good ventilation to prevent overheating. Avoid areas with direct sunlight or moisture. Use screws or brackets to fasten the amplifier firmly. Keep it away from moving parts or sharp edges.
Running Power And Ground Wires
Use a thick power wire to connect the battery to the amplifier. This wire carries the main electrical current. Install an inline fuse near the battery for safety. Run the ground wire to a clean, unpainted metal surface on the car’s chassis. Keep power and ground wires separate from signal wires to reduce noise.
Connecting Signal And Speaker Wires
Signal wires carry audio signals from the head unit to the amplifier. Use RCA cables for the best signal quality. Connect the amplifier output terminals to the speaker wires. Match positive and negative terminals carefully to avoid phase issues. Secure all wire connections tightly to prevent loose contacts.
Installing Speakers And Subwoofers
Installing speakers and subwoofers is a key step in building a car stereo system. Proper installation improves sound clarity and bass quality. This process involves removing old speakers, mounting new ones, and sealing for better sound.
Removing Old Speakers
Start by disconnecting the car battery to avoid electrical issues. Remove door panels or speaker covers carefully using a trim tool. Unscrew the old speakers and disconnect their wiring harnesses. Keep the screws and parts safe for reassembly. Clean the area to remove dust and debris before installing new speakers.
Mounting New Speakers
Check speaker size to fit your car’s mounting points. Connect the new speaker wires to the car’s harness, matching positive and negative terminals. Secure the speakers with screws, ensuring they sit flush. Avoid over-tightening to prevent damage. Test the speakers by turning on the stereo before reattaching panels.
Sealing And Soundproofing
Apply foam or rubber gaskets around the speaker edges to reduce vibration. Use sound-deadening mats inside doors to block outside noise. Seal gaps and holes with acoustic sealant for better bass response. Soundproofing keeps sound inside the car and improves overall audio quality.

Credit: www.youtube.com
Tuning Your System
Tuning your car stereo system brings the best sound from your setup. It shapes the music to match your car’s space and your listening style. Proper tuning avoids distortion and keeps the sound clear and balanced. Small changes make a big difference in your listening experience.
Adjusting Amplifier Gains
Set amplifier gains to match your head unit’s output. Start with gains low to avoid speaker damage. Slowly increase gain until the sound is loud and clear. Avoid distortion by listening for crackling or buzzing. Proper gain settings improve sound quality and prevent amplifier clipping.
Configuring Equalizer Settings
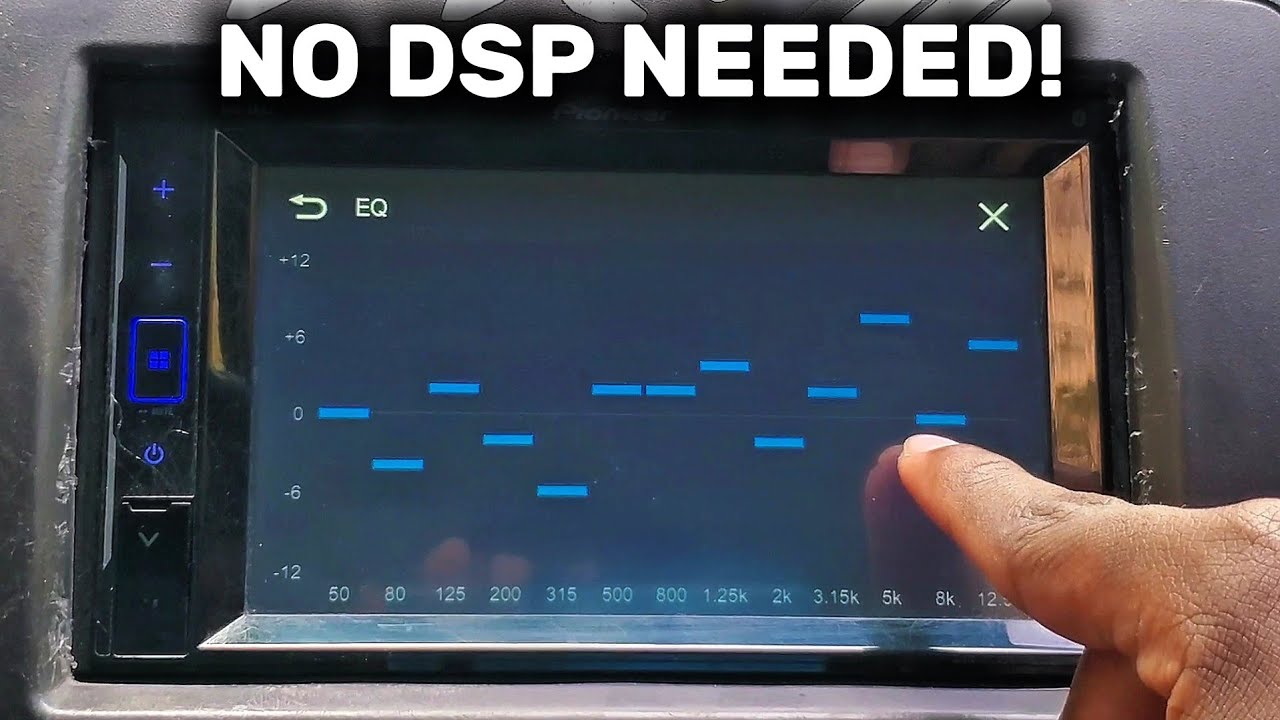
Equalizer controls adjust the bass, midrange, and treble tones. Boost bass for deep sounds but not too much to avoid muddiness. Raise midrange for clear vocals and instruments. Increase treble for sharp and bright sounds. Use small adjustments to create a natural sound profile.
Balancing Speaker Levels
Balance speaker levels to create even sound throughout the car. Adjust front and rear speaker volumes to your preference. Use test tracks with varied sounds to check balance. Ensure no speaker overpowers others for a smooth listening experience. Proper balance brings clarity and depth to your music.
Troubleshooting Common Issues
Troubleshooting a car stereo system can feel tricky but is often simple. Many common issues have easy fixes. Knowing what to check saves time and frustration. Pay attention to sound, power, and interference problems. Each has clear signs and solutions to restore your stereo’s performance quickly.
Dealing With Noise And Interference
Noise in the audio can come from many sources. Check all cables for tight, clean connections. Loose wires often cause buzzing or humming sounds. Keep audio cables away from power wires to reduce interference. Shielded cables help block unwanted signals. Ground loops cause a constant hum; fix this by grounding the stereo system properly. Sometimes, a bad antenna or radio signal causes static. Replace or reposition the antenna to improve reception.
Fixing Power Problems
Power issues stop the stereo from turning on or cause it to reset. First, check the fuse in the stereo and the car’s fuse box. Replace any blown fuses with the correct rating. Inspect battery connections and ground wires for corrosion or looseness. A weak car battery can also cause power drops, so test battery voltage. If the stereo still won’t power, test the wiring harness for continuity. Make sure the ignition switch supplies power as needed.
Addressing Sound Quality Issues
Distorted or weak sound often comes from speaker or amplifier problems. Verify speaker wires connect properly and are not damaged. Check speaker cones for tears or damage. Adjust equalizer settings to suit your taste and fix muffled sound. Overdriving the amplifier causes distortion; lower volume or gain controls. Confirm the stereo’s audio settings match the speaker setup. Clean the volume knob and input jacks to avoid crackling noises.
Upgrading And Expanding
Upgrading and expanding your car stereo system enhances sound quality and adds new features. It allows you to enjoy music with better clarity and convenience. Start by adding components that improve audio processing and connectivity. Plan upgrades to keep your system modern and versatile.
Adding Digital Signal Processors
Digital Signal Processors (DSPs) improve sound by adjusting audio signals. They help balance bass, treble, and midrange frequencies. DSPs reduce distortion and echo inside the car. Installing a DSP lets you customize sound for your car’s shape and size. Most DSPs connect easily to your head unit or amplifier.
Integrating Bluetooth And Streaming
Bluetooth adds wireless audio streaming to your car stereo. It allows hands-free calling and music playback from phones. Many modern Bluetooth receivers support high-quality audio codecs. Streaming services give access to millions of songs on the go. Choose devices compatible with your existing stereo setup for easy integration.
Planning Future Enhancements
Think about your system’s growth before upgrading. Leave space for extra speakers or amplifiers. Use wiring that supports higher power and better sound quality. Consider adding touchscreen controls or voice command features later. Planning helps avoid costly rewiring or replacing parts soon.
Frequently Asked Questions
What Tools Are Needed For A Car Stereo Installation?
To install a car stereo, you’ll need screwdrivers, wire cutters, and electrical tape. A panel removal tool helps to avoid damage. A wiring harness adapter makes connections easier. A multimeter can verify connections and polarity. Having a crimping tool is useful for secure wire connections.
How Do I Choose The Right Car Stereo?
Choose based on your car’s make and model. Consider features like Bluetooth, touchscreen, and compatibility with smartphones. Check if it supports your audio files. Ensure it fits your dashboard. Look for good reviews and brand reputation for reliability and sound quality.
Can I Install A Car Stereo Myself?
Yes, you can install it yourself with basic tools and knowledge. Follow the instructions provided by the manufacturer. Watch online tutorials for guidance. Make sure all connections are secure and correctly matched. If unsure, consult a professional to avoid damage or issues.
What Is The Average Cost Of A Car Stereo System?
The cost varies based on brand, features, and installation fees. Basic systems start around $50, while advanced ones can exceed $500. Professional installation may add $50 to $100. Consider your budget and desired features before purchasing. Always compare prices from different retailers for the best deal.
Conclusion
Building a car stereo system can be fun and rewarding. Start with basic parts and add upgrades step by step. Choose good speakers and a reliable amplifier for best sound. Take time to connect wires carefully and test the system often.
Enjoy your favorite music with clearer, louder sound on every drive. Keep learning and improving your setup as you go. Soon, your car will sound just the way you want. Simple steps lead to great results. Happy listening!

Similar Posts