How to Connect an Equalizer to a Car Stereo: Easy Step-by-Step Guide
Master Automotive Systems Engineer & Performance Vehicle Specialist at CarSpeedNest Automotive Testing Lab · ASE Certified Master Technician, Mobile Electronics Certified Professional (MECP Master), Certified Dyno Diagnostic Specialist · 14+ years in dyno testing, electronic sensor calibration, automotive wiring harnesses, and precision drivetrain maintenance
Do you want your car music to sound clearer, richer, and more powerful? Connecting an equalizer to your car stereo can make a huge difference.
It lets you control the sound exactly how you like it—whether you want booming bass, crisp highs, or balanced mids. But if you’ve never done it before, the idea might feel confusing or tricky. Don’t worry—you’re in the right place.
This guide will walk you through simple steps to connect your equalizer, so you can enjoy the best sound experience every time you drive. Keep reading, and soon your car will feel like your own personal concert hall.
Choosing The Right Equalizer
Choosing the right equalizer for your car stereo can dramatically improve your listening experience. It’s not just about picking the most expensive model; it’s about finding one that fits your sound preferences, car setup, and budget. Let’s break down what you need to consider before making a purchase.
Types Of Equalizers
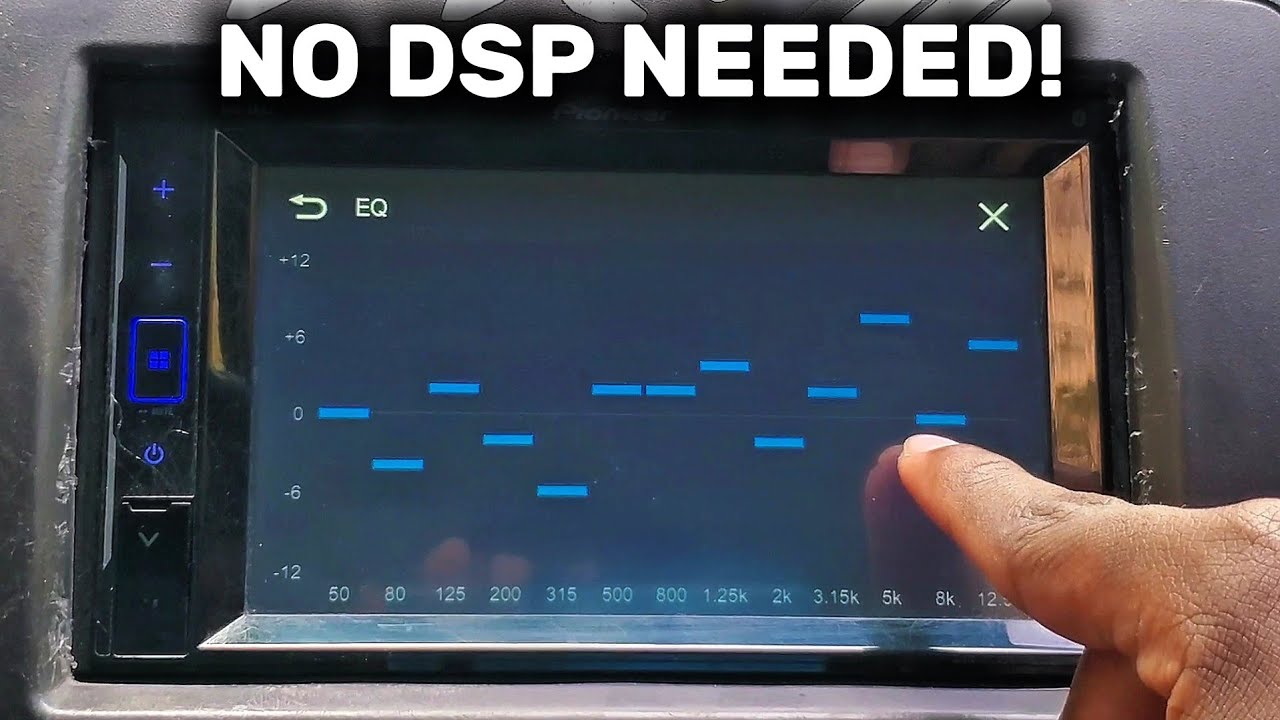
Equalizers come in various forms, each offering different levels of control over your sound. A graphic equalizerlets you adjust specific frequency bands using sliders, making it easy to shape the audio profile quickly.
On the other hand, a parametric equalizergives you more precise control by allowing you to adjust frequency, bandwidth, and gain. This type is perfect if you want to fine-tune your sound exactly how you like it.
Do you prefer quick adjustments or detailed control? Your answer will help you decide which type fits your needs best.
Compatibility With Car Stereo
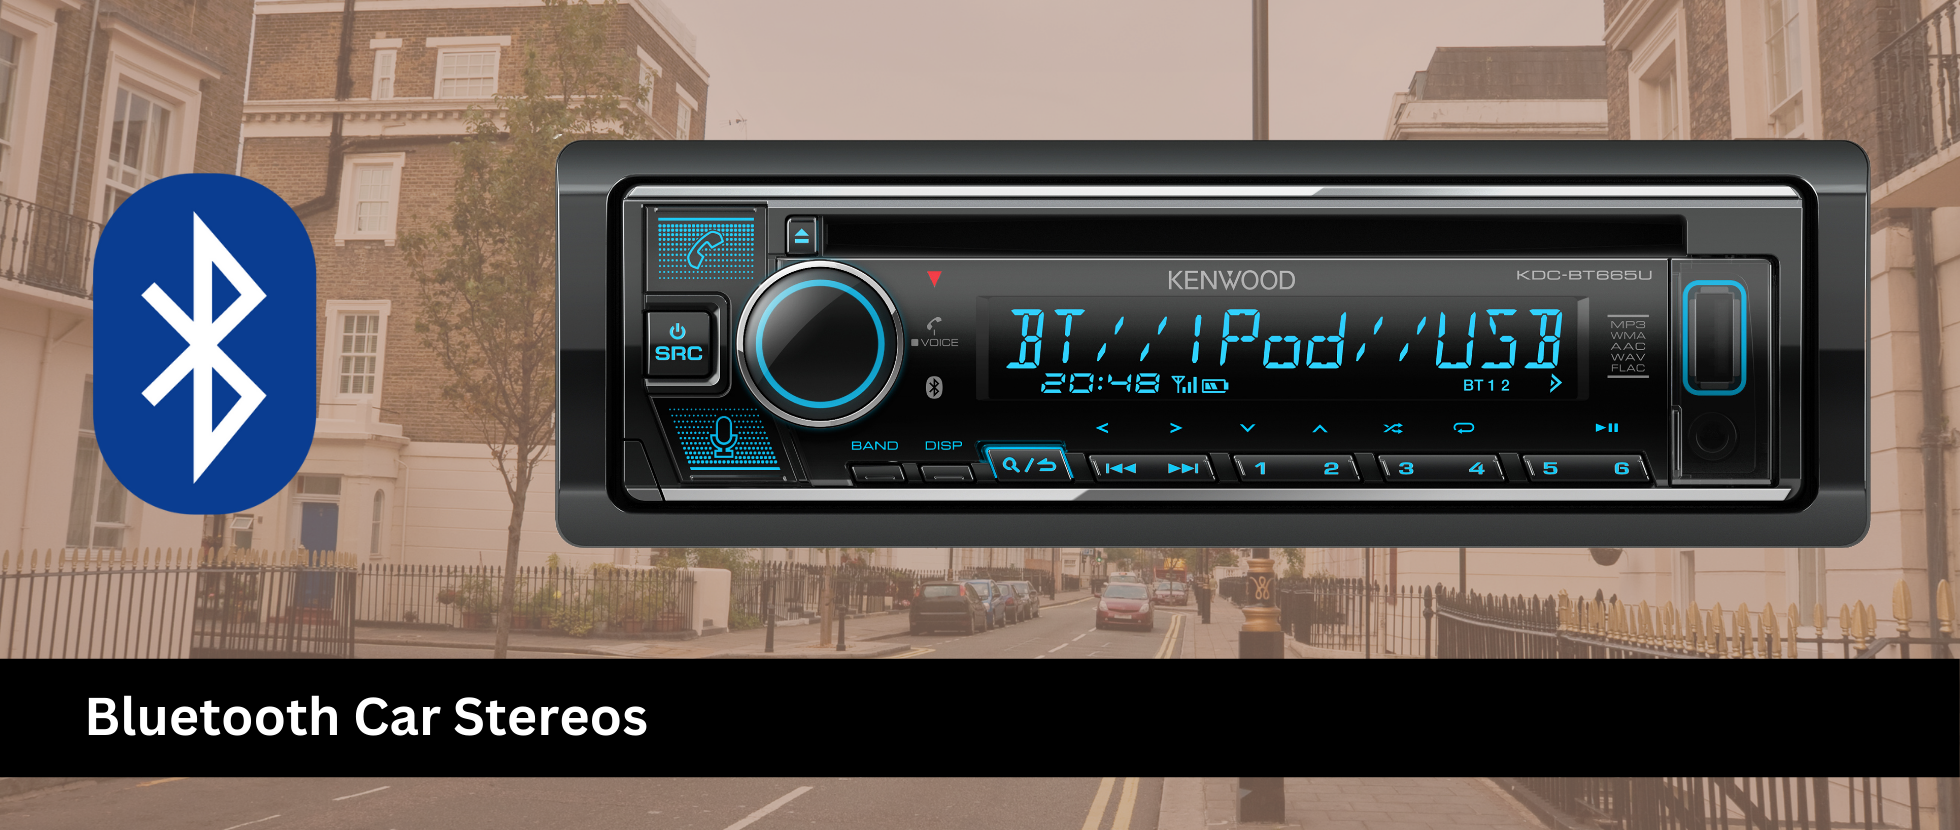
Not every equalizer works with every car stereo. Check if your car stereo supports external equalizers through RCA inputs or other connections.
Some modern stereos have built-in DSP (digital signal processing), which might limit the benefits of adding an external equalizer. Double-check your stereo’s manual or ask the manufacturer.
Have you tested your stereo’s input options? Knowing this helps avoid buying an incompatible unit that won’t connect properly.
Budget Considerations
Equalizers range from budget-friendly models to high-end units with advanced features. Decide how much you’re willing to spend before diving into options.
Sometimes, a mid-range equalizer offers the best balance between quality and affordability. Don’t overlook user reviews to see if less expensive models meet your expectations.
Could investing a bit more upfront save you from frustration later? Think about your long-term satisfaction, not just the initial price tag.
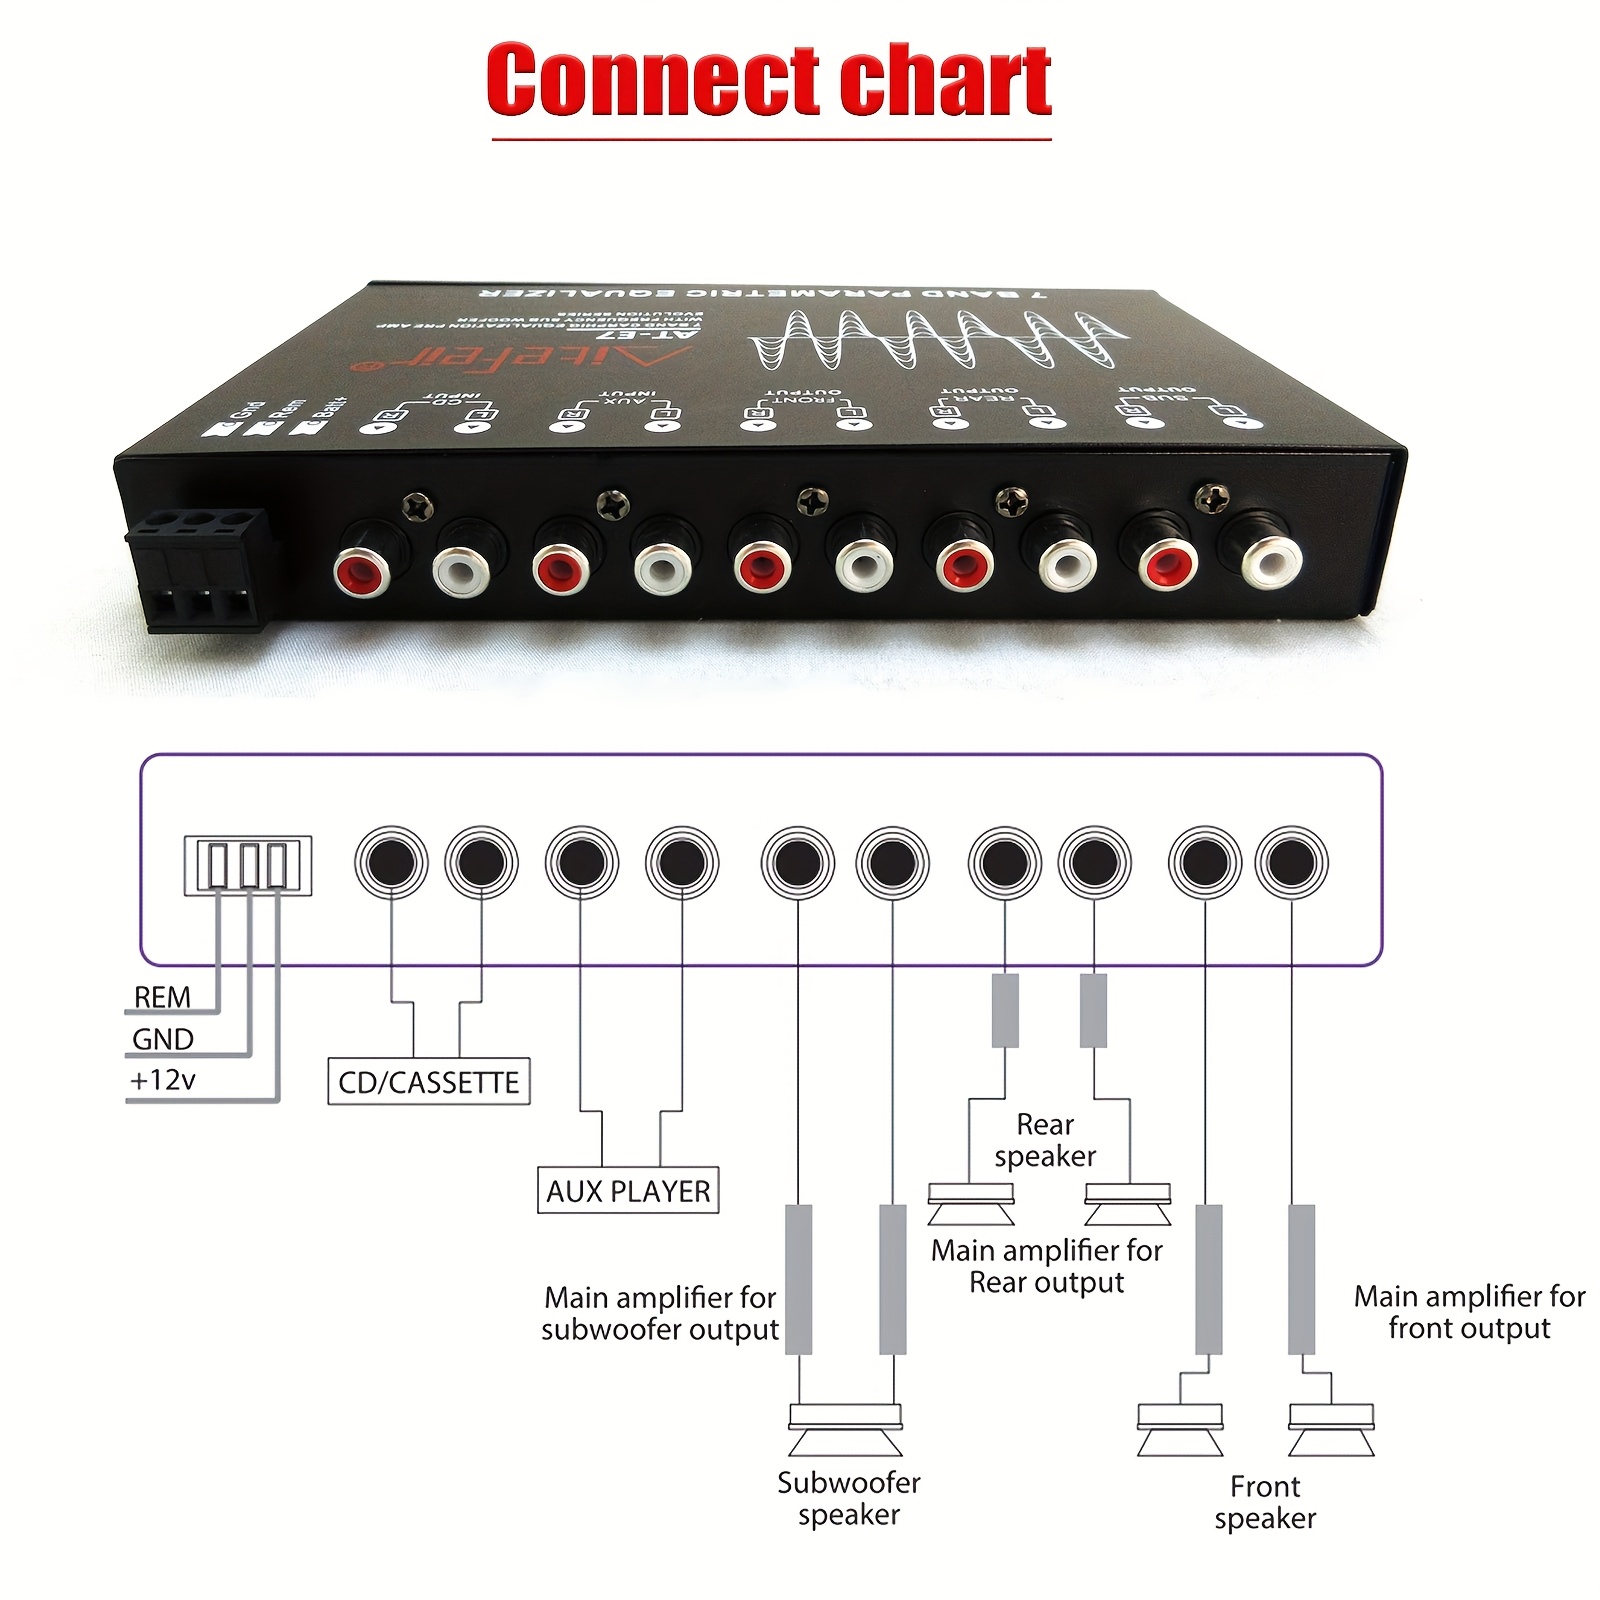
Credit: www.temu.com
Gathering Necessary Tools
Before you start connecting an equalizer to your car stereo, it’s essential to gather the right tools. Having everything ready saves time and prevents frustration during the installation. You’ll also work more safely and efficiently with the proper equipment at hand.
Basic Tools Required
Start with a set of screwdrivers, both Phillips and flathead. These will help you remove panels and screws without damaging your car’s interior.
A wire stripper and cutter are crucial for handling audio cables. They let you strip insulation cleanly and cut wires to the right length without fraying.
Don’t forget a multimeter to check voltage and continuity. This tool helps you avoid wiring mistakes that could fry your system or create safety hazards.
Safety Equipment
Protect your eyes with safety glasses. Small particles and accidental wire sparks can cause injury during installation.
Wear insulated gloves if you’re unfamiliar with car electrical systems. They reduce the risk of electric shock while handling wires.
Disconnect your car battery before starting any wiring work. This simple step protects both you and your vehicle’s electronics from damage.
Additional Accessories
Pick up electrical tape and cable ties to secure and organize wires. Loose cables can create noise interference or get caught in moving parts.
Consider a wiring harness adapter designed for your car model. It simplifies connections and reduces the chance of wiring errors.
Labeling stickers or a marker can be a lifesaver. Mark each wire during disconnection to make reconnection straightforward and error-free.
Preparing The Car Stereo
Getting your car stereo ready to connect an equalizer is a crucial step that sets the foundation for a clean and safe installation. Preparing your stereo means handling the electrical components with care and making sure you understand the wiring layout before adding anything new. This preparation not only protects your equipment but also saves you from headaches during the installation process.
Disconnecting The Battery
Before touching any wires or removing parts, disconnect your car battery. This step is vital to prevent electrical shorts or shocks while working on the stereo. Simply detach the negative terminal first; it’s usually marked with a minus (-) sign.
I’ve seen people skip this step and end up blowing fuses or damaging their stereo. Taking a minute to disconnect the battery can save you time and money.
Removing The Stereo Unit
Once the battery is disconnected, carefully remove the stereo from the dashboard. Different cars have various mounting methods—some use screws, others clips or panels that need gentle prying.
Keep track of all screws and parts as you remove them. Laying them out in order can help you when it’s time to reassemble everything.
Identifying Wiring Connections
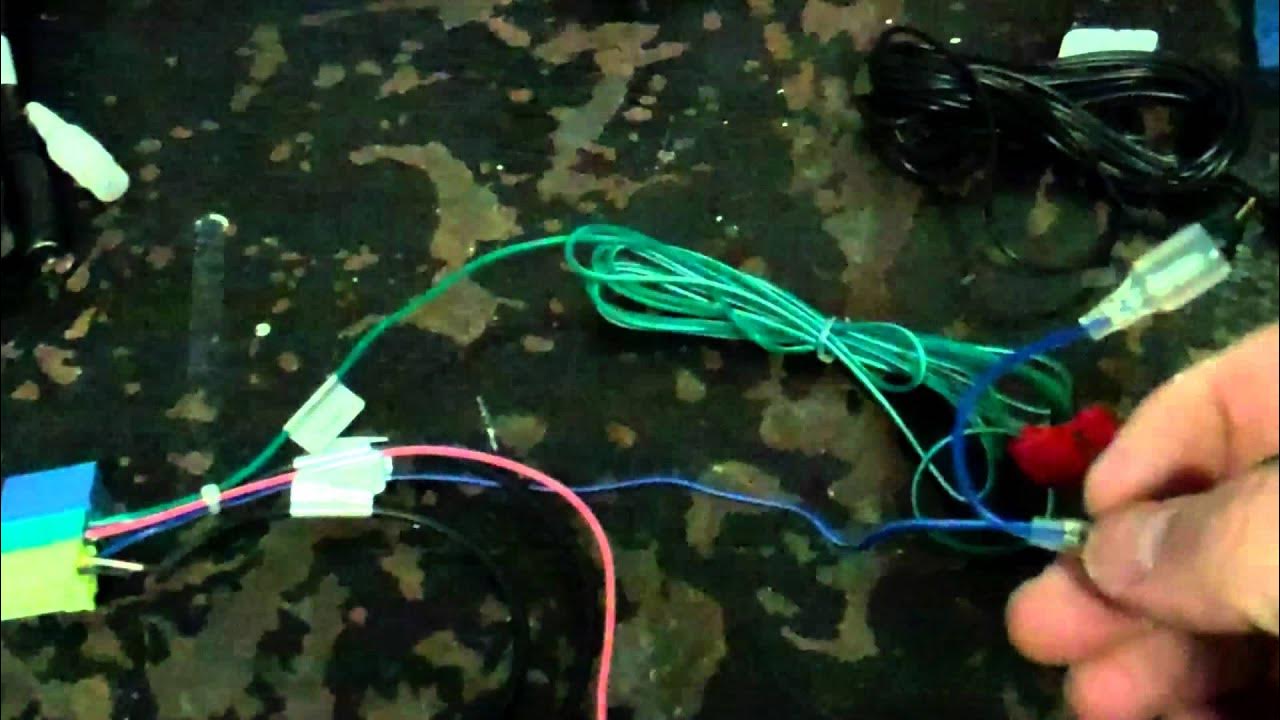
With the stereo out, you’ll see a cluster of wires plugged into the back. Take time to identify each wire’s function—power, ground, speakers, and antenna connections.
Using your car’s wiring diagram or a multimeter can make this process easier. Knowing which wires carry signal and power helps you connect the equalizer correctly without guessing.
Credit: www.diymobileaudio.com
Connecting The Equalizer
Connecting the equalizer to your car stereo requires careful attention. Proper setup improves sound quality and gives full control over audio tones. Follow clear steps for best results.
Wiring The Input And Output
Locate the equalizer’s input and output ports. Input wires connect to the car stereo’s output. Output wires run to the amplifier or speakers.
Use RCA cables for these connections. Match colors: red for right audio, white for left. Ensure cables are snug to avoid signal loss.
Check the car stereo manual for exact wiring points. Avoid loose or exposed wires to prevent short circuits.
Securing The Equalizer Unit
Find a safe, dry place near the stereo. The equalizer should not block vents or controls. Use screws or mounting brackets to fix it firmly.
Keep cables tidy and away from sharp edges. Use zip ties or clips to organize wires. Secure wiring prevents damage during driving.
Testing The Connections
Turn on the car stereo and equalizer. Play music with varied tones to check sound clarity. Listen for any static or signal cuts.
Adjust equalizer settings to confirm all bands respond. If sound cuts or distorts, recheck wiring connections. Tighten any loose plugs or cables.
Repeat testing after driving a short distance. Confirm the equalizer stays firmly in place and functions well under movement.
Adjusting Equalizer Settings
Adjusting the equalizer settings is key to getting the best sound from your car stereo. It allows you to tailor the audio output to match your personal taste and the acoustics of your vehicle. Fine-tuning these settings can make a significant difference in how your music feels during every drive.
Basic Sound Adjustment Tips
Start by setting all equalizer bands to a flat or neutral position. This gives you a clean slate to work with. Play a familiar song that you know well, so you can easily notice changes as you adjust the settings.
Make small changes—boost or cut frequencies by no more than 3-4 decibels at a time. Drastic changes can cause distortion or unnatural sound. Listen carefully after each adjustment to understand its effect on the overall sound.
Balancing Bass And Treble
Bass controls the low frequencies, giving your music warmth and depth. Treble affects the high frequencies, adding clarity and brightness. If the bass is too strong, it can overpower vocals and instruments, making the sound muddy.
Try lowering the bass slightly if you notice distortion or booming sounds. Increase the treble carefully to add sparkle without causing harshness. Ask yourself: does the music sound balanced, or does one part stand out too much?
Customizing For Music Preferences
Your music taste should guide your equalizer settings. For rock or hip-hop, you might want more bass to emphasize beats and drums. For classical or jazz, boosting mid and high frequencies can highlight vocals and instruments.
Experiment with presets if your equalizer has them, but don’t hesitate to tweak each band manually. Your ears are the best judge—does the sound excite you or feel flat? Adjust until your favorite tracks come alive exactly how you want.
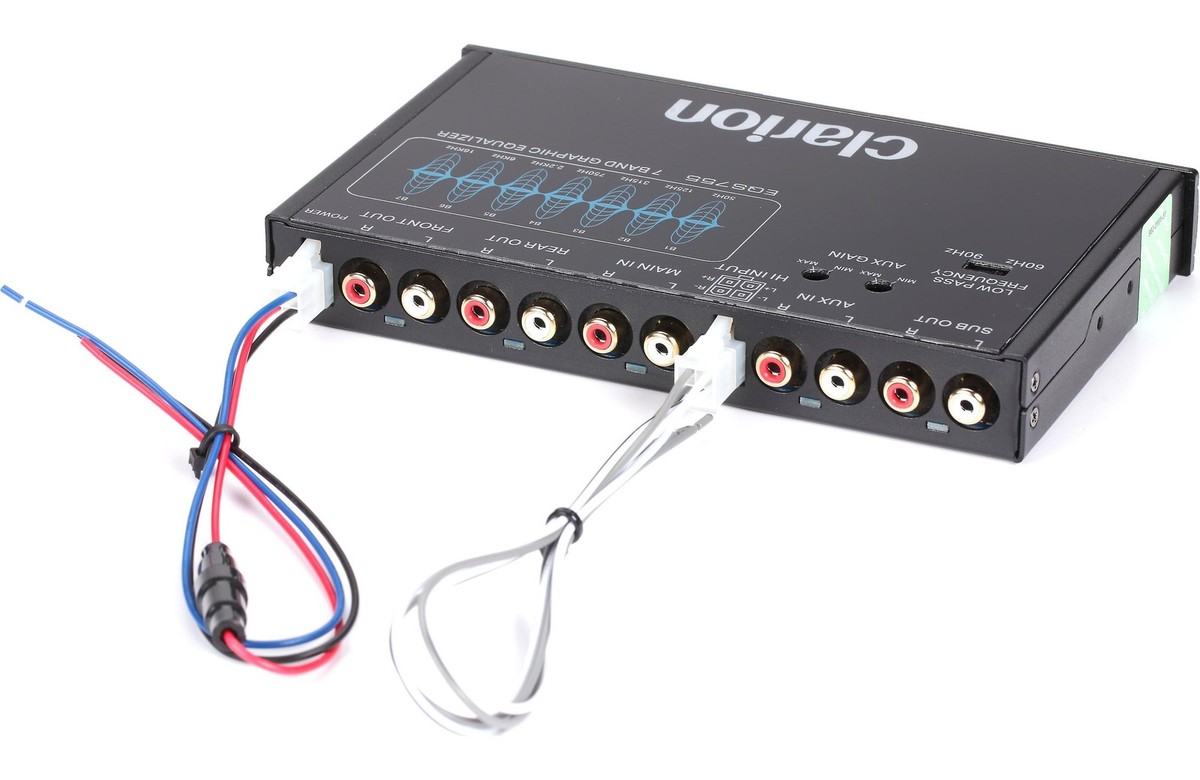
Credit: www.ebay.com
Troubleshooting Common Issues
Troubleshooting common issues with your car stereo equalizer ensures better sound quality. Problems like no sound, distortion, or noise can spoil the audio experience. Identifying and fixing these issues helps maintain clear and balanced sound.
No Sound Or Distortion
No sound or distortion often points to connection problems. Check all cables and connectors for secure fits. Loose or damaged wires can cause sound loss or crackling. Adjust the equalizer settings to avoid extreme boosts that cause distortion. Make sure the stereo volume is not muted or too low.
Power And Grounding Problems
The equalizer needs steady power and proper grounding. A weak or unstable power supply can cause audio cutouts. Verify the power wire is connected to a reliable 12V source. Ensure the ground wire is attached to a clean metal surface. Poor grounding may result in buzzing or humming sounds.
Interference And Noise Reduction
Interference creates unwanted noise in the audio system. Keep signal and power cables separated to reduce interference. Avoid running wires near the ignition or antenna cables. Use shielded cables for better noise protection. Adding a noise filter can help remove electrical interference.
Maintaining Your Setup
Maintaining your equalizer and car stereo setup helps keep the sound quality clear and consistent. Regular care prevents issues like static, distortion, or power loss. It also extends the life of your equipment and avoids costly repairs.
Regular Cleaning
Dust and dirt can build up on your equalizer and stereo controls. Use a soft cloth to wipe the surfaces often. Avoid using harsh chemicals that might damage the components. Keep vents and ports clear to prevent overheating.
Checking Connections
Loose or corroded wires cause poor sound or no sound at all. Check all cables and plugs regularly. Make sure connectors fit tightly into ports. Replace any damaged wires immediately to avoid signal loss.
Upgrading Components
Technology changes fast in car audio. Upgrading parts like speakers, amplifiers, or the equalizer itself can improve sound. Choose components compatible with your existing system. Upgrades keep your setup fresh and perform better over time.
Frequently Asked Questions
What Is An Equalizer In A Car Stereo?
An equalizer is a device that adjusts audio frequencies in your car stereo. It enhances sound quality by boosting or reducing specific frequency bands. This allows you to customize the audio experience to your preference, ensuring optimal sound performance. An equalizer is essential for audiophiles seeking superior audio clarity.
Why Connect An Equalizer To A Car Stereo?
Connecting an equalizer improves your car stereo’s sound quality. It allows you to fine-tune audio frequencies for a personalized listening experience. By adjusting bass, midrange, and treble, you can enhance sound clarity and richness. An equalizer helps achieve a balanced and immersive audio environment in your vehicle.
Do I Need Special Tools To Connect An Equalizer?
Yes, you need basic tools like screwdrivers and wire strippers. Additionally, you might require RCA cables and a wiring harness. These tools and components ensure a secure and proper connection. Always refer to the user manual for specific installation guidelines and safety precautions.
Can I Install An Equalizer Myself?
Yes, you can install an equalizer yourself with some technical knowledge. Follow the manual for guidance. Ensure you disconnect the car battery before starting. Use appropriate tools and components for a secure connection. If unsure, consider professional installation to avoid potential issues.
Conclusion
Connecting an equalizer to your car stereo improves sound quality. It helps adjust bass, treble, and midrange to your liking. Follow the steps carefully to avoid any issues. Double-check all wires and connections before turning on the system. Take your time and enjoy clearer, richer music on every drive.
Small changes can make a big difference in sound. Experiment with settings until you find what sounds best to you. Your car audio experience can become much better with this simple upgrade.

Similar Posts