How to Add 2 More Speakers in Car: Easy Steps for Superior Sound
Master Automotive Systems Engineer & Performance Vehicle Specialist at CarSpeedNest Automotive Testing Lab · ASE Certified Master Technician, Mobile Electronics Certified Professional (MECP Master), Certified Dyno Diagnostic Specialist · 14+ years in dyno testing, electronic sensor calibration, automotive wiring harnesses, and precision drivetrain maintenance
Want to boost your car’s sound system without spending a fortune? Adding two more speakers can transform your driving experience, making every song feel like a live concert.
But how exactly do you do it? If you’ve ever wondered how to upgrade your car audio easily and safely, you’re in the right place. Keep reading, and you’ll discover simple steps that anyone can follow to get that rich, powerful sound you’ve been craving.
Your ears—and your drives—will thank you.
Credit: audiointensity.com
Choosing The Right Speakers
Choosing the right speakers is key to improving your car’s sound system. Good speakers bring clear sound and strong bass. Poor choices can cause distortion or poor fit. Consider the type, size, and power of the speakers. These factors affect sound quality and installation ease. Understanding these basics helps pick speakers that match your car and listening style.
Types Of Car Speakers
Car speakers come in different types for specific sound ranges.
- Coaxial Speakers:Combine tweeter and woofer in one unit. Easy to install and affordable.
- Component Speakers:Separate tweeters and woofers. Provide better sound quality and separation.
- Subwoofers:Designed for low bass sounds. Great for deep, powerful music.
Choose a type that fits your space and sound needs.
Speaker Size And Compatibility
Speaker size must fit your car’s mounting locations.
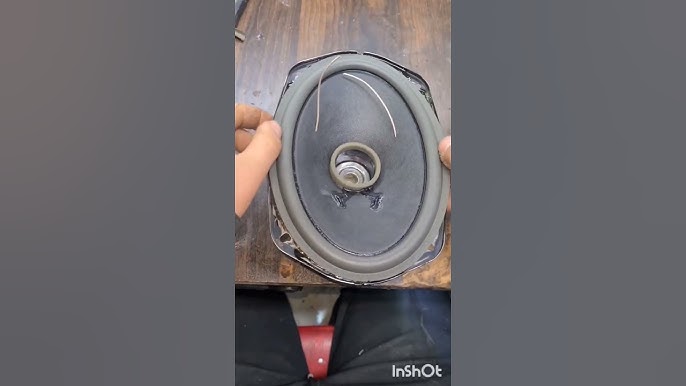
Common sizes include 6.5 inches, 6×9 inches, and 5.25 inches. Check your car manual or measure the speaker space. Using the wrong size leads to poor sound and installation problems. Also, ensure the speaker depth fits behind the panel. Compatibility with your car’s wiring and head unit is important too.
Power Handling And Sensitivity
Power handling shows how much power the speaker can take. Measured in watts (W). Choose speakers that match your amplifier’s output. Too low power causes damage; too high may waste energy.
Sensitivity measures how well a speaker converts power into sound. Rated in decibels (dB). Higher sensitivity means louder sound at less power. Look for speakers with sensitivity around 85 dB or higher for good volume.

Credit: www.reddit.com
Gathering Necessary Tools And Materials
Before you start adding two more speakers to your car, gathering the right tools and materials is crucial. Having everything on hand will save you time and avoid frustrating interruptions. It also ensures a safer and cleaner installation process, making your upgrade smoother.
Essential Tools
To get the job done right, you’ll need a few basic tools. A good-quality screwdriver set is a must for removing panels and screws. Wire strippers help you prepare the speaker wires cleanly without damaging them.
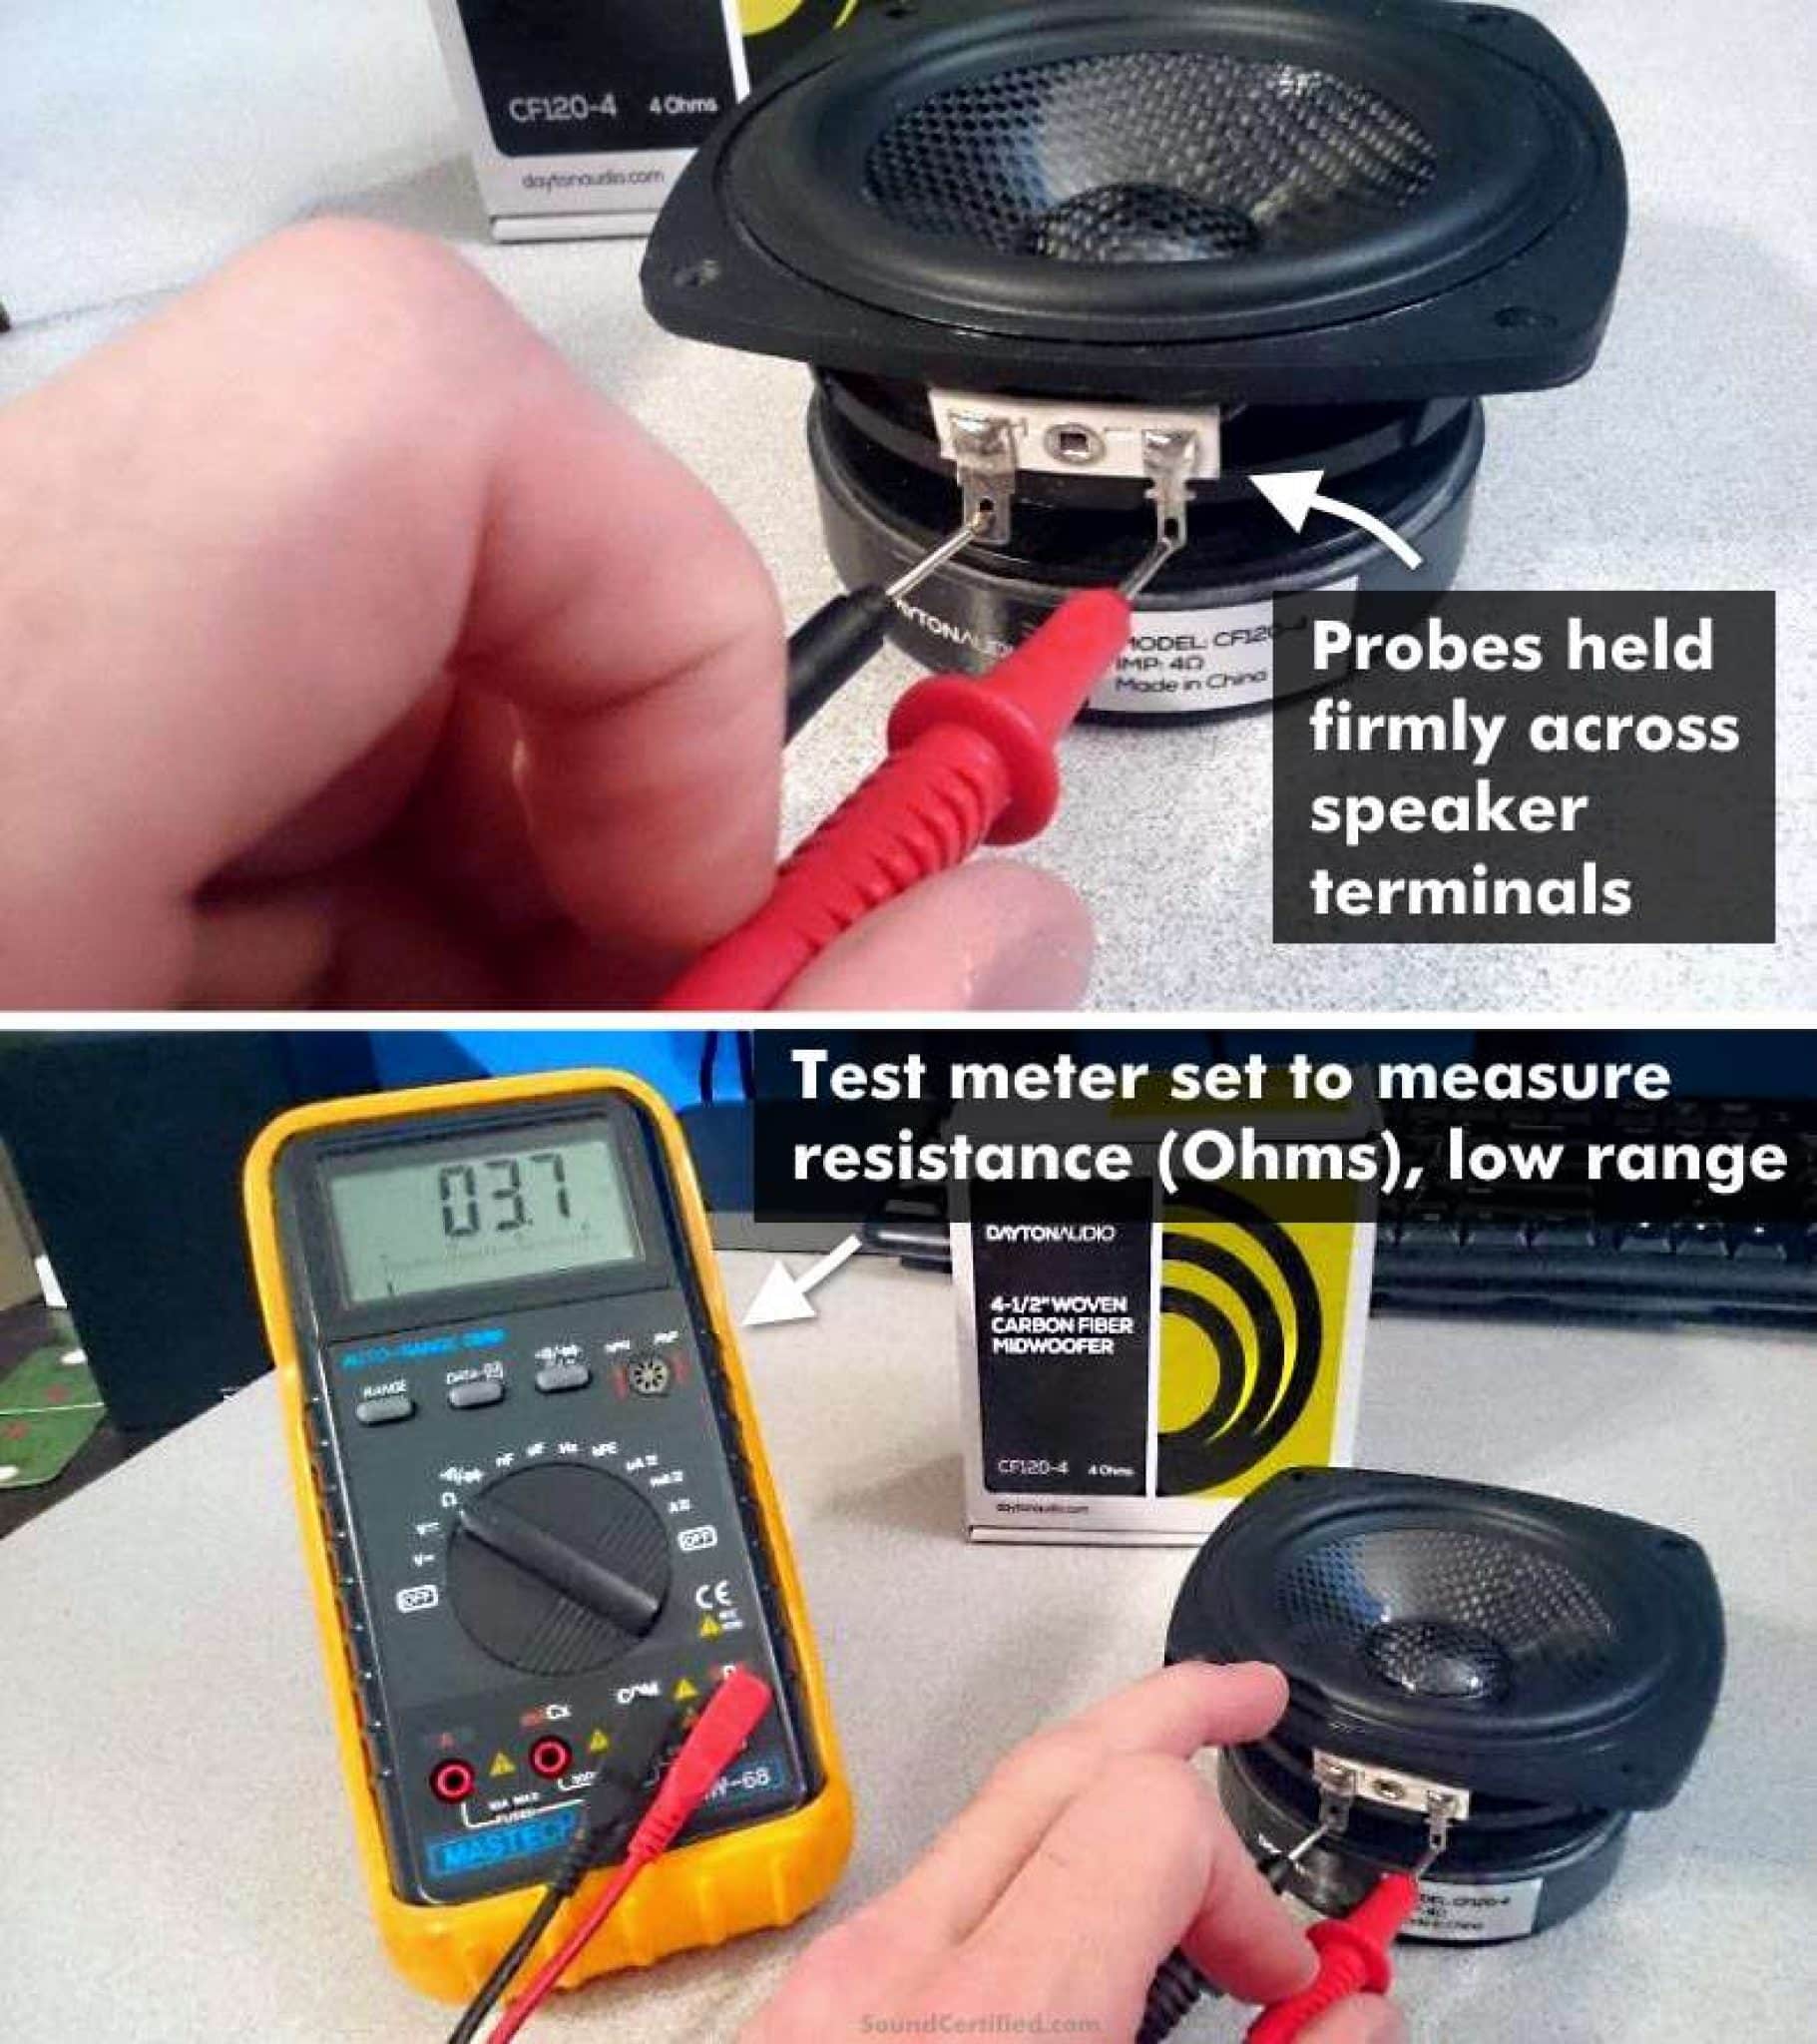
Don’t forget a multimeter to check electrical connections and avoid shorts. A panel removal tool protects your car’s interior from scratches while prying open door panels. How often do you think about these tools before starting a car audio project?
Wiring And Connectors
Wiring is the backbone of your speaker setup. You’ll need speaker wire—14 or 16 gauge works well for most car audio systems. Make sure to buy enough length to reach from your head unit or amplifier to the new speakers without tension.
Connectors like crimp terminals or quick-disconnects make your wiring secure and serviceable. Some people overlook this and end up with loose connections that cause sound issues. Would you rather struggle with static or have a neat, reliable connection?
Additional Accessories
Small accessories can make a big difference. Electrical tape and heat shrink tubing protect your wire splices from moisture and vibration. Mounting brackets or adapter plates might be necessary if your new speakers don’t fit the existing holes perfectly.
Zip ties keep your wiring tidy and prevent rattling noises while driving. Investing in these extras upfront means fewer headaches later. Have you ever been frustrated by a messy installation that rattled every time you hit a bump?
Preparing Your Car For Installation
Preparing your car for speaker installation is crucial for a smooth process. It helps avoid damage and ensures a secure fit for the new speakers. Taking time to prepare will save frustration and improve sound quality.
This preparation involves removing panels carefully, finding the right mounting spots, and following safety steps. Each part needs attention to make the installation easy and effective.
Removing Existing Panels
Start by removing the door or dashboard panels covering speaker areas. Use a plastic trim tool to avoid scratching surfaces. Gently pry the panel away from clips and screws. Keep all screws and clips safe for reassembly. Avoid forcing the panel to prevent damage. Check the owner’s manual for panel removal tips.
Locating Speaker Mounting Points
Find the factory speaker mounts or empty spaces designed for speakers. These spots often have pre-drilled holes or brackets. Measure the size to match your new speakers. Mark the points clearly before drilling or screwing. Ensure the location allows sound to travel freely inside the car. Proper placement improves sound quality and speaker life.
Ensuring Safety Precautions
Disconnect the car battery before starting any work to avoid electrical shorts. Wear gloves and safety glasses during installation. Keep tools organized and away from moving parts. Avoid pinching or cutting wires accidentally. Double-check all connections before reassembling panels. Safety protects you and your car’s electronics during the upgrade.
Wiring The Additional Speakers
Wiring additional speakers in your car requires careful planning. Proper wiring ensures clear sound and avoids damage to your audio system. Understanding the basics helps you connect extra speakers without issues. Follow clear steps for smooth installation and better audio performance.
Understanding Car Audio Wiring
Car audio wiring consists of positive and negative wires for each speaker. Positive wires carry the audio signal, while negative wires complete the circuit. Most factory wires use color codes for easy identification. Using a multimeter can help find the correct wires. Avoid mixing up polarity to keep sound quality intact.
Connecting To The Head Unit
The head unit is the car’s audio control center. Connect additional speakers to unused speaker outputs or tap into existing ones. Use wire taps or splice connectors for secure joins. Avoid direct parallel connections to prevent overloading the head unit. Running new wires directly from the head unit gives the best sound balance.
Using A Speaker Selector Or Amplifier
A speaker selector allows multiple speakers to connect safely to one output. It balances power to each speaker and prevents damage. An amplifier boosts the audio signal, supporting more speakers without loss of volume. Choose an amplifier with enough channels for all speakers. Connect the amplifier between the head unit and speakers for best results.
Mounting The New Speakers
Mounting new speakers in your car is a crucial step that affects both sound quality and the durability of your installation. Proper mounting ensures that your speakers stay secure during drives, preventing unwanted vibrations or damage. It also helps deliver the best audio experience by positioning the speakers correctly within your vehicle’s interior.
Installing Speaker Brackets
Speaker brackets create a stable base for your new speakers, especially if the original mounts don’t fit the size of the new units. You can find universal brackets or model-specific ones depending on your car and speaker type.
Attach the brackets using screws or bolts that match your car’s mounting holes. Make sure the brackets sit flush against the mounting surface to avoid any gaps that might affect sound or stability. If the brackets don’t come with hardware, consider buying self-tapping screws to secure them firmly.
Securing Speakers In Place
Once the brackets are installed, carefully position your speakers onto them. Use the screws provided with your speakers or compatible ones that fit snugly without stripping the holes.
Double-check that the speakers don’t wiggle or shift when gently pushed. If you notice any movement, adding washers or rubber gaskets can help tighten the fit and reduce vibrations. Remember, a secure speaker gives you better sound clarity and avoids rattling noises.
Testing Speaker Fit And Alignment
Before fully tightening everything, test how the speakers fit and align in their spots. Are the speaker cones centered? Is the front grill flush with your car’s interior panels? A slight misalignment can distort sound or cause rubbing against surrounding parts.
Play some music to listen for any buzzing or distortion caused by poor mounting. Adjust the position as needed to get a clean, balanced sound. Have you ever noticed how a small tilt or gap changes the audio? This step is key to avoiding that frustration.

Credit: www.youtube.com
Tuning For Superior Sound
Adding two more speakers to your car is just the start. To truly enjoy rich and clear sound, you need to fine-tune your setup. Tuning helps you get the most out of every note and beat, making your driving experience much more enjoyable.
Adjusting Equalizer Settings
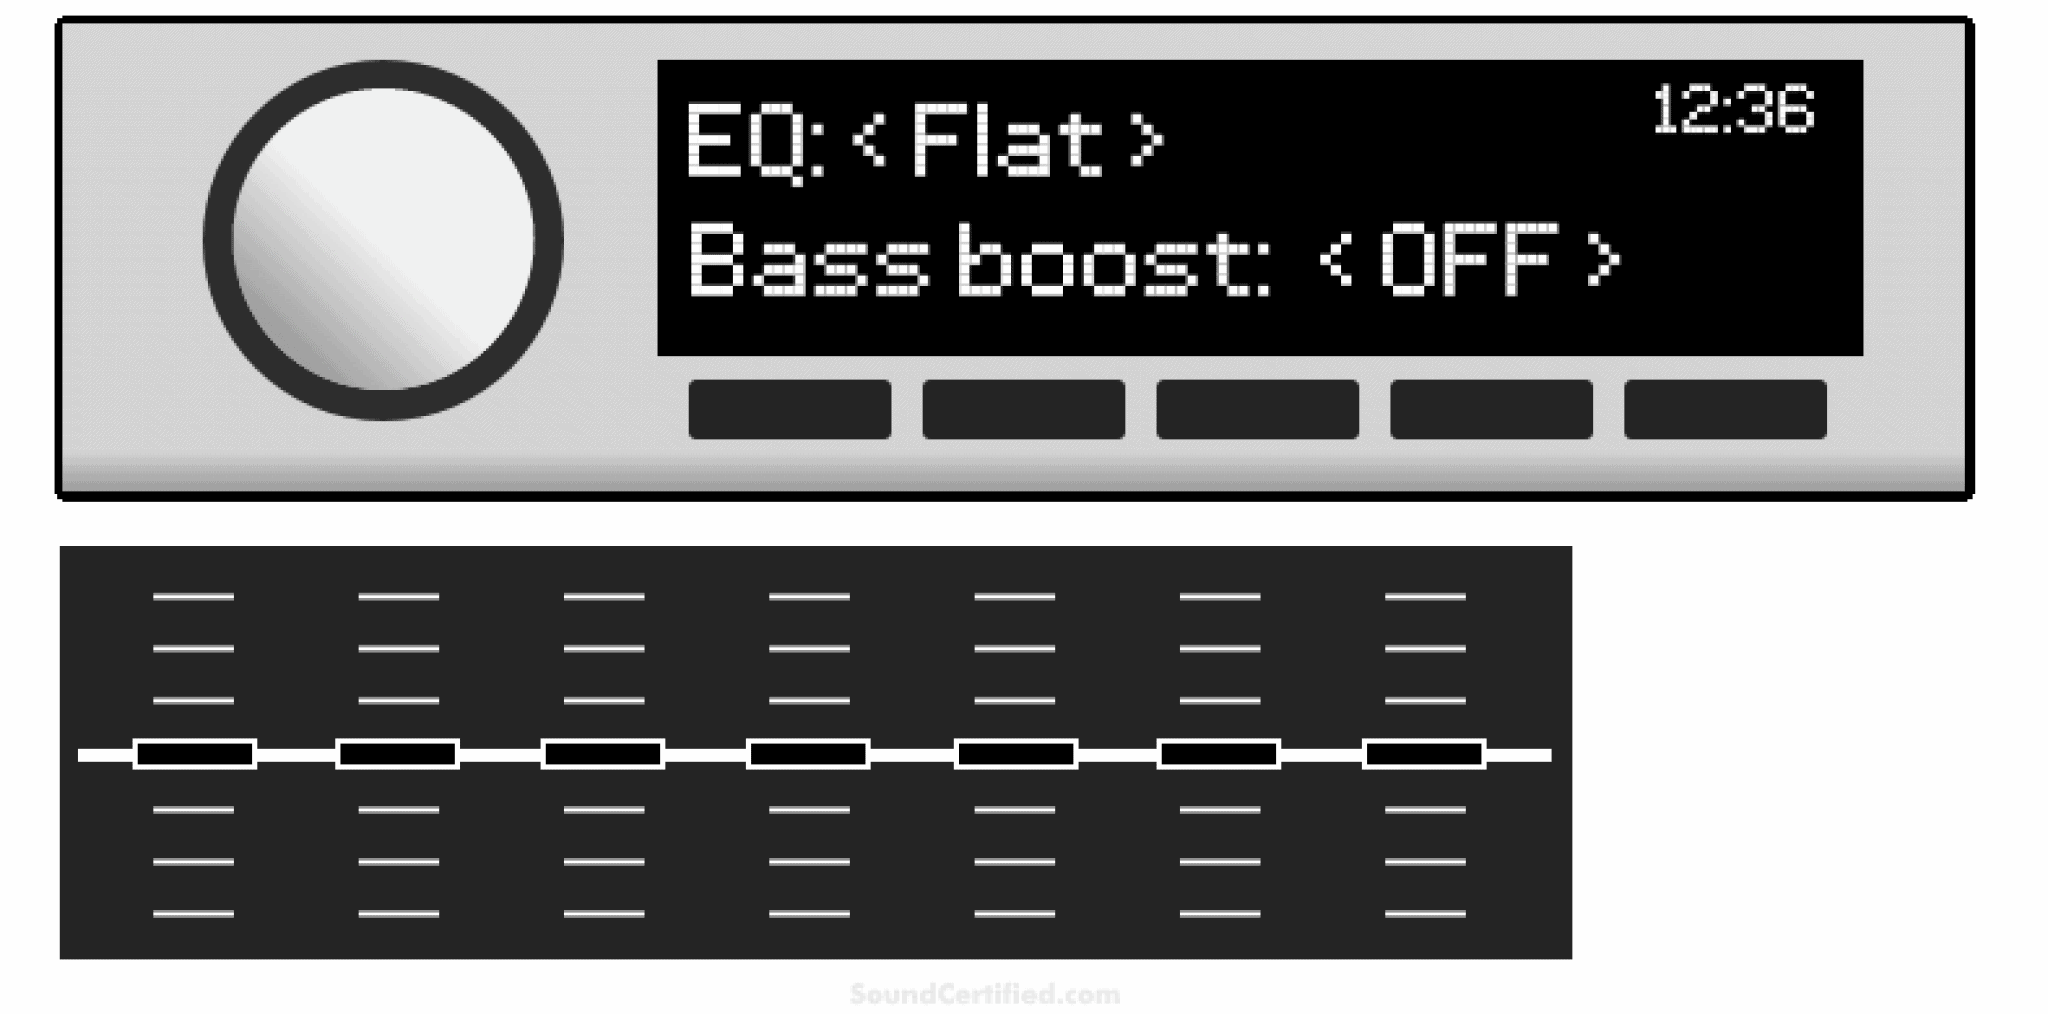
Your car stereo’s equalizer is your best friend when it comes to shaping sound. Try boosting the mid and high frequencies slightly if vocals or instruments feel muffled. If the bass overpowers everything, dial it down to prevent muddiness.
Don’t hesitate to experiment with presets like “Rock” or “Jazz,” then tweak them to your liking. Remember, what sounds great in a showroom might not work in your car’s unique environment. How do your favorite songs sound after a bit of equalizer adjustment?
Balancing Speaker Volume
Each speaker should contribute evenly to the overall sound. If the front speakers overpower the new ones in the back, your audio feels one-sided. Adjust the fade control to spread sound evenly from front to rear.
Check the balance between left and right speakers too. Uneven volume can make the music feel off-center and tiring to listen to. Try sitting in your normal driving position while making these tweaks to get a realistic feel.
Minimizing Distortion And Interference
Distortion can ruin even the best speakers’ sound quality. If you notice crackling or buzzing, lower the volume or check your wiring connections first. Loose or poor-quality wires often cause interference.
Keep speaker wires away from power cables to reduce electromagnetic interference. Adding a noise filter or upgrading your head unit’s ground connection can also help. What small change could you make today to clean up your car’s sound?
Troubleshooting Common Issues
Troubleshooting common issues helps ensure your new car speakers work perfectly. Problems can arise from simple mistakes or hardware faults. Identifying the issue quickly saves time and frustration. Check each part carefully before making changes.
No Sound Or Low Volume
Start by checking speaker connections. Loose or wrong wires stop sound flow. Verify the car stereo is set to the correct output mode. Confirm volume levels are not muted or too low. Test the speakers with another device to rule out faults. Inspect speaker fuses for any damage.
Distorted Audio
Distortion usually means the speaker is overloaded or damaged. Lower the volume to see if distortion clears. Check if speaker wires touch each other or metal parts. Examine the speaker cones for tears or damage. Use quality wires designed for car audio to avoid interference. Make sure the amplifier settings match speaker specifications.
Wiring Problems
Wiring issues cause many common speaker problems. Trace all wires from the stereo to speakers for breaks or shorts. Use a multimeter to test wire continuity. Replace any worn or frayed wires. Secure wires away from heat sources or sharp edges. Label wires to avoid confusion during installation.
Frequently Asked Questions
How Do I Add Two More Speakers In My Car?
To add two more speakers, check your car stereo’s output and speaker compatibility. Use a speaker wire splitter or install an external amplifier. Connect wires securely and test sound output. Ensure impedance matches to avoid damaging the system.
Can My Car Stereo Support Extra Speakers?
Most modern car stereos can support extra speakers if they have additional channels or use an amplifier. Check your stereo’s manual for speaker output limits and impedance specifications before adding more speakers.
What Tools Are Needed To Install Extra Car Speakers?
You’ll need wire strippers, screwdrivers, electrical tape, speaker wire, and possibly a soldering kit. Also, a multimeter helps check connections. Having the right tools ensures a smooth and safe installation process.
Will Adding Speakers Affect My Car Battery?
Adding speakers minimally impacts your battery if done correctly. Using an external amplifier may draw more power, so ensure your battery and alternator are in good condition to handle the extra load.
Conclusion
Adding extra speakers can enhance your car’s audio experience. It’s a straightforward process with the right tools. Start by selecting compatible speakers for your car model. Carefully follow the installation steps to ensure safety. Double-check connections to avoid any issues.
Testing the sound quality is the final step. Enjoy the improved audio while driving. Always consult your car’s manual for specific instructions. Remember, patience and attention to detail make a difference. Happy driving and listening!

Similar Posts