How to Connect Aftermarket Car Stereo: Easy Steps for Perfect Sound
Master Automotive Systems Engineer & Performance Vehicle Specialist at CarSpeedNest Automotive Testing Lab · ASE Certified Master Technician, Mobile Electronics Certified Professional (MECP Master), Certified Dyno Diagnostic Specialist · 14+ years in dyno testing, electronic sensor calibration, automotive wiring harnesses, and precision drivetrain maintenance
Are you ready to upgrade your car’s sound system but unsure how to connect an aftermarket stereo? You’re not alone.
Many car owners want better audio quality but feel overwhelmed by the wiring and installation process. The good news is, connecting your new stereo can be simpler than you think. In this guide, you’ll discover easy, step-by-step instructions to get your stereo up and running quickly.
Imagine enjoying your favorite music with crystal-clear sound every time you drive. Keep reading, and you’ll learn how to make that happen without stress or confusion.
Choosing The Right Stereo
Choosing the right stereo for your car is a key step in upgrading your audio system. The perfect stereo fits your vehicle, meets your needs, and stays within your budget. Picking the best one ensures clear sound and easy use. Focus on compatibility, features, and cost before buying.
Assessing Compatibility
Check if the stereo fits your car’s dashboard size. Most cars use standard sizes like single-DIN or double-DIN. Look at the wiring harness to match your vehicle’s connectors. Confirm the stereo supports your car’s power system. Make sure it works with any steering wheel controls or other factory features.
Features To Consider
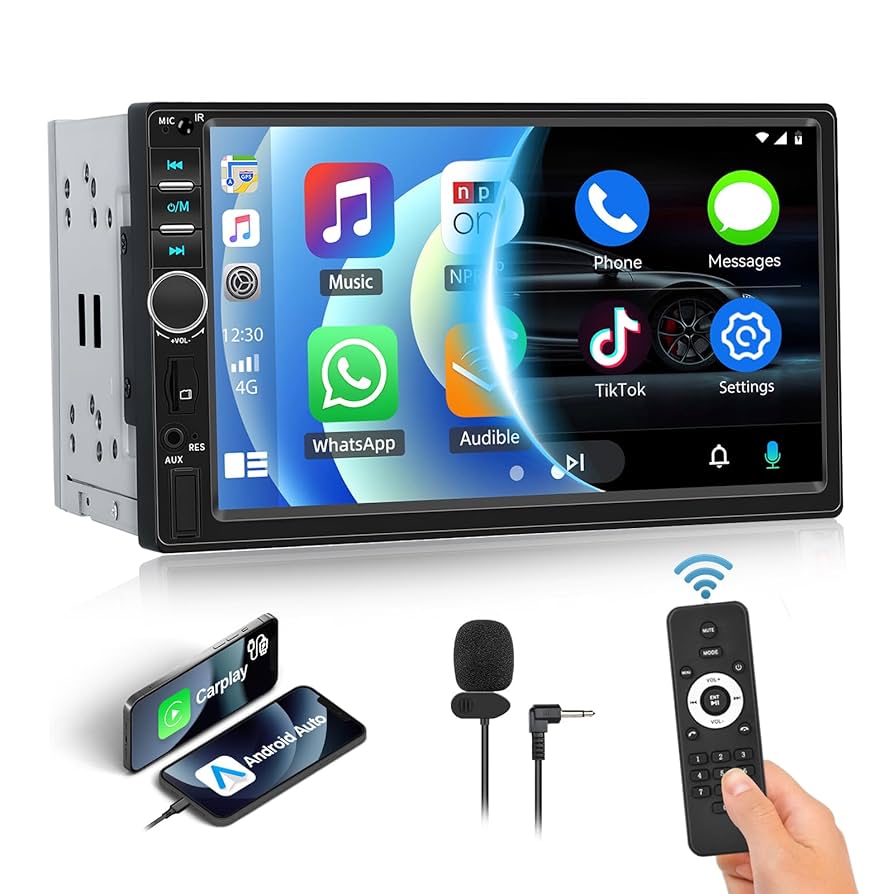
- Bluetooth for hands-free calls and wireless music streaming
- USB ports to connect phones or flash drives
- Touchscreen display for easy control
- Support for Apple CarPlay or Android Auto
- Built-in equalizer to adjust sound settings
- AM/FM radio and support for digital radio
- Backup camera input for safety
Budget Planning
Set a clear budget before shopping. Prices vary widely based on brand and features. Simple models cost less but may lack advanced options. High-end stereos offer more functions but can be expensive. Include installation costs in your budget. Balance price with the features you really want.
Gathering Necessary Tools
Gathering the right tools makes installing an aftermarket car stereo easier and safer. Having everything ready avoids delays and frustration during the process. A few essential tools help you remove the old stereo and connect the new one properly.
Some tools are basic and almost always needed. Others are optional but useful. Both types improve the installation experience and ensure good results.
Basic Tools List
- Screwdrivers (Phillips and flathead) to remove screws
- Wire strippers to prepare the wires
- Crimp connectors or electrical tape for secure wire connections
- Panel removal tools to avoid damaging car trim
- Multimeter to check electrical connections and voltage
- Socket wrench set for bolts holding the stereo
Optional Accessories
- Wire harness adapter to avoid cutting factory wires
- Dash kit for a clean and professional stereo fit
- Heat shrink tubing for stronger, insulated wire connections
- Zip ties to organize and secure wiring
- Fuse tap to safely add power sources
- Anti-static gloves to protect electronics and hands
Preparing Your Vehicle
Preparing your vehicle is a crucial step before installing an aftermarket car stereo. It ensures your safety and protects your car’s electrical system from damage. Taking time to prepare also makes the installation process smoother and faster.
Disconnecting The Battery
Always start by disconnecting the negative terminal of your car battery. This prevents any electrical shorts or shocks while you work on the stereo system. Use a wrench to loosen the nut on the battery terminal and carefully lift the cable away.
Have you noticed sparks or unusual smells when working on car electronics before? Disconnecting the battery helps you avoid these risks completely. It’s a simple step that can save you from costly repairs or personal injury.
Removing The Old Stereo
Next, you need to remove the existing stereo from your dashboard. Begin by carefully prying off any trim or panels surrounding the stereo using a plastic trim tool to avoid scratching your car’s interior.
Once the trim is removed, locate the screws or bolts holding the stereo in place. Keep them somewhere safe as you’ll need them later. Pull the stereo out gently, then disconnect the wiring harness and antenna cable from the back.
Have you ever tried pulling the stereo too hard? It can damage the connectors and wires. Take your time and make sure all connections are free before fully removing the unit.
Wiring The New Stereo
Wiring the new stereo is a key part of installing an aftermarket car stereo. It ensures your stereo works correctly and safely. This process involves matching wires and connecting them properly. Careful attention here will save time and prevent electrical issues.
Identifying Wire Colors
Car stereo wires use colors to show their function. Knowing these colors helps connect wires right. Common colors include:
- Red for accessory power
- Yellow for constant power
- Black for ground
- White and gray for front speakers
- Green and purple for rear speakers
Check your stereo’s manual. It may have a color code chart. Also, compare with the car’s wiring colors.
Using A Wiring Harness Adapter
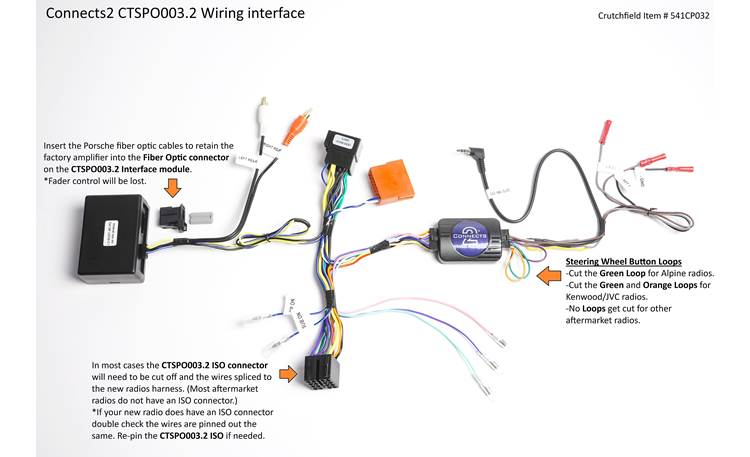
A wiring harness adapter fits between your car’s wires and the new stereo. It matches wire colors and plugs directly in. This tool avoids cutting factory wires. It makes installation cleaner and easier.
Adapters are specific to car make and model. Buy one that matches your vehicle. Using an adapter keeps your car’s wiring intact.
Connecting Power And Ground Wires
Power wires provide electricity to the stereo. Connect the yellow wire to constant 12V power. Connect the red wire to switched 12V power. This wire only works when the ignition is on.
Ground wires complete the circuit. Connect the black wire to a clean metal part of the car. A good ground prevents noise and electrical problems.
Hooking Up Speaker Wires
Speaker wires carry sound signals to your car speakers. Match the stereo’s speaker wires to the car’s wires by color. White and white with black stripe go to front left speaker. Gray and gray with black stripe connect to front right speaker.
Green and green with black stripe go to rear left speaker. Purple and purple with black stripe connect to rear right speaker. Ensure all connections are secure and insulated.
Mounting The Stereo
Mounting the stereo properly is crucial for both the functionality and safety of your car’s audio system. If the stereo isn’t mounted securely, it could rattle, disconnect, or even cause damage while driving. Taking the time to mount it right ensures a clean look and reliable performance every time you hit the road.
Installing The Mounting Bracket
Start by checking if your new stereo came with a mounting bracket or if you need to reuse the factory one. The bracket acts like a frame, holding the stereo firmly inside the dashboard. Align the bracket with the stereo’s mounting holes and use screws to fasten them together tightly.
Pay attention to the fit inside your car’s dash opening. Sometimes, you might need to adjust the bracket slightly or add spacer plates for a snug fit. Have you noticed how a loose bracket can cause annoying vibrations? Fixing that early saves you from constant readjustments later.
Securing The Stereo In Place
Once the bracket is installed, slide the stereo into the dash carefully. You should feel it click or lock into place, depending on your vehicle’s design. If it feels loose, don’t force it; double-check the bracket and mounting points for any misalignment.
Use the screws or clips provided to secure the stereo firmly. Remember, a well-secured stereo won’t shift during sharp turns or on bumpy roads. Have you ever driven with a loose stereo that rattled nonstop? Securing it properly prevents that distraction and potential damage.
Finally, test the stereo’s position by gently pushing it from different angles. If it holds steady, you’re good to go. This small step makes a big difference in your overall driving experience and the longevity of your stereo system.
Credit: www.toyotanation.com
Testing And Adjusting
Testing and adjusting the aftermarket car stereo is essential to ensure it works perfectly. This phase confirms all connections are secure and the sound system delivers quality audio. Careful checks and tweaks help avoid issues while driving.
Powering On The Stereo
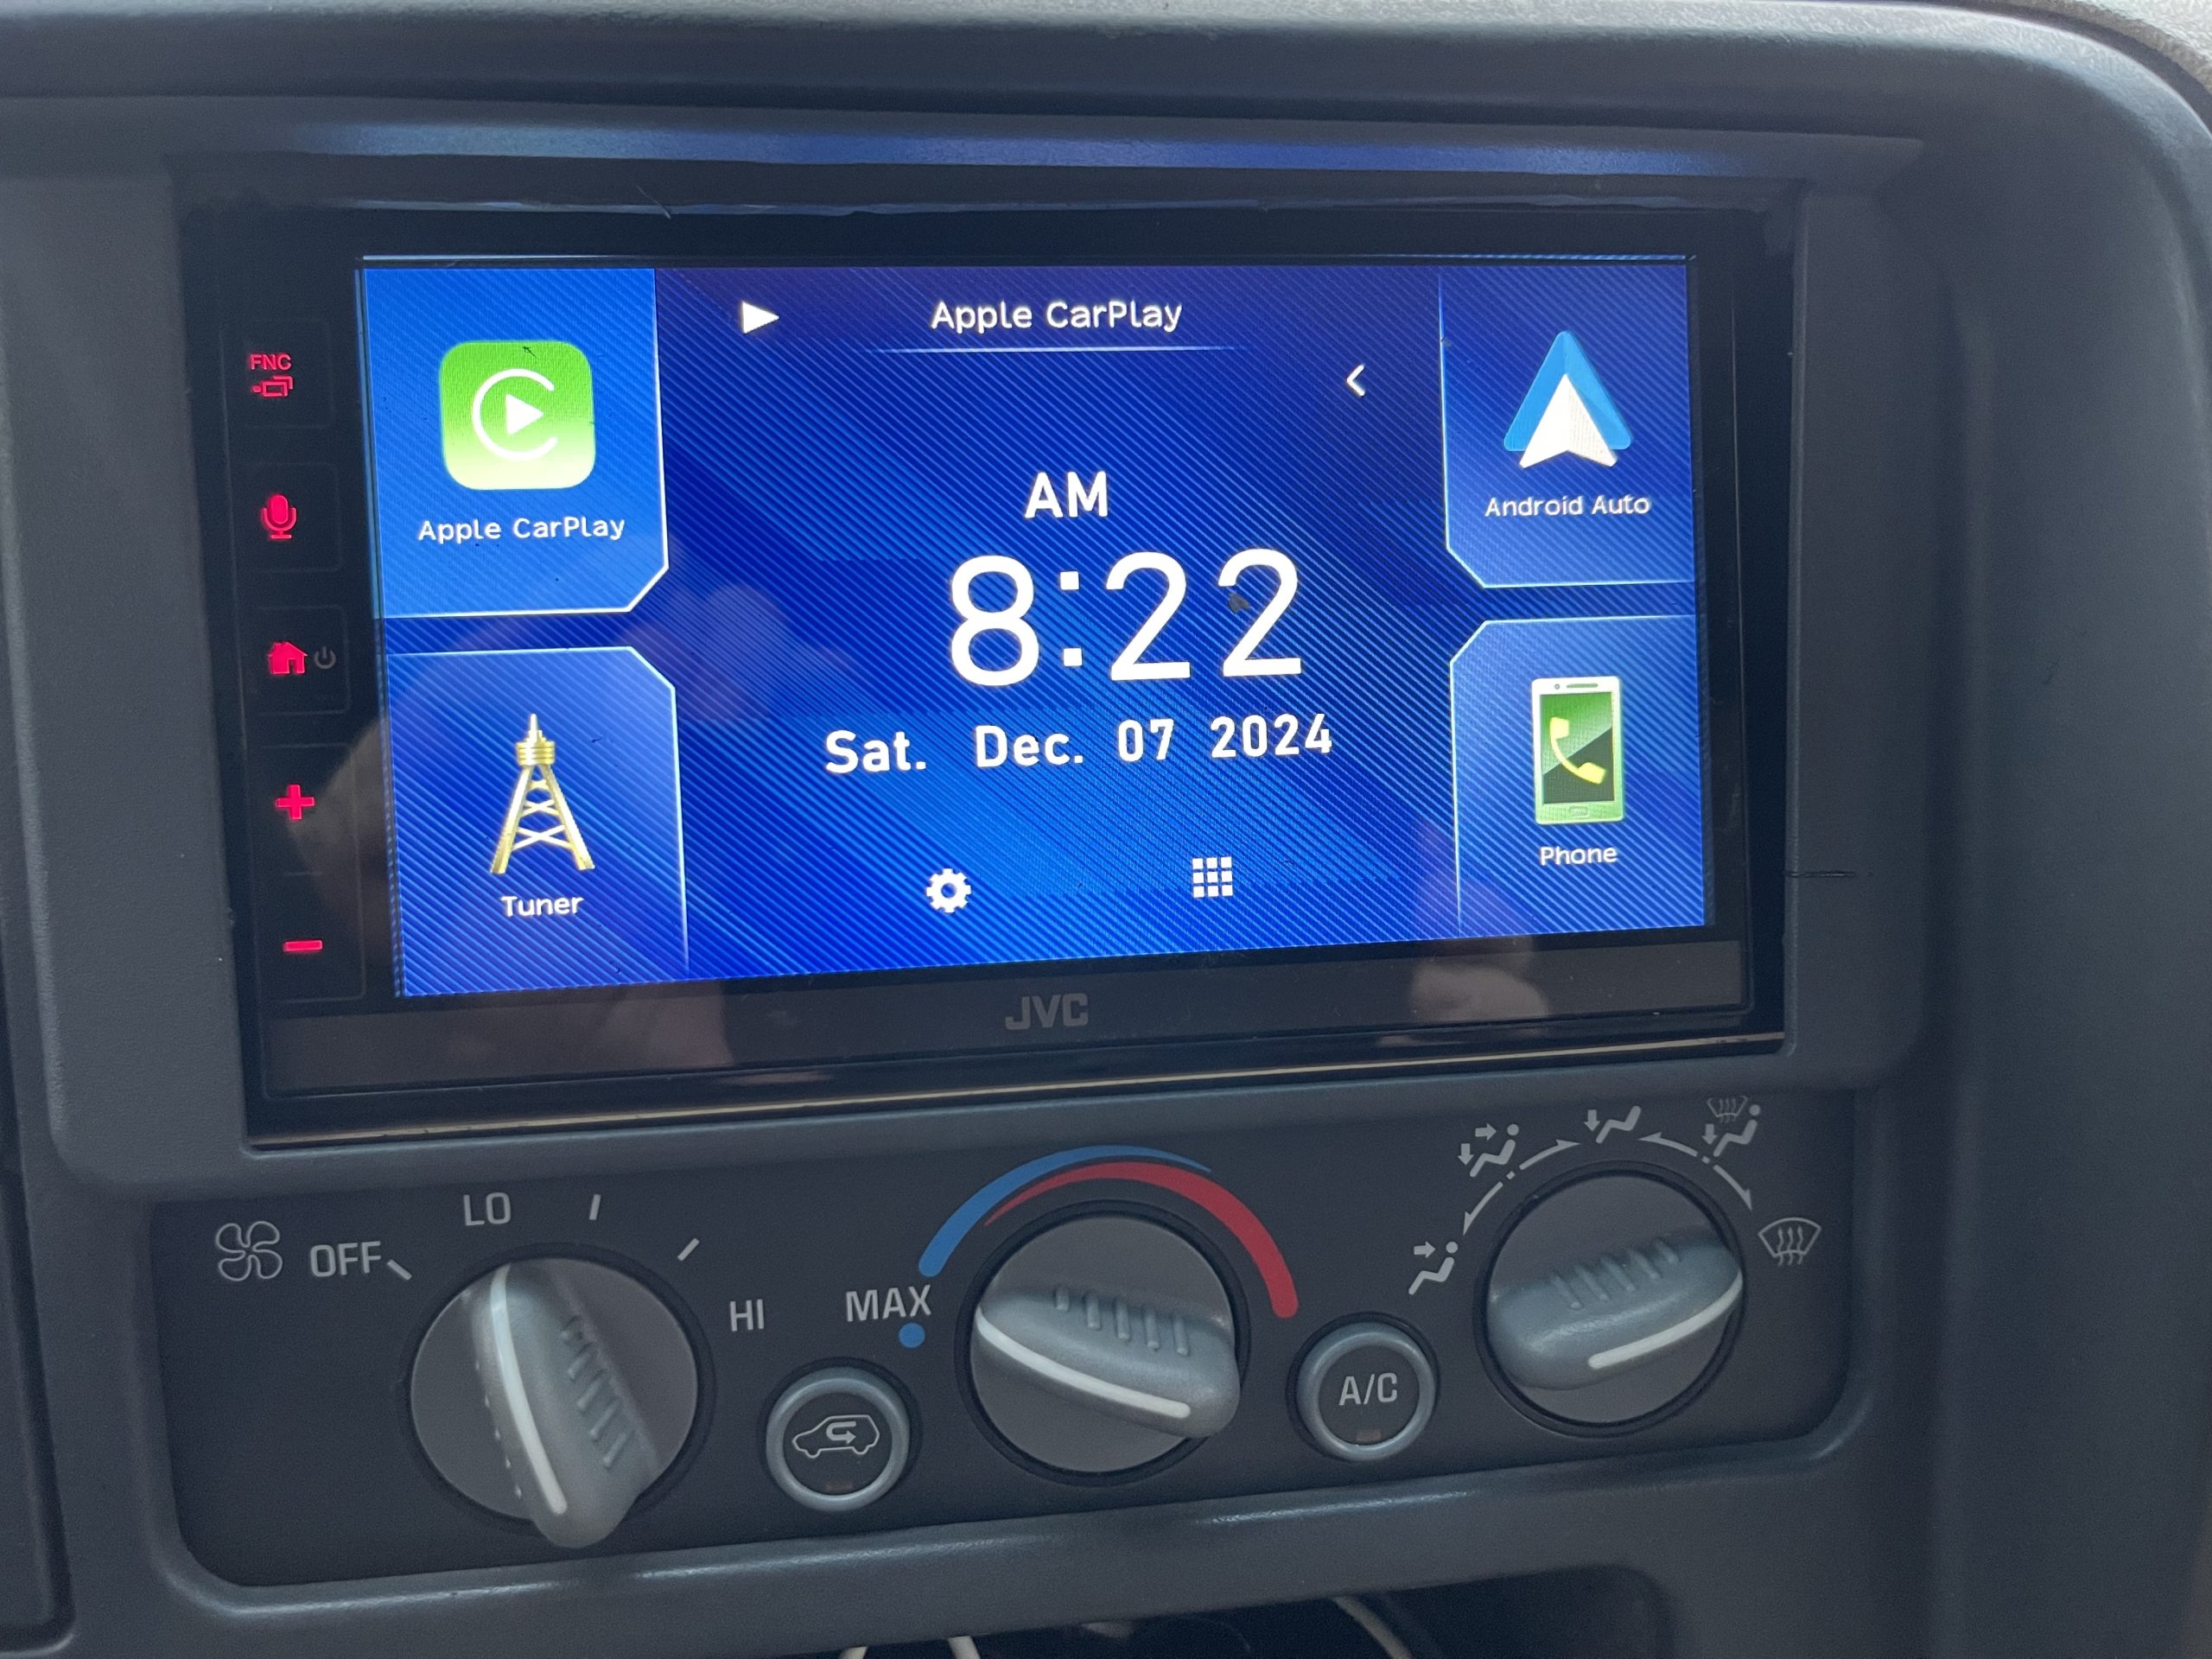
Start by turning on the car ignition. The stereo should light up and display its welcome screen. Listen for any unusual noises like buzzing or static. If the stereo does not power on, double-check wiring and fuse connections. Proper power supply is crucial for operation.
Checking Sound Quality
Play music from a familiar source such as a phone or USB drive. Listen closely for clear sound from all speakers. Check each speaker individually by adjusting balance and fade controls. Note any distortion, low volume, or missing sound. This helps identify wiring or speaker issues early.
Fine-tuning Audio Settings
Adjust bass, treble, and midrange levels to suit your preference. Use equalizer presets or manual settings for better sound. Set volume limits to avoid speaker damage. Balance sound between front and rear speakers for even audio. Small changes can greatly improve listening experience.
Troubleshooting Common Issues
Connecting an aftermarket car stereo can be exciting, but sometimes things don’t work as expected. Troubleshooting common issues quickly can save you a lot of frustration. Let’s look at some typical problems and how you can fix them effectively.
No Power Or Sound
If your new stereo powers on but there’s no sound, or it doesn’t power on at all, start by checking the fuse. A blown fuse is a frequent culprit and easy to replace.
Also, ensure the wiring harness is connected properly. If the stereo isn’t getting power, your car’s ignition wire or battery wire might be loose or incorrectly connected.
Have you tested the speaker wires? Sometimes, the stereo works but the speakers don’t receive the signal due to wrong wiring or damaged wires.
Distorted Audio
Distorted sound can ruin your listening experience. Check your speaker connections first; a poor connection can cause crackling or muffled audio.
Look at the speaker impedance ratings. Using speakers that don’t match the stereo’s output can lead to distortion or damage.
Adjust your equalizer settings carefully. Too much bass or treble boost might cause distortion even if everything else is wired correctly.
Loose Connections
Loose connections are a silent troublemaker. They can cause intermittent sound or power loss without obvious signs.
Inspect all plugs and connectors. Wiggle them gently to see if the sound cuts out or power flickers, indicating a loose connection.
Use electrical tape or zip ties to secure wires after confirming everything works. It prevents accidental disconnection when driving over bumps.

Credit: www.reddit.com
Credit: www.crutchfield.ca
Frequently Asked Questions
How Do I Connect My Aftermarket Stereo?
To connect your aftermarket stereo, start by disconnecting the car battery. Use a wiring harness to match your car’s wiring with the stereo’s. Secure the connections using crimp connectors or electrical tape. Finally, mount the stereo into the dashboard and reconnect the battery to test the setup.
What Tools Are Needed For Stereo Installation?
You’ll need a screwdriver, wire strippers, crimping tool, and a panel removal tool. These tools help in removing the old stereo, stripping wires for connections, and securing the new stereo. A wiring harness adapter is also recommended for a seamless installation experience.
Can I Install A Car Stereo Myself?
Yes, you can install a car stereo yourself. Ensure you have the right tools and follow the installation instructions carefully. Using a wiring harness adapter simplifies the process. If unsure, consult your car’s manual or seek professional help to avoid complications.
Do I Need A Wiring Harness Adapter?
A wiring harness adapter is highly recommended. It ensures a seamless connection between your car’s wiring and the new stereo. It prevents cutting or splicing wires, preserving the integrity of your car’s electrical system. This makes the installation process quicker and more efficient.
Conclusion
Connecting an aftermarket car stereo is easier than it seems. Follow the steps carefully for a smooth installation. Double-check all wire connections before powering on. Take your time to avoid mistakes and damage. A good stereo improves your driving experience greatly.
Enjoy clear sound and better control in your car. Remember, patience and attention make the job simple. Now, you can listen to your favorite music with ease.

Similar Posts