How to Connect Speakers to Car Stereo: Easy Step-by-Step Guide
Master Automotive Systems Engineer & Performance Vehicle Specialist at CarSpeedNest Automotive Testing Lab · ASE Certified Master Technician, Mobile Electronics Certified Professional (MECP Master), Certified Dyno Diagnostic Specialist · 14+ years in dyno testing, electronic sensor calibration, automotive wiring harnesses, and precision drivetrain maintenance
You want great sound every time you drive, but connecting your speakers to your car stereo can feel confusing. What wires go where?
How do you avoid damaging your system? You’re about to learn simple, clear steps to get your speakers hooked up quickly and safely. By the end of this guide, you’ll have your car filled with crystal-clear music that makes every ride better.
Keep reading, and let’s make your car stereo sound amazing!
Tools And Materials Needed
Before you start connecting your speakers to your car stereo, gathering the right tools and understanding the materials is crucial. Having everything ready saves time and avoids frustration during installation. It also ensures a safer and cleaner job, helping your sound system perform at its best.
Essential Tools
Make sure you have these tools on hand to make the process smooth and efficient:
- Wire strippers:These help you remove the insulation without damaging the wires.
- Screwdrivers:Both flathead and Phillips types are needed to remove panels and secure speakers.
- Crimping tool or soldering kit:For solid connections between wires.
- Multimeter:It’s useful to check wiring continuity and voltage.
- Electrical tape or heat shrink tubing:To insulate and protect wire connections.
- Panel removal tool:This prevents damage when removing car interior panels.
Having these tools ready means you won’t have to stop midway looking for something. It keeps the work clean and professional.
Speaker Types
Understanding the type of speakers you have or plan to install affects the materials you need. Common options include:
- Coaxial speakers:These are all-in-one speakers with tweeters and woofers combined. They’re easier to install and often come with wiring kits.
- Component speakers:Separate tweeters and woofers that require more precise wiring and placement for better sound quality.
- Subwoofers:Designed for deep bass, these often need additional amplifiers and specialized wiring.
Knowing your speaker type helps you prepare the right wires and connectors. It also guides how much work you’ll need to do with your car’s stereo system.
Wiring Basics
Speaker wiring isn’t complicated, but getting it right is key to avoid sound issues or damage. Here’s what to keep in mind:
- Wire gauge:Use thicker wires (lower gauge number) for longer runs or higher power to prevent signal loss.
- Polarity:Positive and negative terminals must match between the stereo and speakers to keep sound clear and in phase.
- Connectors:Use proper crimp connectors or solder joints to ensure solid, lasting connections.
- Routing:Plan wire paths away from moving parts or heat sources to protect them from damage.
Have you ever noticed distortion or weak sound and wondered why? Often, it’s a wiring issue. Taking a moment to understand these basics saves headaches later.

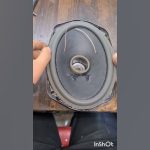
Credit: www.reddit.com
Preparing Your Car Stereo
Preparing your car stereo is the first step before connecting new speakers. This ensures a smooth and safe installation process. Taking time to organize and understand your stereo setup will help avoid mistakes and damage.
Careful preparation also protects your car’s electrical system. It makes the speaker connection easier and more efficient. Follow these simple tasks to get ready.
Accessing The Stereo Unit
Start by removing the stereo unit from the dashboard. Most car stereos have screws or clips holding them in place. Use a screwdriver or panel tool to carefully pry the unit out.
Keep all screws and small parts safe. Pull the stereo straight out to access the wiring behind. Avoid forcing it to prevent damage.
Identifying Speaker Wires
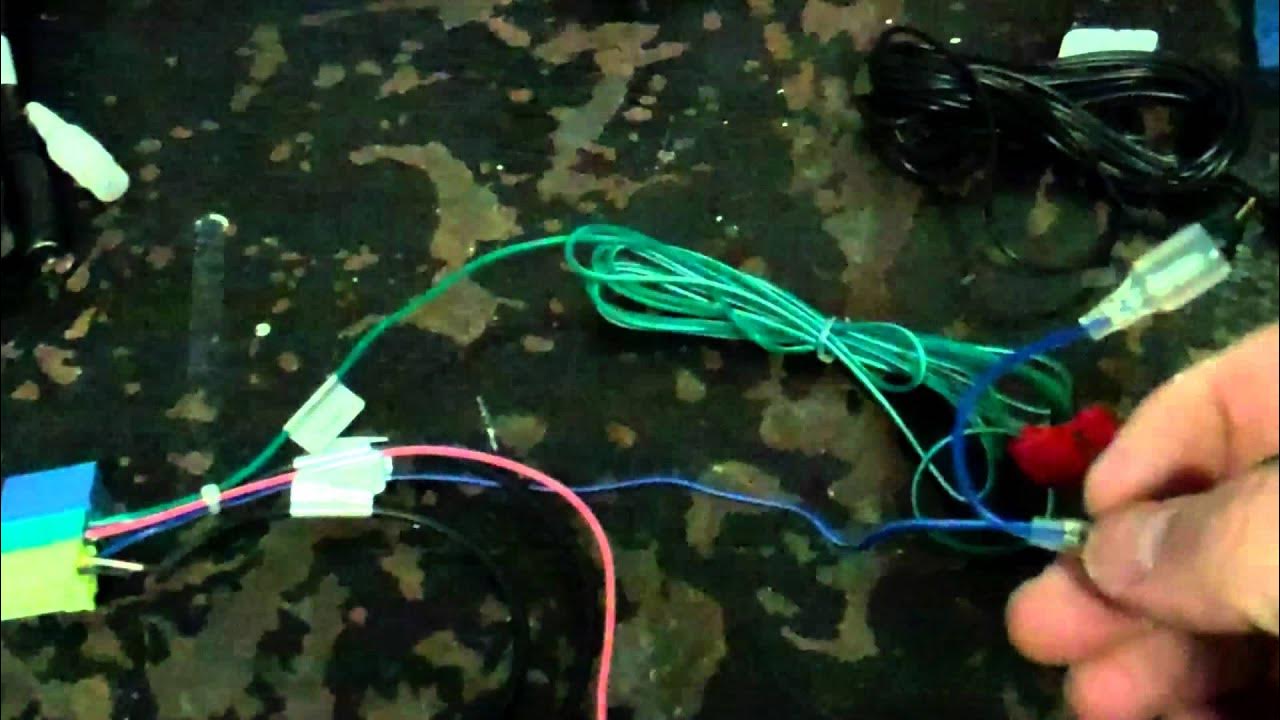
Find the speaker wires connected to the stereo. These wires usually have pairs with one solid and one striped wire. Check your car’s manual for wire colors and functions.
Speaker wires often come in four pairs for front and rear speakers. Label the wires with tape to remember their positions. Clear identification helps during connection.
Disconnecting Power Safely
Always disconnect the car battery before working on the stereo. Remove the negative terminal cable first. This step prevents electrical shorts and shocks.
Wait a few minutes after disconnecting to let the system power down. Only then proceed to handle the stereo and wires. Safety is key to avoid damage and injury.
Connecting The Speakers
Connecting the speakers to your car stereo requires careful attention. Proper connection ensures clear sound and prevents damage. Follow these tips to make the process smooth and safe.
Matching Wire Polarity
Always match the positive wire to the positive terminal. The negative wire connects to the negative terminal. This alignment keeps the sound balanced. Incorrect polarity causes poor audio quality and speaker damage. Look for color codes or labels on wires. Usually, red or a solid color means positive. Black or a stripe indicates negative.
Using Connectors And Adapters
Use connectors or adapters to join wires securely. They make connections stable and easy to manage. Common types include:
- Butt connectors for joining two wires end-to-end
- Spade connectors for easy speaker terminal attachment
- Quick disconnects for fast removal or replacement
Adapters help match different wire sizes or terminal types. Choose connectors that fit tightly and resist corrosion.
Securing Wire Connections
Tightly secure all wire connections to avoid loose contacts. Loose wires cause sound dropouts or shorts. Use electrical tape or heat shrink tubing to cover exposed wires. Route wires away from sharp edges and moving parts. Use zip ties to bundle and hold wires in place. Proper securing improves safety and sound quality.
Testing The Setup
Testing the setup after connecting your speakers to the car stereo is crucial. It ensures everything works correctly and sounds good. This process helps catch any wiring mistakes or equipment issues early. Follow these steps to verify your installation and enjoy clear, quality sound.
Powering On The Stereo
Start by turning on your car stereo. Listen for any unusual noises or silence. Check that the display lights up and the volume controls respond. Make sure the stereo recognizes the connected speakers. This step confirms power and basic functionality.
Checking Sound Quality
Play a favorite song or audio clip. Listen closely to each speaker for clear, balanced sound. Notice if the bass, midrange, and treble are all present. Ensure there is no distortion, buzzing, or crackling. Test different volume levels to verify consistent sound quality.
Troubleshooting Common Issues
- No sound from one or more speakers? Check speaker wires for loose connections.
- Distorted sound? Lower the volume and inspect speaker placement.
- Static or buzzing noise? Verify ground wire is secure and free from damage.
- Stereo won’t power on? Test the fuse and car battery connection.
- Uneven sound? Adjust balance and fade settings on the stereo.
Final Installation Tips
Final installation is key to a clean, safe, and effective speaker setup. This stage ensures wires stay in place, panels fit perfectly, and sound quality lasts long. Taking care now prevents problems later and keeps your car stereo system working well.
Organizing And Securing Wires
Keep wires neat and out of sight. Use zip ties or clips to bundle cables together. Avoid sharp bends or pinching wires. Secure wires away from moving parts or heat sources. Proper wire management stops shorts and signal loss.
Replacing Panels And Covers
Fit panels and covers back carefully. Align clips and screws properly for a snug fit. Avoid forcing parts to prevent damage. Check that all panels sit flush and buttons work without obstruction. A tidy finish protects components and enhances car interior.
Maintaining Speaker Performance
Clean speakers regularly with a dry cloth. Avoid moisture or harsh chemicals near speakers. Check connections from time to time to keep signal strong. Keep volume at safe levels to prevent damage. Regular care helps your speakers sound clear and last longer.

Credit: www.youtube.com
Credit: www.diymobileaudio.com
Frequently Asked Questions
How Do I Know My Car Stereo’s Speaker Compatibility?
To determine compatibility, check your car stereo’s manual for speaker specifications. Look for impedance (ohms) and power ratings. Match these with your speakers’ specs. Most car stereos support 4-8 ohm speakers. Ensure the power output matches or is slightly less than your speakers’ power handling capacity to avoid damage.
Can I Connect Speakers Without An Amplifier?
Yes, you can connect speakers directly to your car stereo without an amplifier. Most car stereos have built-in amplifiers that can power basic speakers. However, for enhanced sound quality and volume, an external amplifier is recommended. It provides better power and sound clarity, especially for high-performance speakers.
What Tools Do I Need For Speaker Installation?
For speaker installation, you’ll need a screwdriver, wire stripper, and crimping tool. Additionally, have electrical tape or heat shrink tubing for securing connections. A multimeter can help verify correct wiring. These tools ensure a secure, efficient installation process, minimizing potential issues with your car stereo system.
How Do I Ensure Correct Speaker Polarity?
To ensure correct speaker polarity, connect positive wires to positive terminals and negative wires to negative terminals. Incorrect polarity can cause phase issues, affecting sound quality. Use a multimeter to check wire polarity if uncertain. Proper polarity ensures optimal speaker performance and sound clarity in your car stereo system.
Conclusion
Connecting speakers to your car stereo is simpler than it seems. Just match the wires carefully and secure them tightly. Test the sound before closing everything up. This small task can improve your car’s audio experience a lot. Take your time and follow each step clearly.
Soon, you will enjoy better music on every drive. Don’t rush; patience brings the best results. Your car stereo will thank you for the effort.

Similar Posts