How to Install Car Speakers in the Back: Easy Step-by-Step Guide
Master Automotive Systems Engineer & Performance Vehicle Specialist at CarSpeedNest Automotive Testing Lab · ASE Certified Master Technician, Mobile Electronics Certified Professional (MECP Master), Certified Dyno Diagnostic Specialist · 14+ years in dyno testing, electronic sensor calibration, automotive wiring harnesses, and precision drivetrain maintenance
Want to boost your car’s sound quality and enjoy music like never before? Installing car speakers in the back can transform your driving experience.
But if you’re worried it’s too complicated or time-consuming, don’t be. This guide will walk you through simple steps to get your new speakers up and running quickly. By the end, you’ll know exactly what to do—and hear the difference every time you hit the road.
Ready to upgrade your ride’s audio? Let’s dive in!

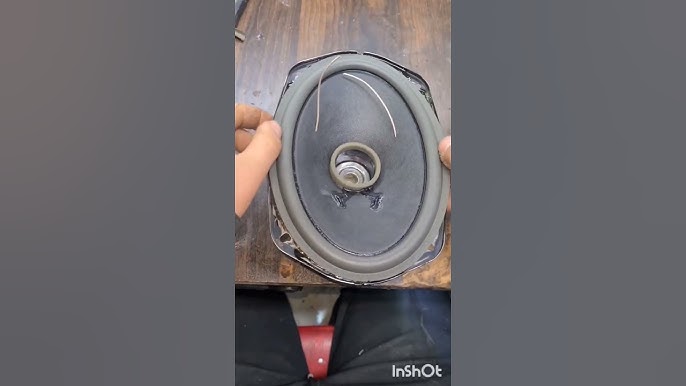
Credit: www.reddit.com
Tools And Materials Needed
Installing car speakers in the back requires more than just the speakers themselves. Having the right tools and materials ready can make the process smoother and prevent frustration. Before you begin, gather everything you need so you can focus on achieving clear, powerful sound without interruptions.
Speaker Types And Sizes
Choosing the right speaker type and size is crucial. Car speakers commonly come as coaxial or component types, each offering different sound quality and installation needs.
- Coaxial Speakers:These combine the woofer and tweeter into one unit. They are easier to install and often fit standard back speaker locations.
- Component Speakers:These have separate woofers and tweeters for better sound clarity but require more installation space and effort.
Sizes usually range from 4 inches to 6×9 inches. Check your car’s manual or measure the existing speaker openings to pick the right size. Using the wrong size can lead to poor sound or difficult installation.
Essential Tools
Having the right tools at hand can save you a lot of time and prevent damage to your car or speakers. These tools are the basics you should not skip:
- Screwdrivers:Both Phillips and flathead types for removing panels and screws.
- Panel Removal Tool:A plastic tool to safely pry off door panels without scratching or breaking clips.
- Wire Strippers and Crimpers:For stripping insulation and securely connecting speaker wires.
- Socket Wrench Set:To remove bolts that may hold speakers in place.
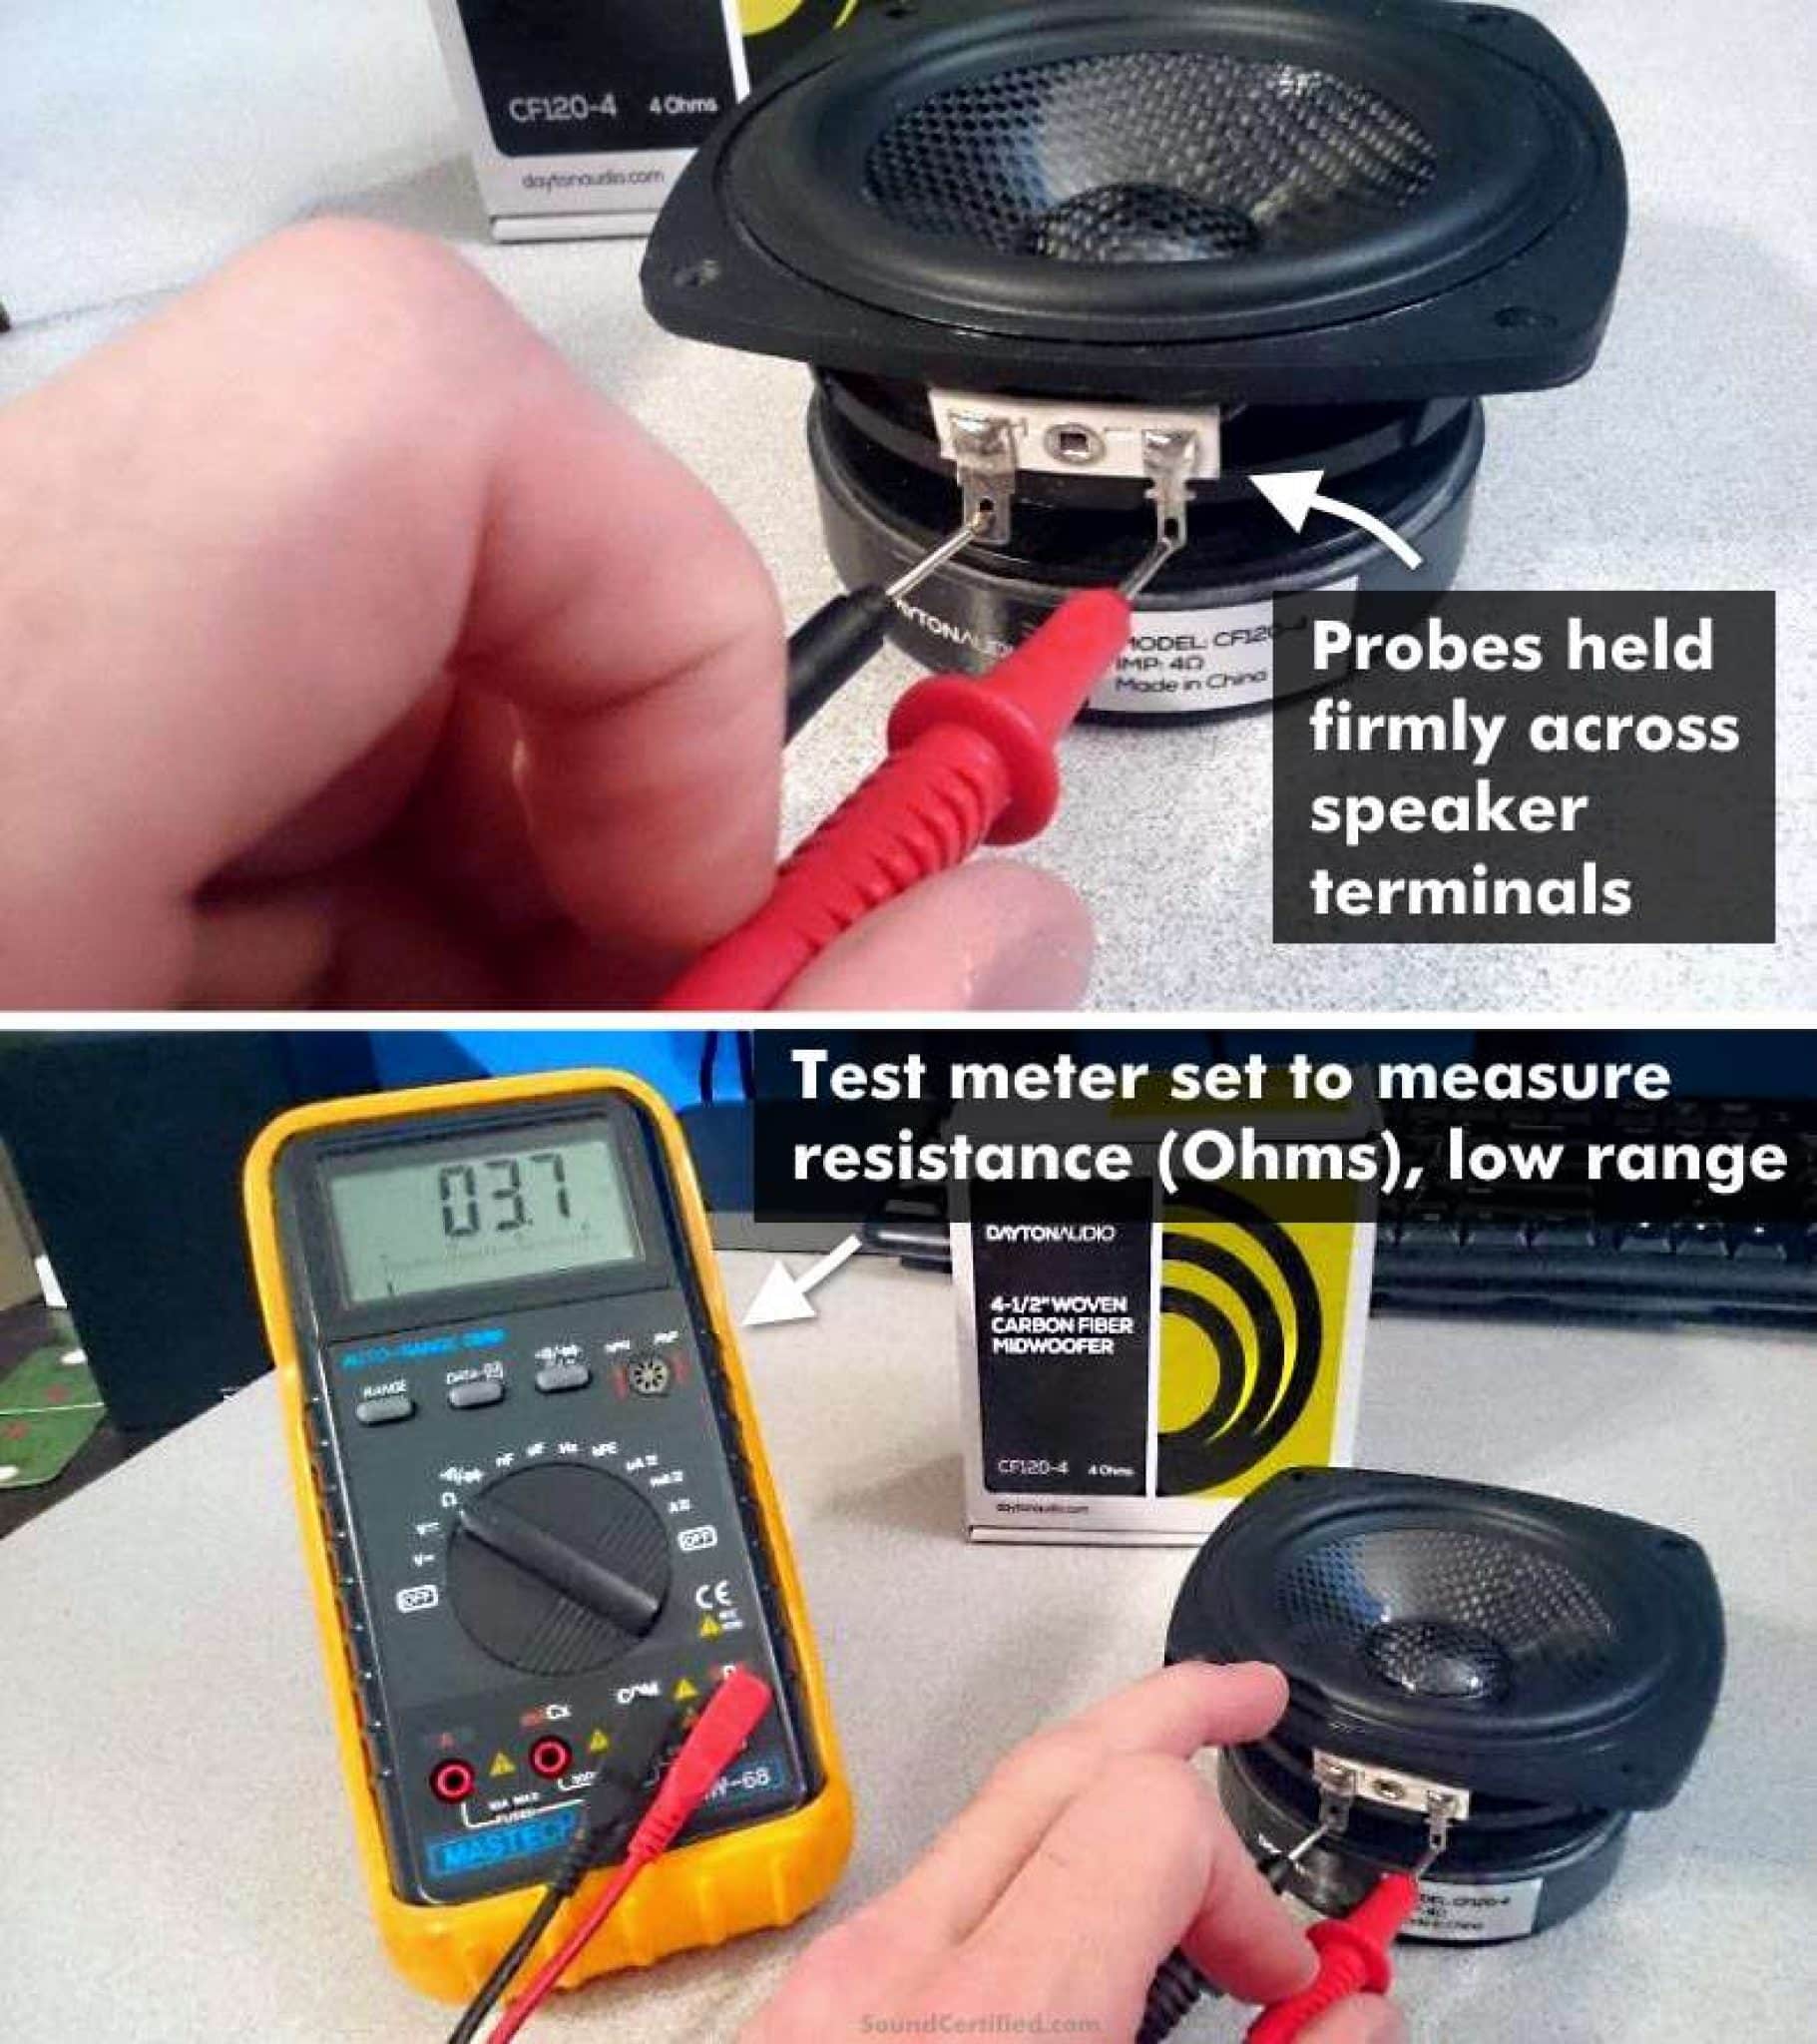
- Multimeter:To test electrical connections and ensure correct wiring.
Without these, you might struggle or risk breaking parts. I once tried using just a screwdriver to remove door panels—it ended with a cracked trim piece and a costly fix.
Additional Supplies
Beyond tools, some extra supplies help make your installation neat and durable. Consider having these ready:
- Electrical Tape:For insulating wire connections and preventing shorts.
- Speaker Wire:Use good quality wire if the existing wiring is damaged or too short.
- Wire Connectors or Butt Splices:These make connecting wires safer and easier than twisting them together.
- Sound Deadening Material:Adding this around the speaker area can reduce vibrations and improve sound quality.
- Zip Ties:To keep wires organized and away from moving parts.
Do you have all these materials on hand? Missing even one can turn a straightforward job into a frustrating challenge.

Credit: www.classicjalopy.com
Preparing Your Car
Preparing your car is essential before installing new speakers in the back. This step ensures safety and makes the installation easier. Taking time to prepare prevents damage to your car’s electrical system and interior parts.
Start by creating a clean, organized workspace inside your car. Have all the tools ready to avoid interruptions. Protect the seats and floor with cloths or covers to keep them clean.
Disconnecting The Battery
Disconnect the car battery to avoid electrical shocks and shorts. Use a wrench to loosen the negative terminal first. This stops power from flowing while you work on the speakers. Secure the cable away from the battery to prevent accidental contact.
Removing Door Panels
Take off the door panels to access speaker wires and mounts. Look for screws near the handles, armrests, and edges. Use a flat tool to gently pry the panel away from clips. Keep all screws and clips safe for reassembly.
Accessing The Back Speaker Area
Find the speaker location in the rear of your car. It may be behind panels or under seats. Remove any covers carefully to expose the speaker and wiring. Check for any obstacles that may block speaker installation.
Removing Old Speakers
Removing old speakers from your car’s back panel is the first real step toward upgrading your sound system. It’s not just about taking them out; you need to be careful to avoid damaging the wiring or the mounting area. A smooth removal process sets the stage for a clean and efficient speaker installation.
Unscrewing And Detaching
Start by locating all screws holding the old speakers in place. These are usually around the speaker frame or hidden under trims. Use the right screwdriver to avoid stripping the screws, which can make removal difficult.
Once the screws are out, gently pull the speaker away from its mount. Speakers sometimes stick due to adhesive or clips, so a slow, steady pull is better than forcing it. Have you noticed how some speakers seem glued in? That’s where patience pays off.
Handling Wiring Connections
Before disconnecting, pay close attention to how the wires are attached. Most car speakers use simple clip connectors or soldered wires. If it’s a clip, press the tab gently and pull; if soldered, you might need a soldering iron or help from a professional.
Labeling wires with tape can help you avoid confusion later. Think about how frustrating it would be to reconnect the wrong wires. Keeping the wiring intact during removal saves you time and headaches.
Cleaning The Speaker Mount
Once the speaker is out, take time to clean the mounting area. Dust, old adhesive, and rust can affect the new speaker’s fit and sound quality. A clean surface ensures the speaker sits flush and performs at its best.
Use a soft brush or cloth to remove debris and check for any damage. If you see rust or corrosion, a quick sanding and some rust-proof paint can protect the area. Isn’t it better to invest a few extra minutes here than face rattling sounds later?
Credit: www.slkworld.com
Installing New Speakers
Installing new speakers in the back of your car can dramatically improve your listening experience. It’s about more than just swapping old for new; it’s making sure every connection and mount is done right to get the best sound quality. Let’s break down how you can do this step by step, focusing on the key actions you need to take.
Connecting The Wiring
Start by locating the wiring harness behind the speaker panel. You want to match the positive and negative wires from the car to the corresponding terminals on your new speaker. If the wires aren’t labeled, use a multimeter or follow the wire color codes from your car’s manual.
Ensure you strip just enough insulation to expose the wire for a solid connection. Twist the wires tightly or use crimp connectors to avoid any loose contacts. Loose wiring can cause static or complete loss of sound, which can be frustrating after all your efforts.
Mounting The Speaker
Check if your new speaker fits the existing mounting bracket or if an adapter is required. Place the speaker in the cavity, aligning the screw holes with the mounting points. If your speaker has a foam gasket, make sure it sits flush to avoid air leaks that affect sound quality.
Use the screws provided or the original ones to secure the speaker firmly. Don’t overtighten, as this can crack the speaker frame or strip the mounting holes. A snug fit ensures the speaker stays stable even on bumpy roads.
Securing And Testing
Before reassembling the panel, double-check all wiring connections and mounting screws. Turn on your car stereo and play a variety of music to test different sound ranges. Listen carefully for any rattles, distortions, or dead spots.
If you notice issues, adjust the speaker position or wiring as needed. Securing the speaker properly isn’t just about holding it in place; it’s about creating the right environment for clear, rich sound. How does your new setup change the way you enjoy music during your drive?
Troubleshooting Common Issues
Troubleshooting common problems can save time and frustration during your speaker installation. Understanding typical issues helps you fix them quickly. Some problems might seem complicated but often have simple solutions. Let’s explore the most frequent troubles and how to address them.
No Sound Or Distortion
No sound usually means a connection issue. Check if the speaker wires are firmly attached. Verify the audio source is working properly. Distortion may come from a weak connection or a damaged speaker. Try playing audio at lower volumes to see if the sound clears up. Replace damaged wires or speakers if needed.
Loose Or Rattling Speakers
Loose speakers cause vibrations and rattling noises. Make sure the mounting screws are tight. Use foam or rubber gaskets to reduce vibration. Check the speaker frame fits the mounting hole snugly. Adding sound deadening material around the speaker can also help reduce noise.
Wiring Problems
Incorrect wiring can cause no sound or poor sound quality. Double-check the wire colors match the speaker terminals. Avoid crossing positive and negative wires. Inspect the wires for breaks or frays. Use a multimeter to test for continuity if you suspect a problem. Secure all connections to prevent disconnections while driving.
Tips For Better Sound Quality
Improving the sound quality of your rear car speakers goes beyond just installation. Paying attention to small details can make a huge difference in how your music feels inside your vehicle. Let’s dive into practical tips that will help you get the best audio experience from your back speakers.
Speaker Placement
Where you place your rear speakers affects sound clarity and balance. Position them at ear level or slightly above for a more immersive experience. Avoid placing speakers too close to corners or surfaces that can cause unwanted echoes or vibrations.
Think about the direction the sound waves travel. Angling the speakers slightly towards the center of the car can help create a better soundstage. Have you noticed how sound seems muffled if speakers face away from you? Adjusting placement can fix that.
Using Sound Deadening Materials
Adding sound deadening materials around the speakers reduces unwanted noise and vibration. Materials like foam, butyl mats, or mass-loaded vinyl can absorb road noise and prevent sound distortion. This creates a cleaner, richer sound.
I once installed rear speakers without any dampening, and the bass sounded weak. After adding sound deadening mats, the improvement was clear—bass became punchier and highs crisper. You don’t need expensive gear; even a few sheets of quality foam can help a lot.
Adjusting Audio Settings
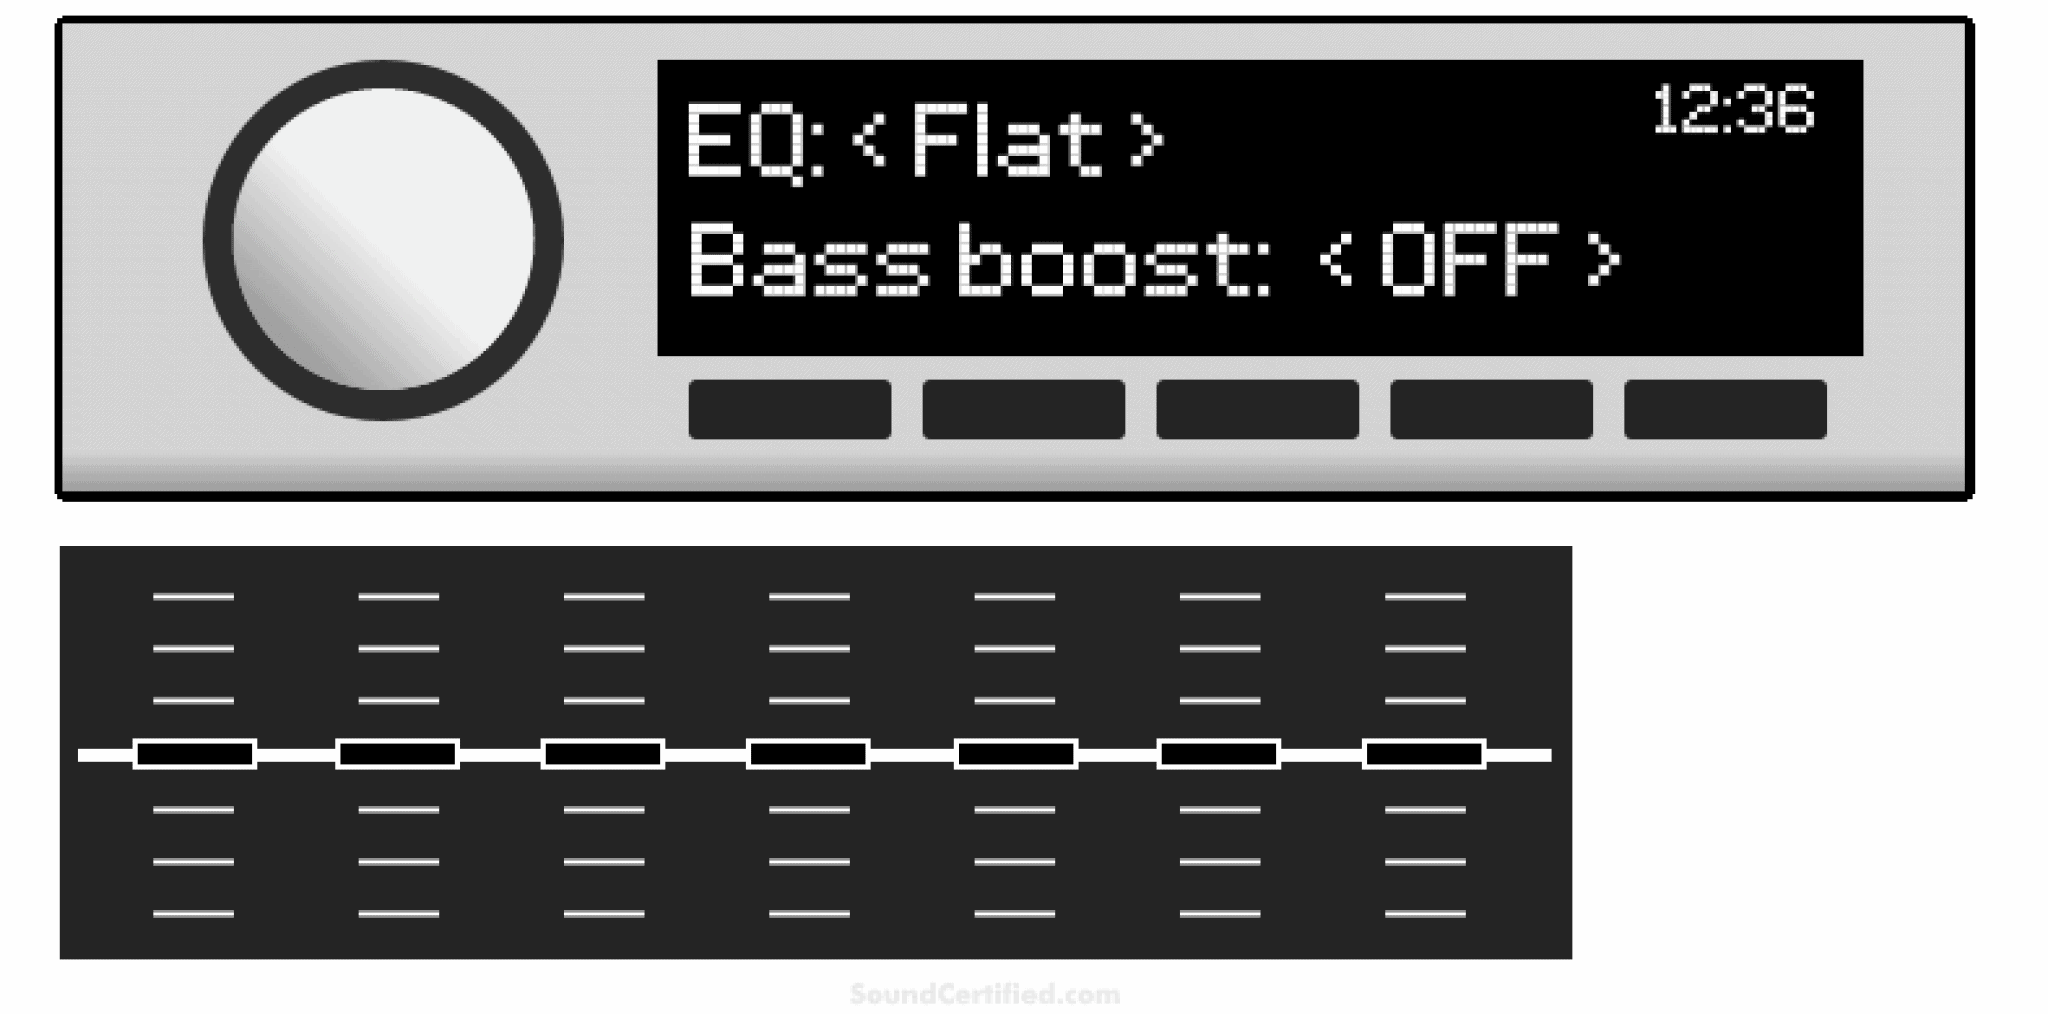
Fine-tuning your car’s audio settings is key to achieving balanced sound. Use the equalizer to reduce harsh frequencies and boost mids for clearer vocals. Adjust the fade and balance controls to make sure the rear speakers blend well with the front ones.
Don’t forget to test your adjustments with different types of music. What sounds great on rock might need tweaking for jazz or podcasts. Have you tried customizing your audio settings after installation? It often reveals hidden sound improvements.
Frequently Asked Questions
What Tools Are Needed To Install Car Speakers?
To install car speakers, you’ll need a screwdriver, wire strippers, crimp connectors, and a socket wrench. These tools will help you remove panels, connect wires, and secure the speakers. Having these tools ready ensures a smooth installation process without interruptions.
How To Remove Old Car Speakers Safely?
First, disconnect the car battery to prevent electrical issues. Then, remove the panel using a screwdriver. Carefully disconnect the wiring harness and unscrew the old speakers. Gently pull them out, ensuring not to damage any surrounding components or wiring during the process.
Do I Need An Amplifier For New Car Speakers?
An amplifier isn’t always necessary, but it enhances sound quality. If your new speakers have high power ratings, an amplifier can help them perform better. Assess your audio needs and speaker specifications to determine if an amplifier is a worthwhile addition.
Can I Install Car Speakers Without Professional Help?
Yes, you can install car speakers yourself with the right tools and instructions. Follow a step-by-step guide, ensuring you understand the car’s wiring system. Taking your time and being cautious will help you achieve a successful installation without professional assistance.
Conclusion
Installing car speakers in the back can improve sound quality greatly. Take your time to follow each step carefully. Use the right tools and check all connections. Test the speakers before finishing the installation. Doing it yourself saves money and gives satisfaction.
Remember, safety matters—disconnect the battery first. Enjoy clearer music on every drive. Simple steps lead to better sound in your car.

Similar Posts