How to Repair Car Speakers: Easy Fixes for Crystal Clear Sound
Are your car speakers sounding dull, crackling, or not working at all? You don’t have to spend a fortune on replacements just yet.
Fixing your car speakers might be easier than you think. In this guide, you’ll discover simple steps to bring your music back to life and enjoy every drive with clear, powerful sound. Keep reading, and you’ll learn how to diagnose the problem, make quick repairs, and save money—all without needing expensive tools or expert help.
Your perfect car audio experience is just a few fixes away.

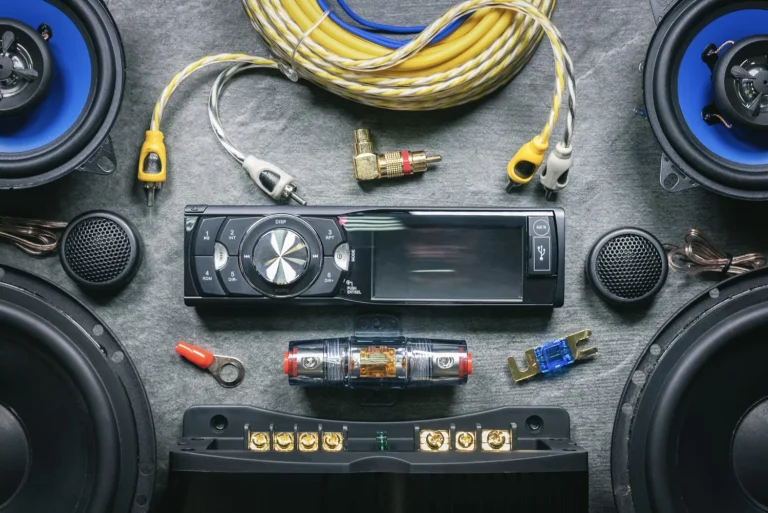
Credit: www.youtube.com
Diagnosing Speaker Issues
Diagnosing speaker issues is the first step to fixing your car audio system. Understanding the problem helps you know what to repair or replace. This section explains how to spot speaker damage, test speaker function, and check wiring problems clearly and simply.
Common Signs Of Speaker Damage
Damaged speakers show clear signs. Listen for these problems:
- Crackling or buzzing sounds
- Distorted or unclear audio
- No sound from one or more speakers
- Rattling noises at high volume
- Sudden drops in sound quality
These signs mean the speaker cones, voice coils, or surrounds may be broken.
Testing Speaker Functionality
Testing speakers helps find the exact issue. Follow these simple checks:
- Play audio at different volumes
- Use a test tone or music with varied frequencies
- Swap speakers to different positions in the car
- Check if sound improves or worsens
Working speakers produce clear sound without noise or distortion. Faulty speakers may have weak or no output.
Identifying Wiring Problems
Wiring issues often cause speaker failure. Signs include:
- Intermittent sound or cut-outs
- Only one speaker works
- Humming or static noise
Check wires for:
- Loose or disconnected connections
- Frayed or damaged cables
- Corrosion on connectors
Use a multimeter to test wire continuity. Good wiring ensures steady sound flow to speakers.
Gathering Repair Tools
Before you dive into fixing your car speakers, gathering the right tools is crucial. Having everything ready saves time and frustration. It also helps you avoid damaging delicate parts during the repair process.
Essential Tools For Speaker Repair
Start with a basic toolkit that includes a screwdriver set with both flathead and Phillips heads. These help you open your car door panels and speaker covers without stripping screws.
Next, you’ll need a multimeter to check electrical connections and test the speaker’s continuity. A soldering iron and some solder come in handy for fixing broken wires or connectors.
Don’t forget a pair of needle-nose pliers for gripping small parts and cutting tools like wire strippers. You might also want some electrical tape or heat shrink tubing to protect repaired wires.
- Screwdrivers (flathead and Phillips)
- Multimeter
- Soldering iron and solder
- Needle-nose pliers
- Wire strippers
- Electrical tape or heat shrink tubing
Safety Precautions
Working with car speakers involves electrical components, so safety should be your top priority. Always disconnect your car battery before starting any repair to avoid shocks or short circuits.
Wear safety glasses to protect your eyes from small flying debris when removing panels or soldering wires. Also, work in a well-ventilated area, especially when using a soldering iron.
Have you ever rushed a repair and ended up causing more damage? Taking time to prepare your workspace and tools properly keeps you safe and your speakers intact.
Fixing Loose Connections
Loose connections are a common cause of poor sound quality or no sound at all from your car speakers. Fixing these issues can often bring your audio system back to life without the need for expensive replacements. Let’s look at how you can identify and repair loose connections to restore clear sound in your car.
Checking Speaker Wires
Start by inspecting the speaker wires for any visible damage or looseness. Look for frayed ends, corrosion, or wires that have come undone from the terminals. You might find that a wire has simply slipped out or isn’t making proper contact.
Gently tug on each wire to see if it’s firmly connected. If you notice any exposed copper or damaged insulation, this could cause shorts or weak signals. Sometimes, a quick adjustment or cleaning can fix the issue right away.
Securing And Re-soldering Connections
Once you identify loose or damaged connections, it’s time to secure them properly. If the wires are just loose, try twisting the strands tightly and reconnecting them to the terminal. Use electrical tape or heat shrink tubing to keep the wires insulated and in place.
If you’re comfortable with a soldering iron, re-soldering the connections can create a strong, lasting bond. Heat the joint briefly and apply solder until it flows evenly around the wire and terminal. This ensures a solid electrical connection that won’t easily come loose.
Remember, a bad solder joint can cause intermittent problems. So, take your time and make sure the solder is shiny and smooth, not dull or cracked. Have you checked your connections lately? You might be surprised how much better your speakers sound after a simple fix.
Repairing Speaker Cones
Repairing speaker cones is a delicate task that can bring your car’s audio back to life without replacing the entire speaker. The cone is crucial because it moves air to create sound, so any damage can distort the audio quality. Fixing tears or holes restores clarity and prevents further damage.
Locating Tears And Holes
Start by carefully inspecting the speaker cone under good lighting. Small tears often hide near the edges where the cone meets the surround, while holes might be more obvious but easy to miss if covered by dust. Gently press the cone to feel for weak spots or inconsistencies in the material.
Have you noticed your music sounding muffled or crackling at certain volumes? This often points to a damaged cone. Using a magnifying glass can help reveal tiny tears that aren’t immediately visible.
Using Adhesives And Patches
Once you find the damage, choose an adhesive designed for flexible materials, like rubber cement or a special speaker repair glue. Avoid superglue since it can harden the cone, affecting sound quality.
For small tears, apply the adhesive sparingly along the edges and press gently to bond the material. If the hole is larger, cut a patch from thin, flexible paper or fabric. Secure the patch with glue on both sides of the cone to maintain flexibility.
- Ensure the patch covers the entire damaged area without overlapping too far onto the cone surface.
- Allow the glue to dry completely before testing the speaker.
- Test your repair by playing music at low volume and gradually increasing it to check for improvement.
Have you ever tried fixing a speaker and noticed sound didn’t improve? Sometimes over-gluing or using the wrong materials can cause more harm than good. Patience and the right products make all the difference.
Replacing Damaged Components
Replacing damaged components in your car speakers can bring life back to your audio system without the need for a full replacement. Often, just swapping out a faulty part restores sound clarity and volume. You don’t need to be a professional to make these repairs, but attention to detail is key.
Swapping Out Speaker Drivers
Speaker drivers handle the actual sound output, so a damaged driver can cause distortion or no sound at all. Before you start, identify whether the tweeter, midrange, or woofer driver is faulty.
Remove the speaker grille carefully to access the driver. Unscrew the driver and disconnect the wires gently to avoid damage.
Match the new driver’s specifications with your old one—size, impedance, and power rating must align. Installing the correct driver ensures your sound stays balanced and clear.
Installing New Crossovers
Crossovers split audio signals into different frequency ranges, sending them to the appropriate drivers. A damaged crossover can cause poor sound quality or complete silence in parts of your speaker.
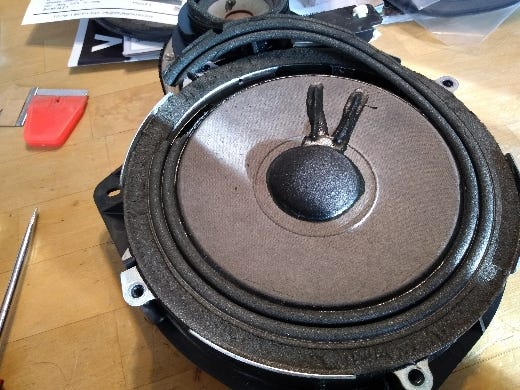
Locate the crossover inside the speaker housing. Take a clear photo before disconnecting any wires to help with reassembly.
Replace the crossover with one that matches your speaker’s specs. Secure it properly and reconnect the wires exactly as before.
Have you noticed any buzzing or muffled sounds in your car speakers? It might be time to check if the crossover needs replacing.
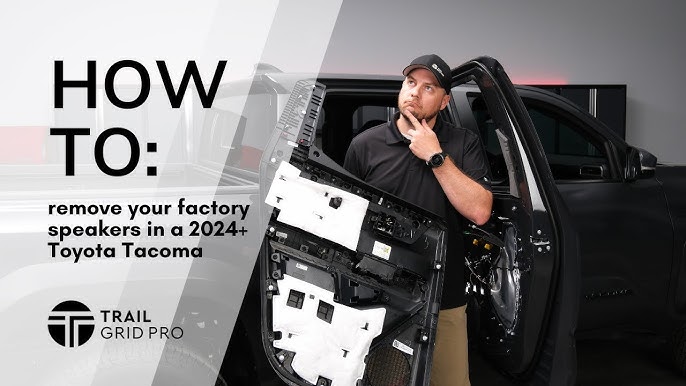
Credit: www.toyotanation.com
Preventing Future Damage
Protecting your car speakers after repair helps them last longer. Small actions prevent costly damage and keep sound quality clear. Understanding how to care for speakers reduces wear and tear. Following simple rules stops common problems from happening again.
Proper Speaker Maintenance
Clean speakers regularly with a soft, dry cloth. Avoid using water or harsh chemicals that can damage parts. Check speaker connections often to ensure they are tight and free of corrosion. Keep speakers away from dust and dirt by closing windows when driving. Store your car in a covered area to protect speakers from extreme weather. Use a quality speaker cover during long periods of non-use.
Avoiding Common Mistakes
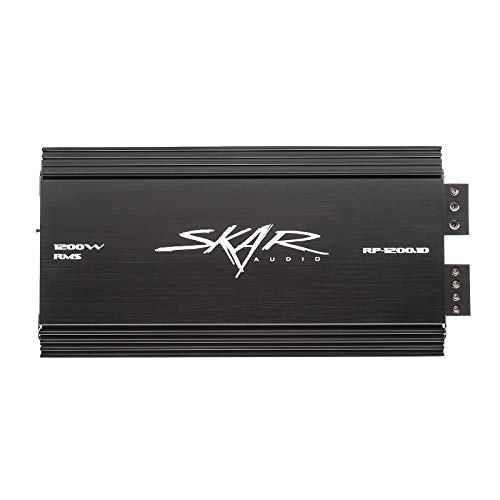
Do not play music at maximum volume for long times. Loud sound can strain the speaker’s voice coil and cone. Avoid exposing speakers to moisture or direct sunlight. Do not touch or press the speaker cone hard; it is delicate. Avoid installing speakers in places where they can get bumped or crushed. Use the correct amplifier settings to prevent distortion and overheating.
Testing Sound Quality After Repair
After fixing your car speakers, testing the sound quality is essential to ensure your repair truly worked. This step helps you catch any lingering issues and fine-tune the audio for the best experience. Don’t rush through it—your ears are the ultimate judge of success.
Adjusting Audio Settings
Start by checking your car stereo’s audio settings. Adjust the bass, treble, and balance to match the speaker’s new condition. Sometimes, a simple tweak can make a huge difference in sound clarity and depth.
Try setting the balance and fade controls to center. This way, you can hear each speaker clearly and identify any weak spots. Have you noticed how small adjustments bring out details you missed before?
Use equalizer presets if available, but don’t be afraid to customize them based on your preferences. Your car’s acoustics and speaker placement play a big role in how sound travels inside the cabin.
Evaluating Speaker Performance
Play a variety of music genres to test the full range of your speakers. Listen carefully for distortions, buzzing, or rattling sounds. These can indicate that some issues still need attention.
Pay attention to voice clarity and instrument separation. Are vocals crisp? Do the highs and lows feel balanced? If you detect any muddiness or tinny sounds, your speakers might need further fine-tuning or checking of connections.
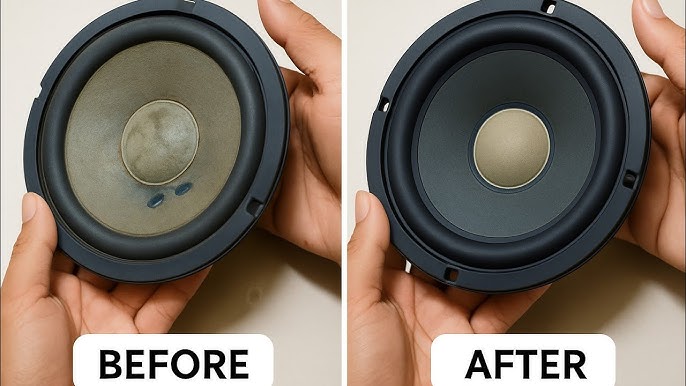
Ask yourself: does the repaired speaker sound better than before? Sometimes, comparing the sound before and after repair helps you understand the improvements or spot what’s still off.

Credit: rainydaymagazine.com
Frequently Asked Questions
How Can I Identify A Damaged Car Speaker?
Check for distorted sound, rattling, or no sound at all. Inspect speaker cones for tears or damage. Use a multimeter to test speaker resistance for electrical issues.
What Tools Are Needed To Repair Car Speakers?
You need a screwdriver, soldering iron, multimeter, wire strippers, and replacement parts like cones or voice coils. These tools help diagnose and fix common speaker problems effectively.
Can I Fix A Blown Car Speaker Myself?
Yes, minor issues like torn cones or loose wiring can be fixed at home. More severe damage may require professional repair or replacement for best sound quality.
How Do I Test Car Speakers Before Repairing?
Use a multimeter to check speaker continuity and resistance. Play audio to listen for distortion or cut-outs. Testing helps identify the exact problem before repair.
Conclusion
Repairing car speakers can be a rewarding task. You save money and learn new skills. Start by identifying the problem. Then gather the right tools. Follow our step-by-step guide to fix issues. Don’t rush the process. Take your time to ensure quality.
Test your speakers afterward. They should sound better and clearer. Regular maintenance extends speaker life. Enjoy your favorite music on the road again. You did it! Your speakers are back in top shape. Keep practicing and get even better. Happy repairing!