How to Install Door Speakers in a Car: Easy Step-by-Step Guide
Looking to boost your car’s sound system without spending a fortune? Installing door speakers yourself can transform your driving experience with richer, clearer audio.
You might think it’s complicated or time-consuming, but with the right guidance, you’ll find it easier than you expect. In this guide, you’ll discover simple steps to get your new speakers up and running quickly. Ready to take control of your car’s sound and enjoy every song like never before?
Let’s dive in and make your ride sound amazing.
Credit: www.tsxclub.com
Tools And Materials Needed
Installing door speakers in a car needs the right tools and materials. Having these ready makes the job easier and safer. It also helps to avoid mistakes and saves time.
Gather all necessary items before starting. This ensures a smooth installation process.
Essential Tools For Installing Door Speakers
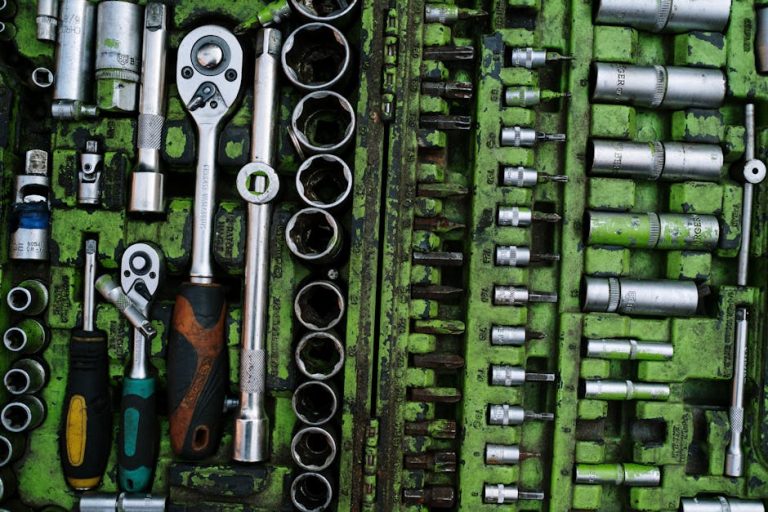
- Screwdrivers (Phillips and flathead) for removing panels and screws
- Wire strippers to prepare speaker wires
- Crimping tool for secure wire connections
- Panel removal tool to avoid damaging door trims
- Drill with bits for mounting holes if needed
- Multimeter to test electrical connections
- Socket wrench set for bolts and nuts
- Heat gun or lighter for heat shrink tubing
Materials Required For Door Speaker Installation
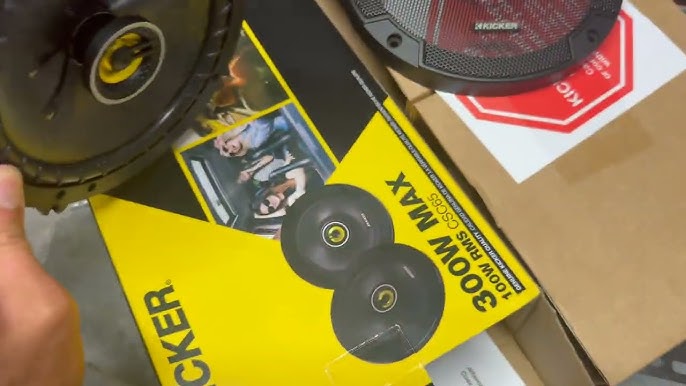
- New door speakers compatible with your car
- Speaker wire or wiring harness adapter
- Electrical tape for insulation
- Heat shrink tubing to protect wire joints
- Speaker mounting brackets or adapters
- Sound deadening material for better audio quality
- Zip ties to organize wires neatly
Preparing Your Car
Preparing your car is a vital first step before installing door speakers. This stage helps avoid damage to your vehicle and ensures a smooth installation process. Taking time to prepare keeps you safe and protects your car’s electrical system.
Proper preparation also makes removing and replacing parts easier. It helps prevent scratches and broken clips on door panels. Follow these steps carefully to get your car ready for new speakers.
Disconnecting The Battery
Start by disconnecting the car battery. This step stops electrical shorts and prevents shocks while working. Use a wrench to loosen the negative terminal first. Remove the cable and keep it away from the battery. Then loosen and remove the positive terminal cable. Never touch both terminals at the same time. This simple action protects you and your car’s electronics.
Removing Door Panels
Removing door panels gives you access to the speaker area. Begin by locating screws and clips holding the panel. Check behind handles, armrests, and near the edges. Use a screwdriver to remove all screws carefully. Use a panel removal tool or a flat tool to pry the panel gently. Work slowly to avoid breaking clips or cracking the panel. Once loose, lift the panel upward to remove it. Disconnect any electrical connectors, such as power windows or locks, before fully removing the panel.
Removing Old Speakers
Removing old speakers is the first step to upgrade your car’s sound system. It clears the space for new speakers and ensures proper installation. Taking out the old units carefully protects your car door and wiring. Pay attention to each part to avoid damage and make the process smooth.
Disconnecting Wiring
Start by lowering the window for better access. Locate the speaker wires behind the panel. Gently pull the connector apart to disconnect the wiring. Avoid pulling on the wires themselves to prevent damage. Use a small tool if the connector is tight. Make sure no wires hang loose after removal.
Unscrewing And Taking Out Speakers
Find the screws or clips holding the speaker in place. Use a screwdriver to remove all screws carefully. Keep the screws in a safe spot for later use. Once loose, pull the speaker out slowly. Watch for any remaining clips or connectors. Set the old speaker aside to avoid confusion with new parts.
Choosing The Right Speakers
Choosing the right speakers is the foundation of a great car audio upgrade. Your choice impacts not just the sound quality but also how easily the speakers fit into your car doors. Don’t rush this step—spending time here saves you headaches later on.
Speaker Size And Compatibility
Car doors come with specific mounting spaces that limit the size of speakers you can install. Check your car’s manual or measure the existing speaker openings before buying new ones.
Common sizes include 6.5 inches and 6×9 inches, but some cars might need smaller or oddly shaped speakers. Using a speaker that fits perfectly ensures easy installation and better sound performance.
Think about the speaker depth too—some models sit deeper than others, which can interfere with the door panel or window mechanisms. Would you want to remove door panels multiple times because of a poor fit?
Power And Sound Quality
Look at the speaker’s power rating, usually given in watts RMS (continuous power) and peak power. Match the speakers’ power handling with your car stereo or amplifier to avoid distortion or damage.
High power doesn’t always mean better sound. Focus on speakers with good sensitivity ratings—they convert power into sound more efficiently. A sensitivity rating around 90 dB or higher usually delivers clearer audio at lower volumes.
Listen to different speaker types if possible. Component speakers separate the tweeter and woofer for clearer highs and richer bass, while coaxial speakers combine everything for easier installation. Which sound style matches your music taste?
Installing New Speakers
Installing new speakers in your car door enhances sound quality significantly. The process requires careful handling to avoid damage and ensure clear audio. Begin by preparing the new speakers and the door panel. Clear any debris and check the wiring before installation. A clean setup leads to better performance and longevity of your speakers.
Connecting Speaker Wires
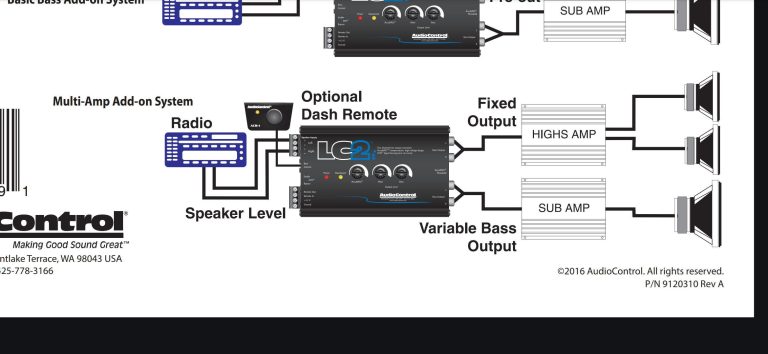
Identify the positive and negative wires from your car’s audio system. Match these with the corresponding terminals on the new speaker. Use a wire stripper to expose wire ends if needed. Connect the wires firmly to avoid loose contacts. Secure connections with electrical tape or wire connectors for safety. Test the connection by playing a sound to ensure it works correctly.
Mounting Speakers Securely
Place the speaker into the door’s speaker hole. Align the mounting holes on the speaker with those on the door panel. Use screws or bolts to fasten the speaker tightly. Avoid over-tightening to prevent damage to the speaker frame. Check that the speaker sits flush against the door surface. This prevents vibrations and improves sound clarity during driving.
Credit: www.traxforum.com
Testing The Speakers
Testing the speakers is a crucial part of installing door speakers in your car. It ensures everything works correctly and sounds great. This step helps identify any wiring or connection issues before finalizing the installation. Take your time to check each speaker carefully. A proper test leads to better sound and avoids future problems.
Reconnecting The Battery
Start by reconnecting the car battery’s negative terminal. Make sure the connection is tight and secure. This action powers the car’s audio system. Avoid touching any wires during this step to prevent short circuits. Once connected, turn on your car’s stereo system. This will send power to the new door speakers for testing.
Checking Sound Quality
Play music or audio with a wide range of sounds. Listen closely to each speaker for clarity and balance. Check for any distortion, buzzing, or weak sound. Test at different volume levels to ensure consistency. Move around the car to hear how sound spreads. Confirm that both door speakers produce clear, full sound. If issues appear, recheck wiring and connections before finalizing the setup.
Reassembling The Door
Reassembling the door after installing your new car speakers is just as important as the installation itself. This stage ensures everything fits perfectly and functions as it should. Taking your time here can prevent rattles, loose panels, or electrical issues down the road.
Replacing Door Panels
Start by aligning the door panel with the clips and hooks on the door frame. It’s easy to miss a clip, so gently press around the edges to make sure each one snaps back into place.
If you find resistance, double-check that no wires or cables are caught behind the panel. You don’t want to force it and risk breaking the plastic or damaging the wiring.
Securing All Components
Once the panel is seated, reattach all screws and bolts you removed earlier. This step is crucial for keeping the panel stable and preventing vibrations.
Don’t forget to reconnect any electrical connectors for power windows or locks before tightening everything. Loose connections here can cause frustrating malfunctions later.
Have you ever skipped a screw and ended up with a rattling door? Taking a moment to secure every piece firmly can save you from that annoying noise on your next drive.
Troubleshooting Common Issues
Troubleshooting common issues during door speaker installation helps save time and frustration. Many problems have simple fixes. Identifying the cause quickly leads to better sound and a smooth setup.
Some issues arise from wiring errors, poor connections, or speaker placement. Others involve the car’s electrical system or the speaker’s compatibility. Knowing how to spot and fix these can improve your car audio experience.
Checking Speaker Wiring And Connections
Loose or wrong wiring causes no sound or poor audio quality. Make sure wires connect firmly to the speaker terminals. Use a tester to check for breaks or shorts in the wire. Match positive and negative wires correctly to avoid phase problems.
Fixing Distorted Or Low Sound
Distorted sound may come from a blown speaker or incorrect settings. Lower the volume to see if distortion stops. Check the speaker’s power rating and your head unit’s output. Replace damaged speakers and adjust equalizer settings for clear sound.
Resolving Speaker Buzzing Or Rattling
Buzzing or rattling sounds often come from loose mounting or door panels. Tighten screws holding the speaker and door trim. Add foam or gasket material between the speaker and door frame. This reduces vibrations and unwanted noise.
Dealing With No Sound From One Speaker
No sound usually means wiring issues or a blown speaker. Swap the speaker with a working one to test. Inspect the speaker wire for damage. Check the balance and fade settings on your stereo to ensure sound reaches all speakers.
Handling Electrical Interference And Noise
Electrical noise comes from interference or grounding problems. Use shielded speaker wires to reduce interference. Ground the speaker and head unit properly. Keep speaker wires away from power cables and other electronic devices.

Credit: www.youtube.com
Frequently Asked Questions
What Tools Are Needed To Install Car Door Speakers?
To install car door speakers, you’ll need a screwdriver set, wire strippers, and electrical tape. A panel removal tool is helpful for prying off door panels. A multimeter ensures correct wiring connections. These tools make the installation process smoother and more efficient.
How Do You Remove The Car Door Panel?
First, locate and remove screws from the door panel. Use a panel removal tool to gently pry off the panel. Disconnect any electrical connectors, like those for windows or locks. Carefully lift the panel away from the door. This reveals the area for speaker installation.
Can You Install Speakers Without An Amplifier?
Yes, installing speakers without an amplifier is possible. However, an amplifier enhances sound quality and volume. Connecting speakers directly to the car’s audio system works fine. If you want superior sound, consider adding an amplifier later. It significantly boosts the audio experience.
How Do You Test The New Door Speakers?
After installation, reconnect the car battery and turn on the audio system. Play music at various volume levels to check sound quality. Ensure there’s no distortion or interference. Verify that both speakers produce sound evenly. This confirms successful installation and optimal performance.
Conclusion
Installing door speakers in your car improves sound quality and driving pleasure. Follow each step carefully and take your time. Double-check all connections to avoid problems later. Use the right tools and parts for a safe fit. Enjoy clear music and better audio after installation.
Keep this guide handy for future upgrades or repairs. Easy upgrades like this make your car feel more personal. Give your car sound system a fresh, new life today.