How to Mount Car Speakers: Step-by-Step Guide for Perfect Sound
Are you ready to upgrade your car’s sound system but not sure where to start? Mounting car speakers might seem tricky, but with the right steps, you can do it yourself and enjoy crystal-clear music on every drive.
Imagine the boost in sound quality and the compliments from friends when you take control of your car audio. In this guide, you’ll find simple, clear instructions to help you mount your car speakers quickly and safely. Keep reading, and by the end, you’ll have the confidence to transform your car into your personal concert hall.
Credit: www.crutchfield.ca
Choosing The Right Speakers
Choosing the right speakers is a crucial step before mounting them in your car. The speakers you pick will shape your entire audio experience, so it’s worth spending time to understand the options. Getting familiar with speaker types, sizes, and technical specs helps you match them perfectly to your vehicle and listening style.
Types Of Car Speakers
There are mainly three types of car speakers: coaxial, component, and subwoofers. Coaxial speakers combine the woofer and tweeter in one unit, making them easy to install and great for general use.
Component speakers separate the woofer and tweeter, offering better sound quality and more precise audio control. If you want deep bass, a dedicated subwoofer is essential—it handles low frequencies that other speakers can’t reproduce well.
Speaker Size And Compatibility
Speaker size matters because it must fit into your car’s existing speaker slots. Common sizes include 6×9 inches, 6.5 inches, and 5.25 inches, but some cars have unique dimensions.
Check your vehicle’s manual or measure the current speaker openings before buying. Installing the wrong size can lead to rattling or poor sound, so don’t guess—get the exact fit for the best results.
Power And Sensitivity Ratings
Power handling tells you how much wattage a speaker can manage without damage. Look for RMS (continuous power) rather than peak power numbers—they give a more realistic picture.
Sensitivity rating indicates how loud the speaker will be with a given power input. A higher sensitivity speaker needs less power to play loud, which is useful if your car stereo has lower output.
Balancing power and sensitivity helps you avoid distortion and get clear, strong sound. What’s your current stereo’s power output? Matching that with your speaker’s ratings can save you from disappointment.

Credit: www.amazon.ca
Gathering Tools And Materials
Before you start mounting your car speakers, gathering the right tools and materials is crucial. Having everything at hand not only speeds up the process but also ensures a smooth and safe installation. You don’t want to get halfway through and realize you’re missing a key item.
Essential Tools
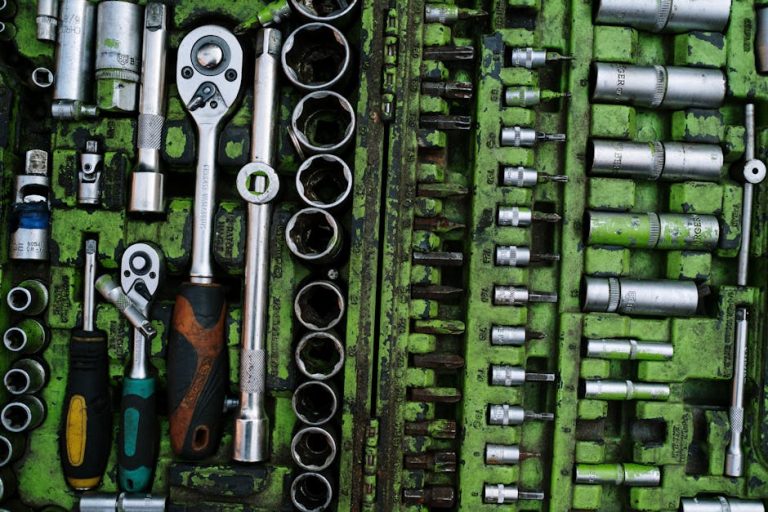
At the very least, you’ll need a few basic tools to get the job done:
- Screwdrivers:Both flathead and Phillips screwdrivers are necessary for removing panels and securing the speakers.
- Wire Strippers:These help you strip the insulation off wires cleanly without damaging them.
- Drill:A cordless drill with various bits will make mounting easier, especially if you need to create new holes.
- Socket Wrench Set:Useful for removing nuts and bolts holding existing speakers or panels.
- Multimeter:This helps test electrical connections, ensuring your wiring is correct and safe.
Have you ever tried installing speakers without a proper wire stripper? It slows you down and risks cutting wires improperly. Make sure your tools are in good condition; dull screwdrivers or worn-out drill bits can cause damage.
Additional Accessories
Besides the basic tools, some extra accessories make the installation cleaner and more reliable:
- Speaker Adapters:These help fit aftermarket speakers into factory mounting locations without modifications.
- Wire Connectors and Crimping Tool:Secure and insulated connections prevent shorts and improve sound quality.
- Electrical Tape or Heat Shrink Tubing:Use these to protect and tidy up wire joins.
- Panel Removal Tools:Plastic pry tools prevent damage to your car’s interior when removing trim.
- Sound Deadening Material:Adding this can reduce vibrations and improve audio clarity.
Have you considered how much easier it is to avoid rattling with sound deadening? Sometimes a small investment here makes a big difference in your listening experience.
Preparing Your Car
Preparing your car before mounting new speakers is essential for a smooth installation. Proper preparation helps avoid damage and ensures the best sound quality. Taking time to set up your workspace inside the car makes the process safer and easier.
Disconnecting The Battery
Start by disconnecting the car battery. This step prevents electrical shocks and short circuits. Use a wrench to loosen the negative terminal first. Always remove the negative cable before the positive one. Keep the cables away from the battery terminals while working.
Removing Door Panels
Next, remove the door panels to access the speaker mounts. Look for screws near the door handle and edges. Use a screwdriver to remove all screws carefully. Use a plastic pry tool to gently lift the panel away. Avoid using metal tools to prevent damage. Disconnect any wiring clips connected to the panel.
Cleaning The Mounting Area
Clean the mounting area before installing the new speakers. Dust and debris can affect sound quality and speaker fit. Use a soft cloth or brush to remove dirt. Check for rust or damage and fix if needed. A clean surface ensures a tight and secure speaker mount.
Removing Old Speakers
Removing old car speakers is the first step in upgrading your sound system. It requires care and attention to avoid damage. You will need basic tools like a screwdriver. Start by accessing the speaker panel or door where the speaker is mounted. Keep track of screws and parts to make reinstallation easier.
Unscrewing And Disconnecting
Locate all screws holding the speaker in place. Use the correct screwdriver to avoid stripping screws. Gently remove each screw and keep them in a safe place. Once screws are out, carefully pull the speaker from its mount. You may need to wiggle it slightly to free it.
Look for the speaker wires connected to the back. Do not pull on wires directly to avoid damage. Disconnect the wires by unplugging or gently pulling connectors apart. Keep note of wire positions for easy reconnection.
Handling Wiring Safely
Before touching wires, turn off the car’s power to prevent shocks. Use insulated tools if possible. Avoid touching exposed wire ends with bare hands. If wires are stuck, use a small tool to loosen connectors.
Label wires with tape or markers to remember connections. Handle wires gently to prevent breaking or short circuits. If wires look damaged, consider replacing them before installing new speakers. Proper wiring ensures good sound and safety.
Installing New Speakers
Installing new speakers can transform your car’s audio experience, but it requires more than just fitting them into the slots. You need to ensure the wiring is right, the speakers are firmly secured, and they function as expected. These steps will help you avoid common pitfalls and enjoy crisp sound on every drive.
Connecting Wires Correctly
Start by identifying the positive and negative wires. Most car speaker wires use color coding, like red for positive and black for negative, but always double-check with your car’s manual.
Connect the wires using secure methods such as crimp connectors or soldering for a strong, lasting connection. Loose wires can cause poor sound quality or even damage your speakers.
Have you ever noticed crackling sounds? That often points to a bad connection. Take your time to make these connections tight and clean.
Securing Speakers In Place
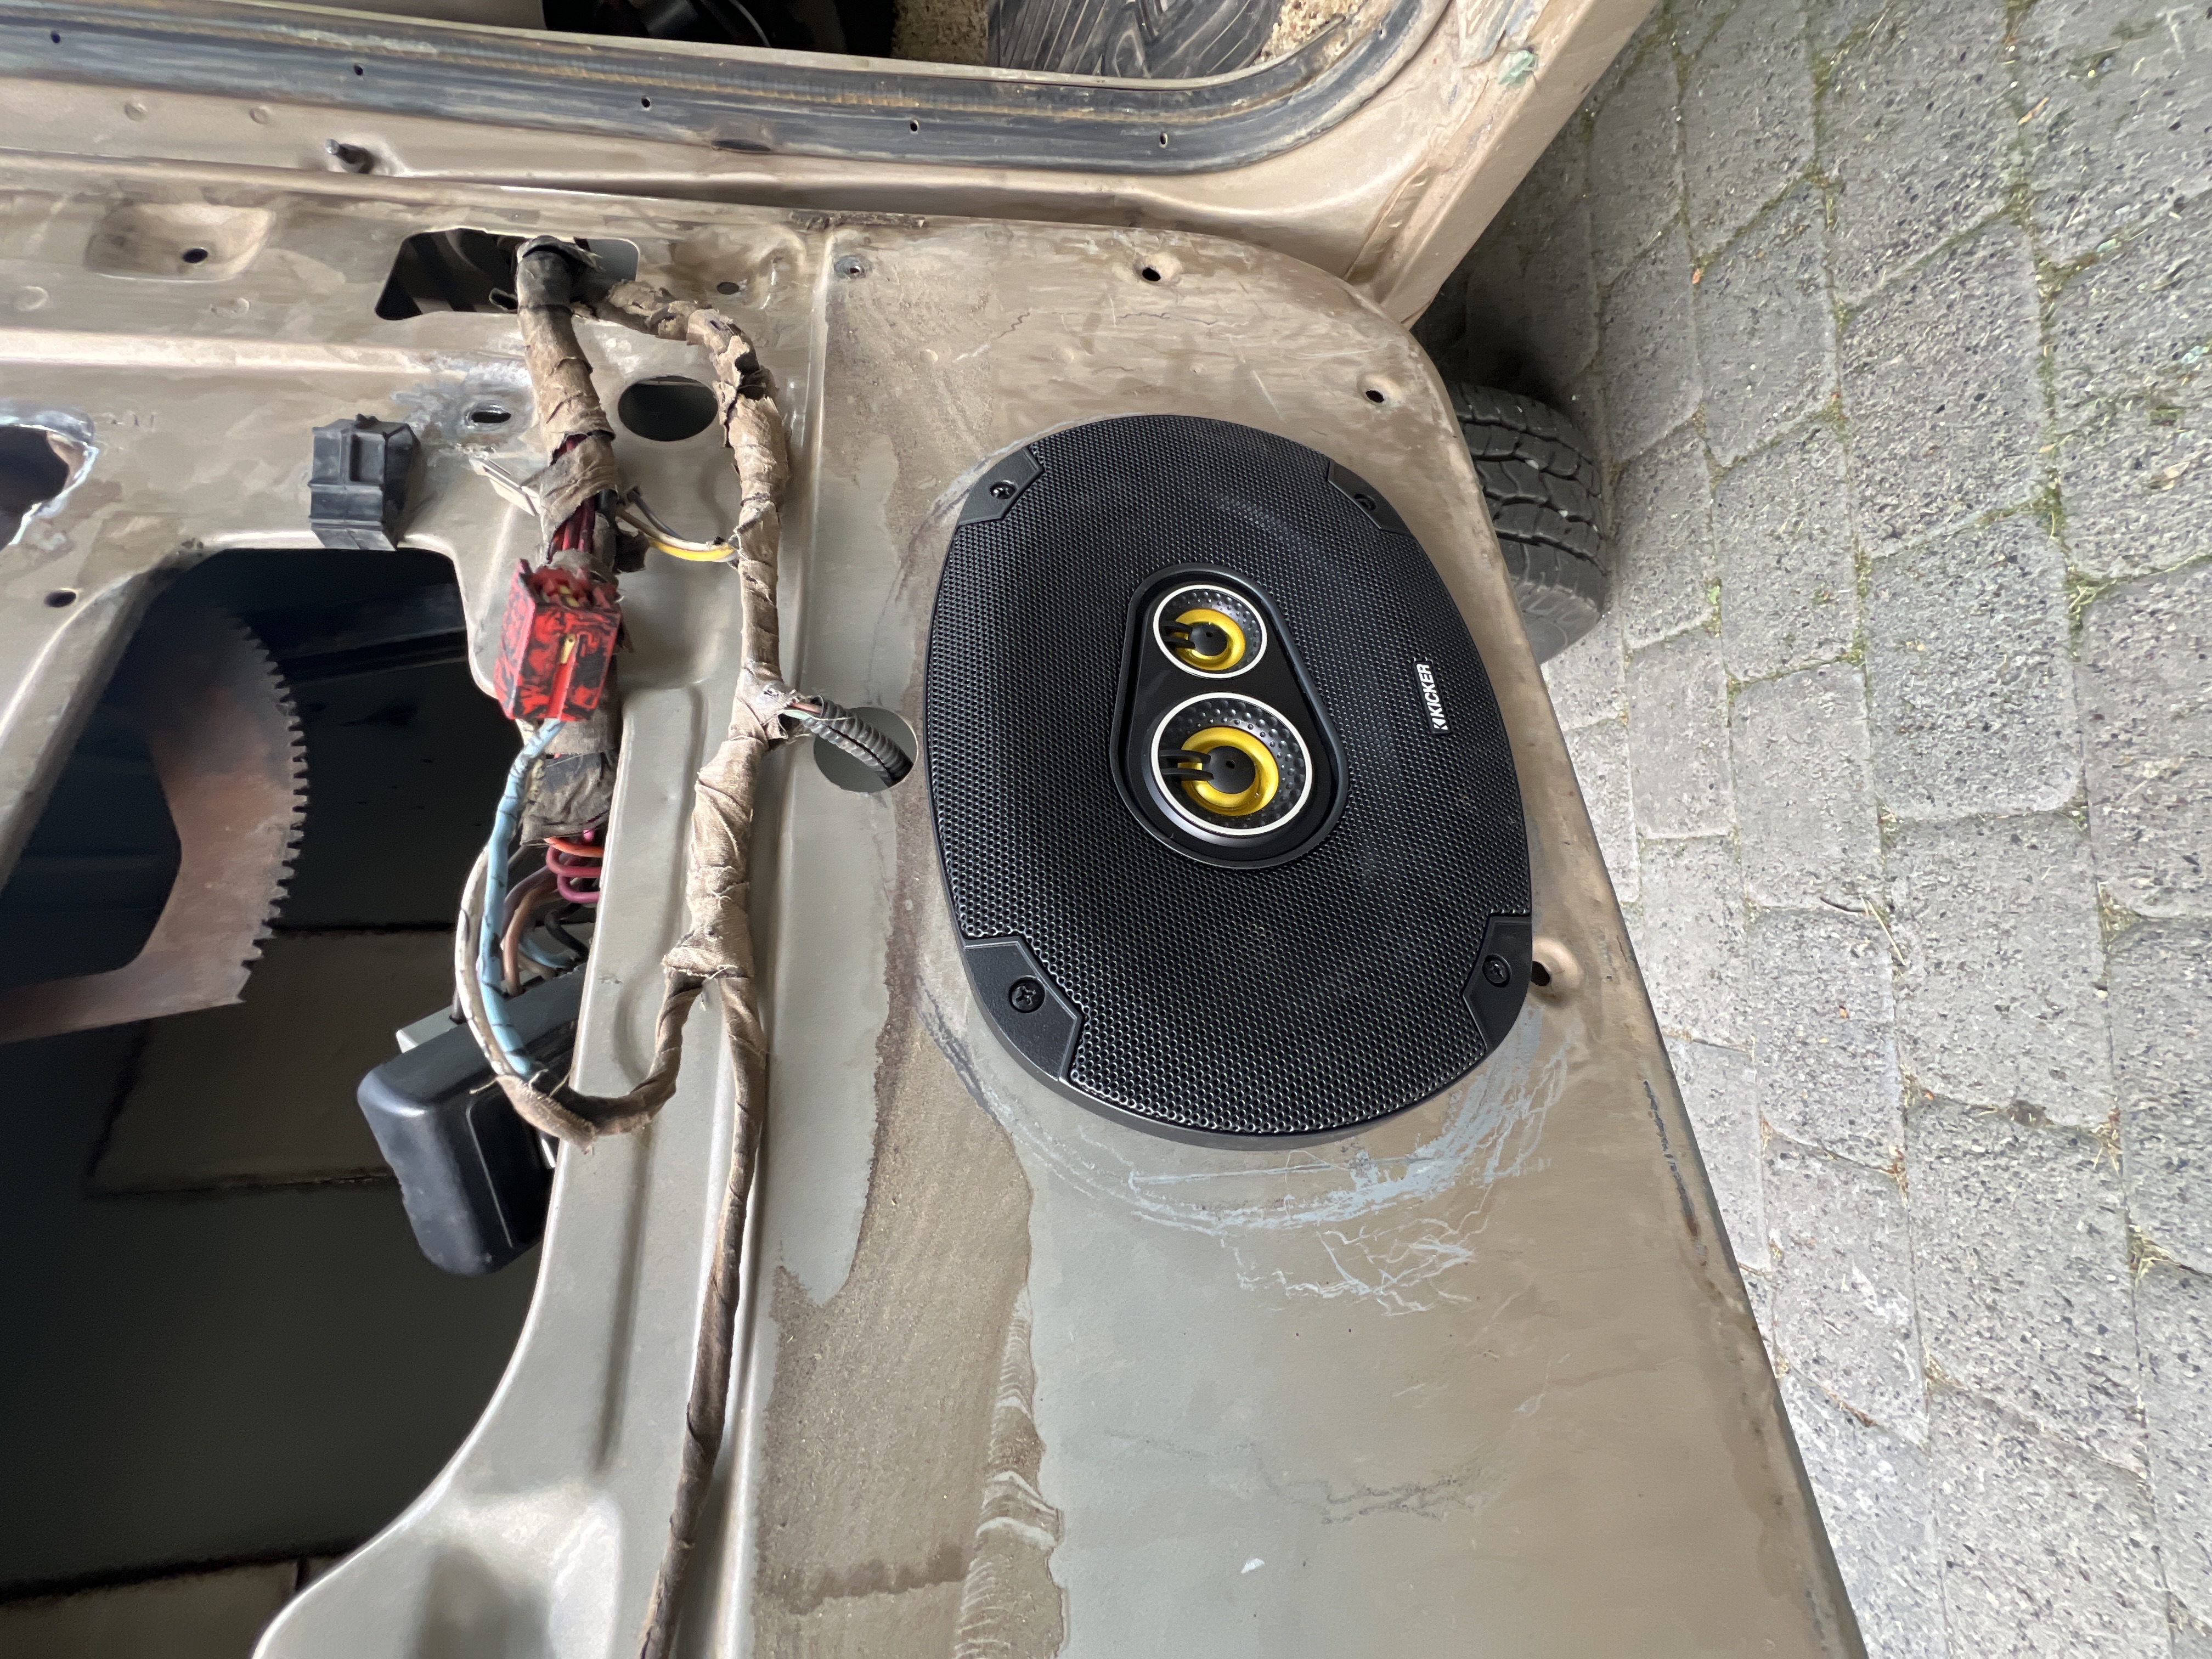
Once wired, position your speakers snugly in their mounting locations. Use the screws or mounting brackets that came with your speakers to hold them firmly.
Wobbly speakers can distort sound and may even cause damage over time. If your car’s mounts don’t match the new speakers, consider adapters or custom brackets for a perfect fit.
Don’t forget to check for any gaps or spaces around the speakers that might affect sound quality. Sealing those gaps can significantly improve bass response.
Testing Speaker Functionality
Before reassembling your door panels or dashboard, play some music to test your new setup. Listen for clear, balanced sound without distortion or buzzing.
If something sounds off, double-check your wiring and mounting. Sometimes a simple wire swap or tightening screws makes all the difference.
Try different genres to ensure your speakers handle highs, mids, and lows well. Do you hear every instrument clearly? If not, adjustments are needed before sealing everything up.
Reassembling Door Panels
Reassembling the door panels is a crucial part of mounting car speakers. It protects the speakers and keeps the door looking neat. Proper reassembly ensures no damage to wires or clips.
Take your time and handle each piece carefully. Proper reassembly helps avoid rattling noises and keeps the door panel secure.
Aligning Panels Properly
Start by aligning the door panel with the door frame. Check that all clips and hooks fit into their slots. Gently press the panel to ensure it sits flush against the door.
Make sure no wires get pinched between the panel and door. Take a close look around edges for even spacing. Proper alignment prevents cracks and panel damage.
Securing Fasteners
Insert screws and bolts back into their original holes. Use the correct screwdriver to avoid stripping screws. Tighten fasteners firmly but avoid over-tightening.
Replace any plastic clips or push pins carefully. These hold the panel tightly in place. Missing or loose fasteners can cause vibrations and noise.
Final Checks
Test the door handle and window controls for smooth operation. Listen for any unusual noises when closing the door. Check the panel edges to confirm a tight seal.
Make sure the speaker grill is secure and clean. Look over the door panel for any loose parts. Fix issues before finishing to ensure long-lasting results.
Optimizing Sound Quality
Optimizing sound quality is key to enjoying your car audio system to the fullest. Proper speaker mounting is just the start; fine-tuning their placement and settings makes all the difference. Small adjustments can turn a good sound experience into an outstanding one.
Adjusting Speaker Position
Where you place your speakers affects how sound travels inside your car. Aim to position them so the sound reaches your ears directly, avoiding obstacles like seats or door panels that block audio waves.
Try angling the speakers slightly toward your seating position. This helps create a more immersive and clear soundstage. Don’t hesitate to test different spots and angles—you might be surprised how much it changes the quality.
Have you noticed how some cars sound better in certain seats? That’s because speaker placement influences who gets the best sound. Adjusting position can balance audio for all passengers, not just the driver.
Tuning Audio Settings
Once speakers are mounted, your car’s audio settings become crucial. Use your head unit or amplifier controls to tweak bass, treble, and midrange frequencies to match your taste and speaker capabilities.
Start by setting all equalizer bands to flat, then adjust one frequency at a time. Increase or decrease bass if the sound feels too heavy or thin. Adjust treble to sharpen or soften high notes without causing harshness.
Don’t overlook balance and fade controls. These help distribute sound evenly between left and right speakers, and front to back, making sure no area feels overpowered or weak.
Credit: mossawistudios.com
Frequently Asked Questions
How Do You Choose The Right Car Speakers?
Selecting the right car speakers involves understanding your car’s acoustics and your audio preferences. Consider speaker size, sensitivity, and power handling. Check compatibility with your car’s audio system. Research brands known for quality sound. Reading reviews and seeking expert advice can guide your decision.
What Tools Are Needed To Mount Car Speakers?
To mount car speakers, you’ll need a screwdriver, wire stripper, and electrical tape. A panel removal tool is useful for accessing the speaker area. A multimeter can help check electrical connections. Having the right tools ensures a smooth installation process.
Can I Mount Car Speakers Myself?
Yes, you can mount car speakers yourself with basic tools and guidance. Follow the speaker instructions carefully. Remove the car panel gently to avoid damage. Ensure all connections are secure. If unsure, consult online tutorials or seek professional help.
What Is The Best Position For Car Speakers?
Positioning car speakers in factory locations usually provides balanced sound. For enhanced sound, consider installing tweeters near ear level. Avoid obstructing speakers with objects. Experiment with angles and positions for optimal audio experience. Proper positioning can significantly improve sound quality.
Conclusion
Mounting car speakers can improve your sound quality a lot. Start by choosing the right tools and parts. Follow each step slowly and carefully. Check all connections before finishing the job. Take your time to avoid mistakes and damage. Enjoy better music in your car after installation.
This simple upgrade makes drives more fun and relaxing. Try it yourself and feel the difference today.